
What This Is
My home office desk sits way too close to family spaces. I love the sound of a mechanical keyboard. Everyone else does not love hearing it at 2 AM.
The goal: keep the typing feel I need but make it quiet enough that nobody three feet away gets annoyed.
Solution: Poron foam dampening inside the case plus AKKO V3 Fairy Linear Silent switches.
The Keyboard
Epomaker Split 65%. Hot-swap split ergonomic design. Wired USB-C. I got it February 19, 2025.
The Mod
Disassembly
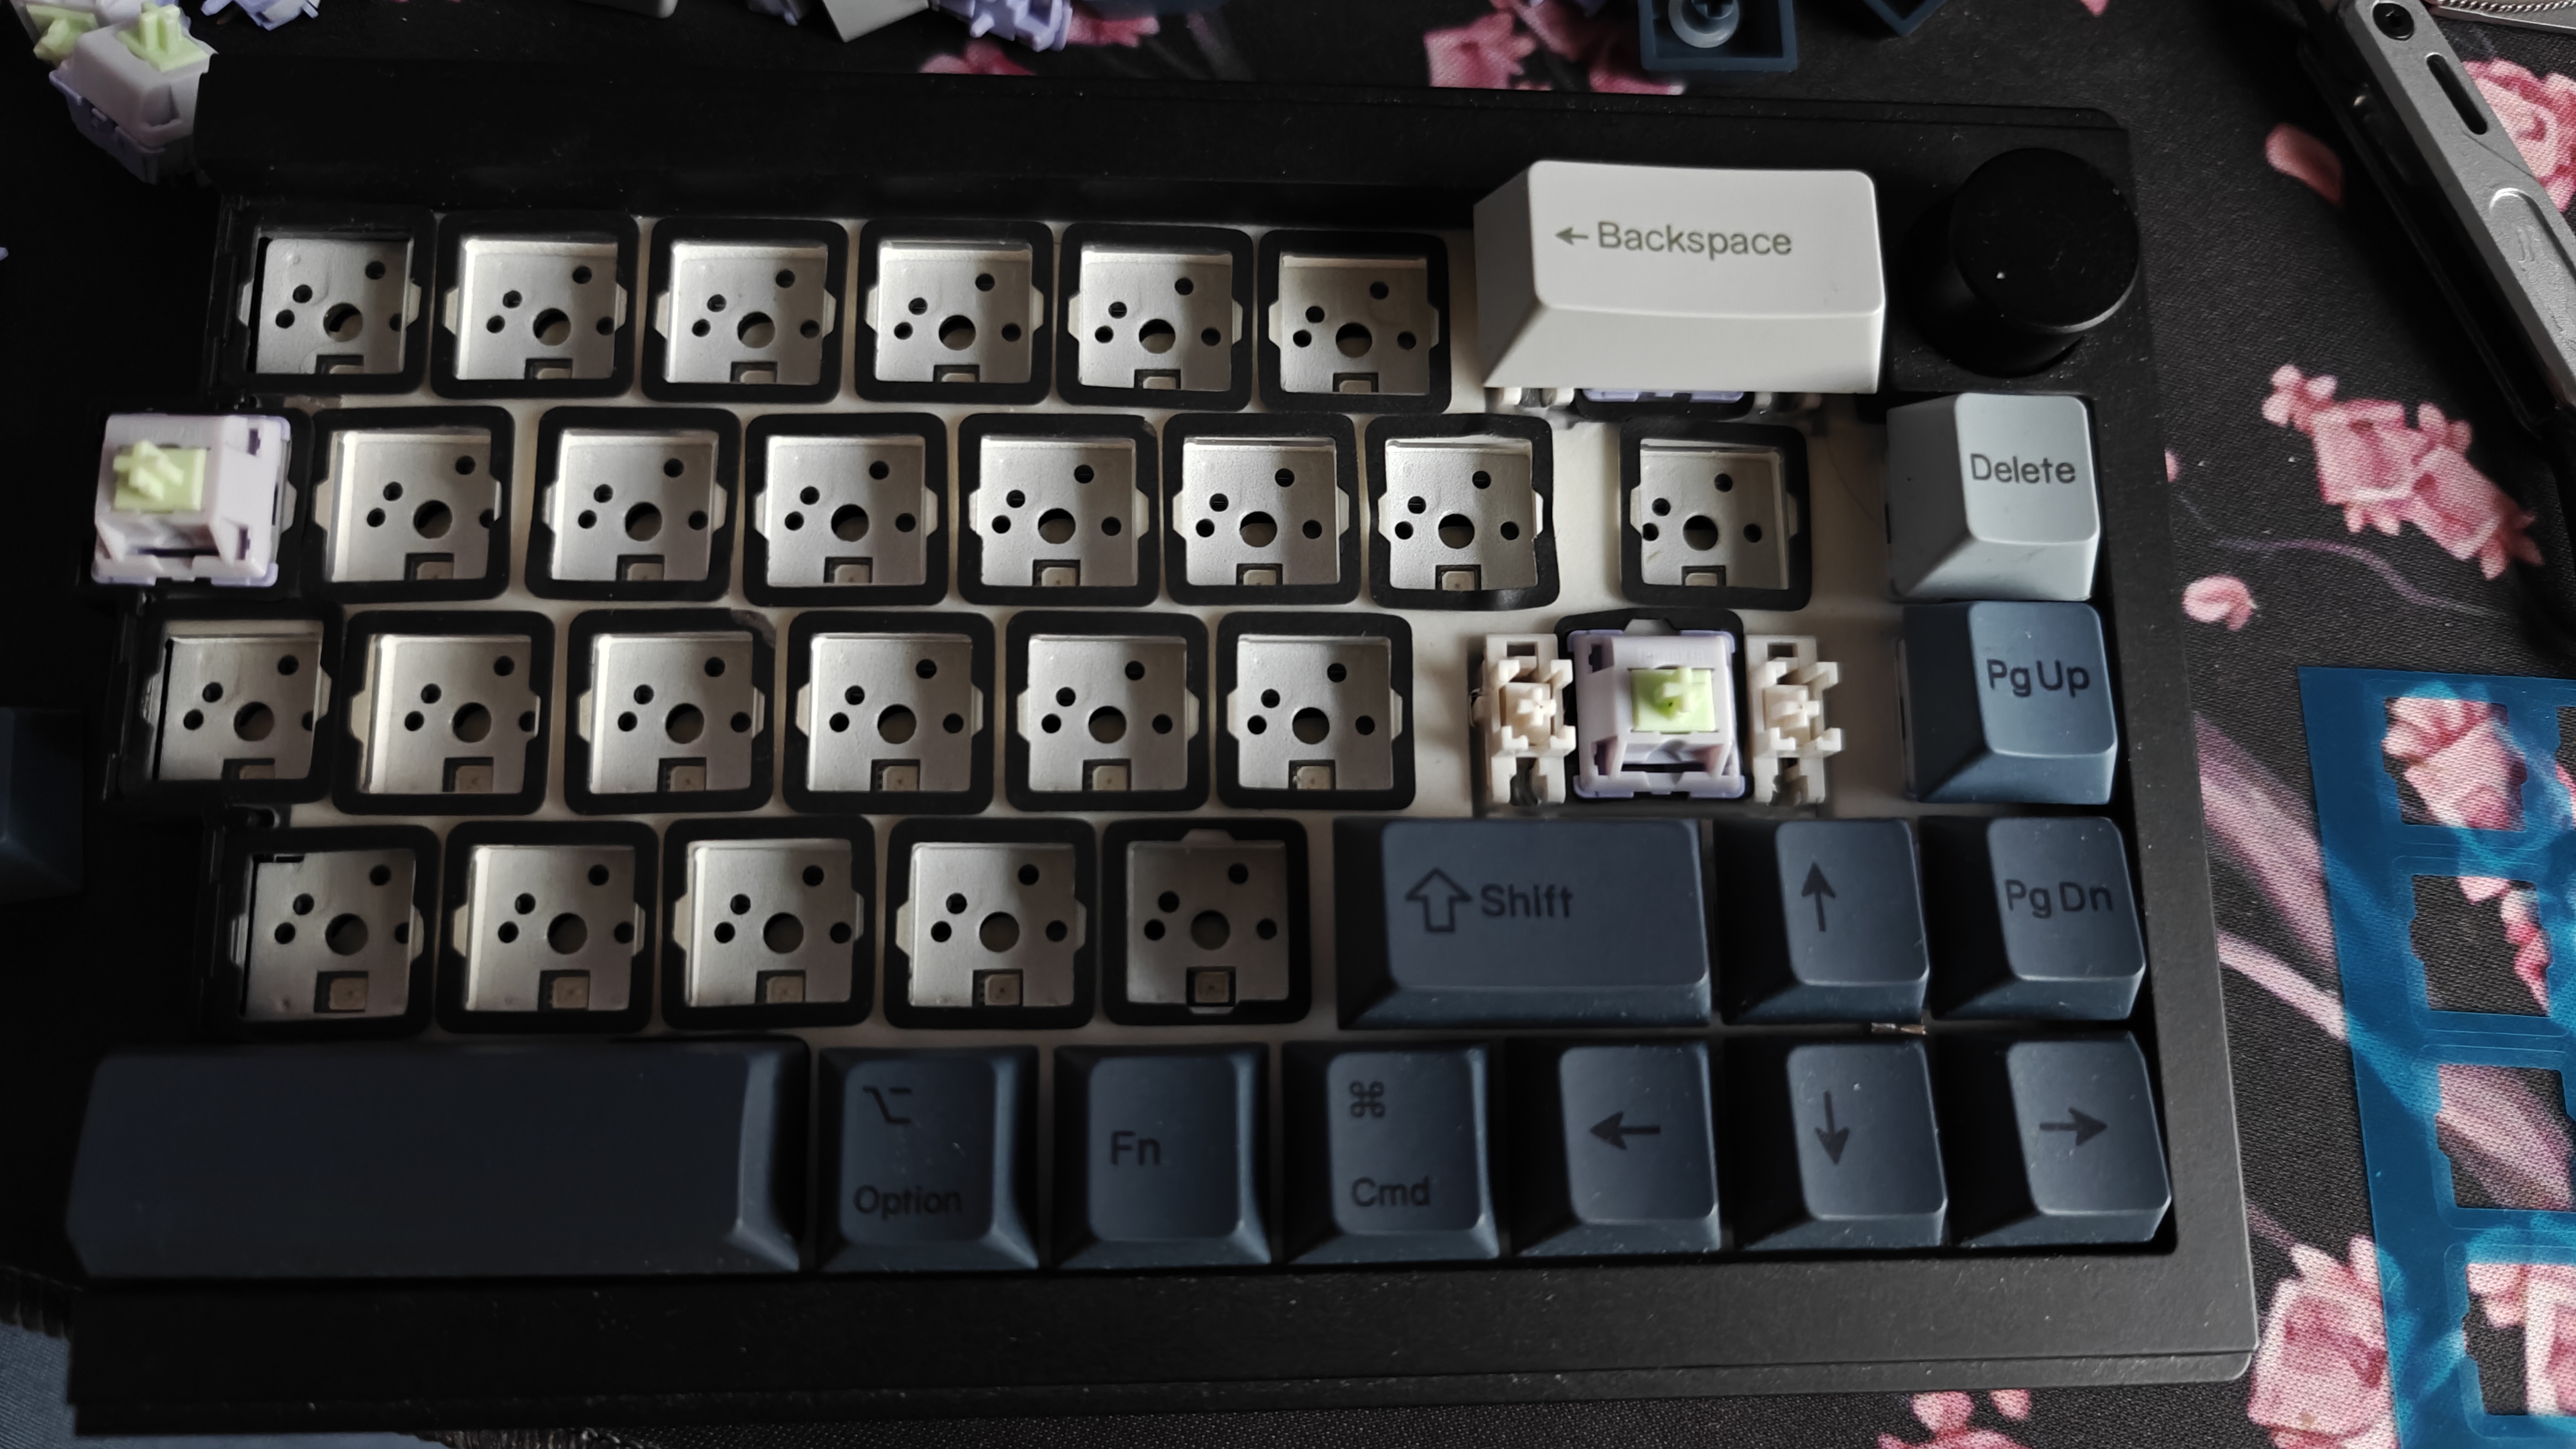
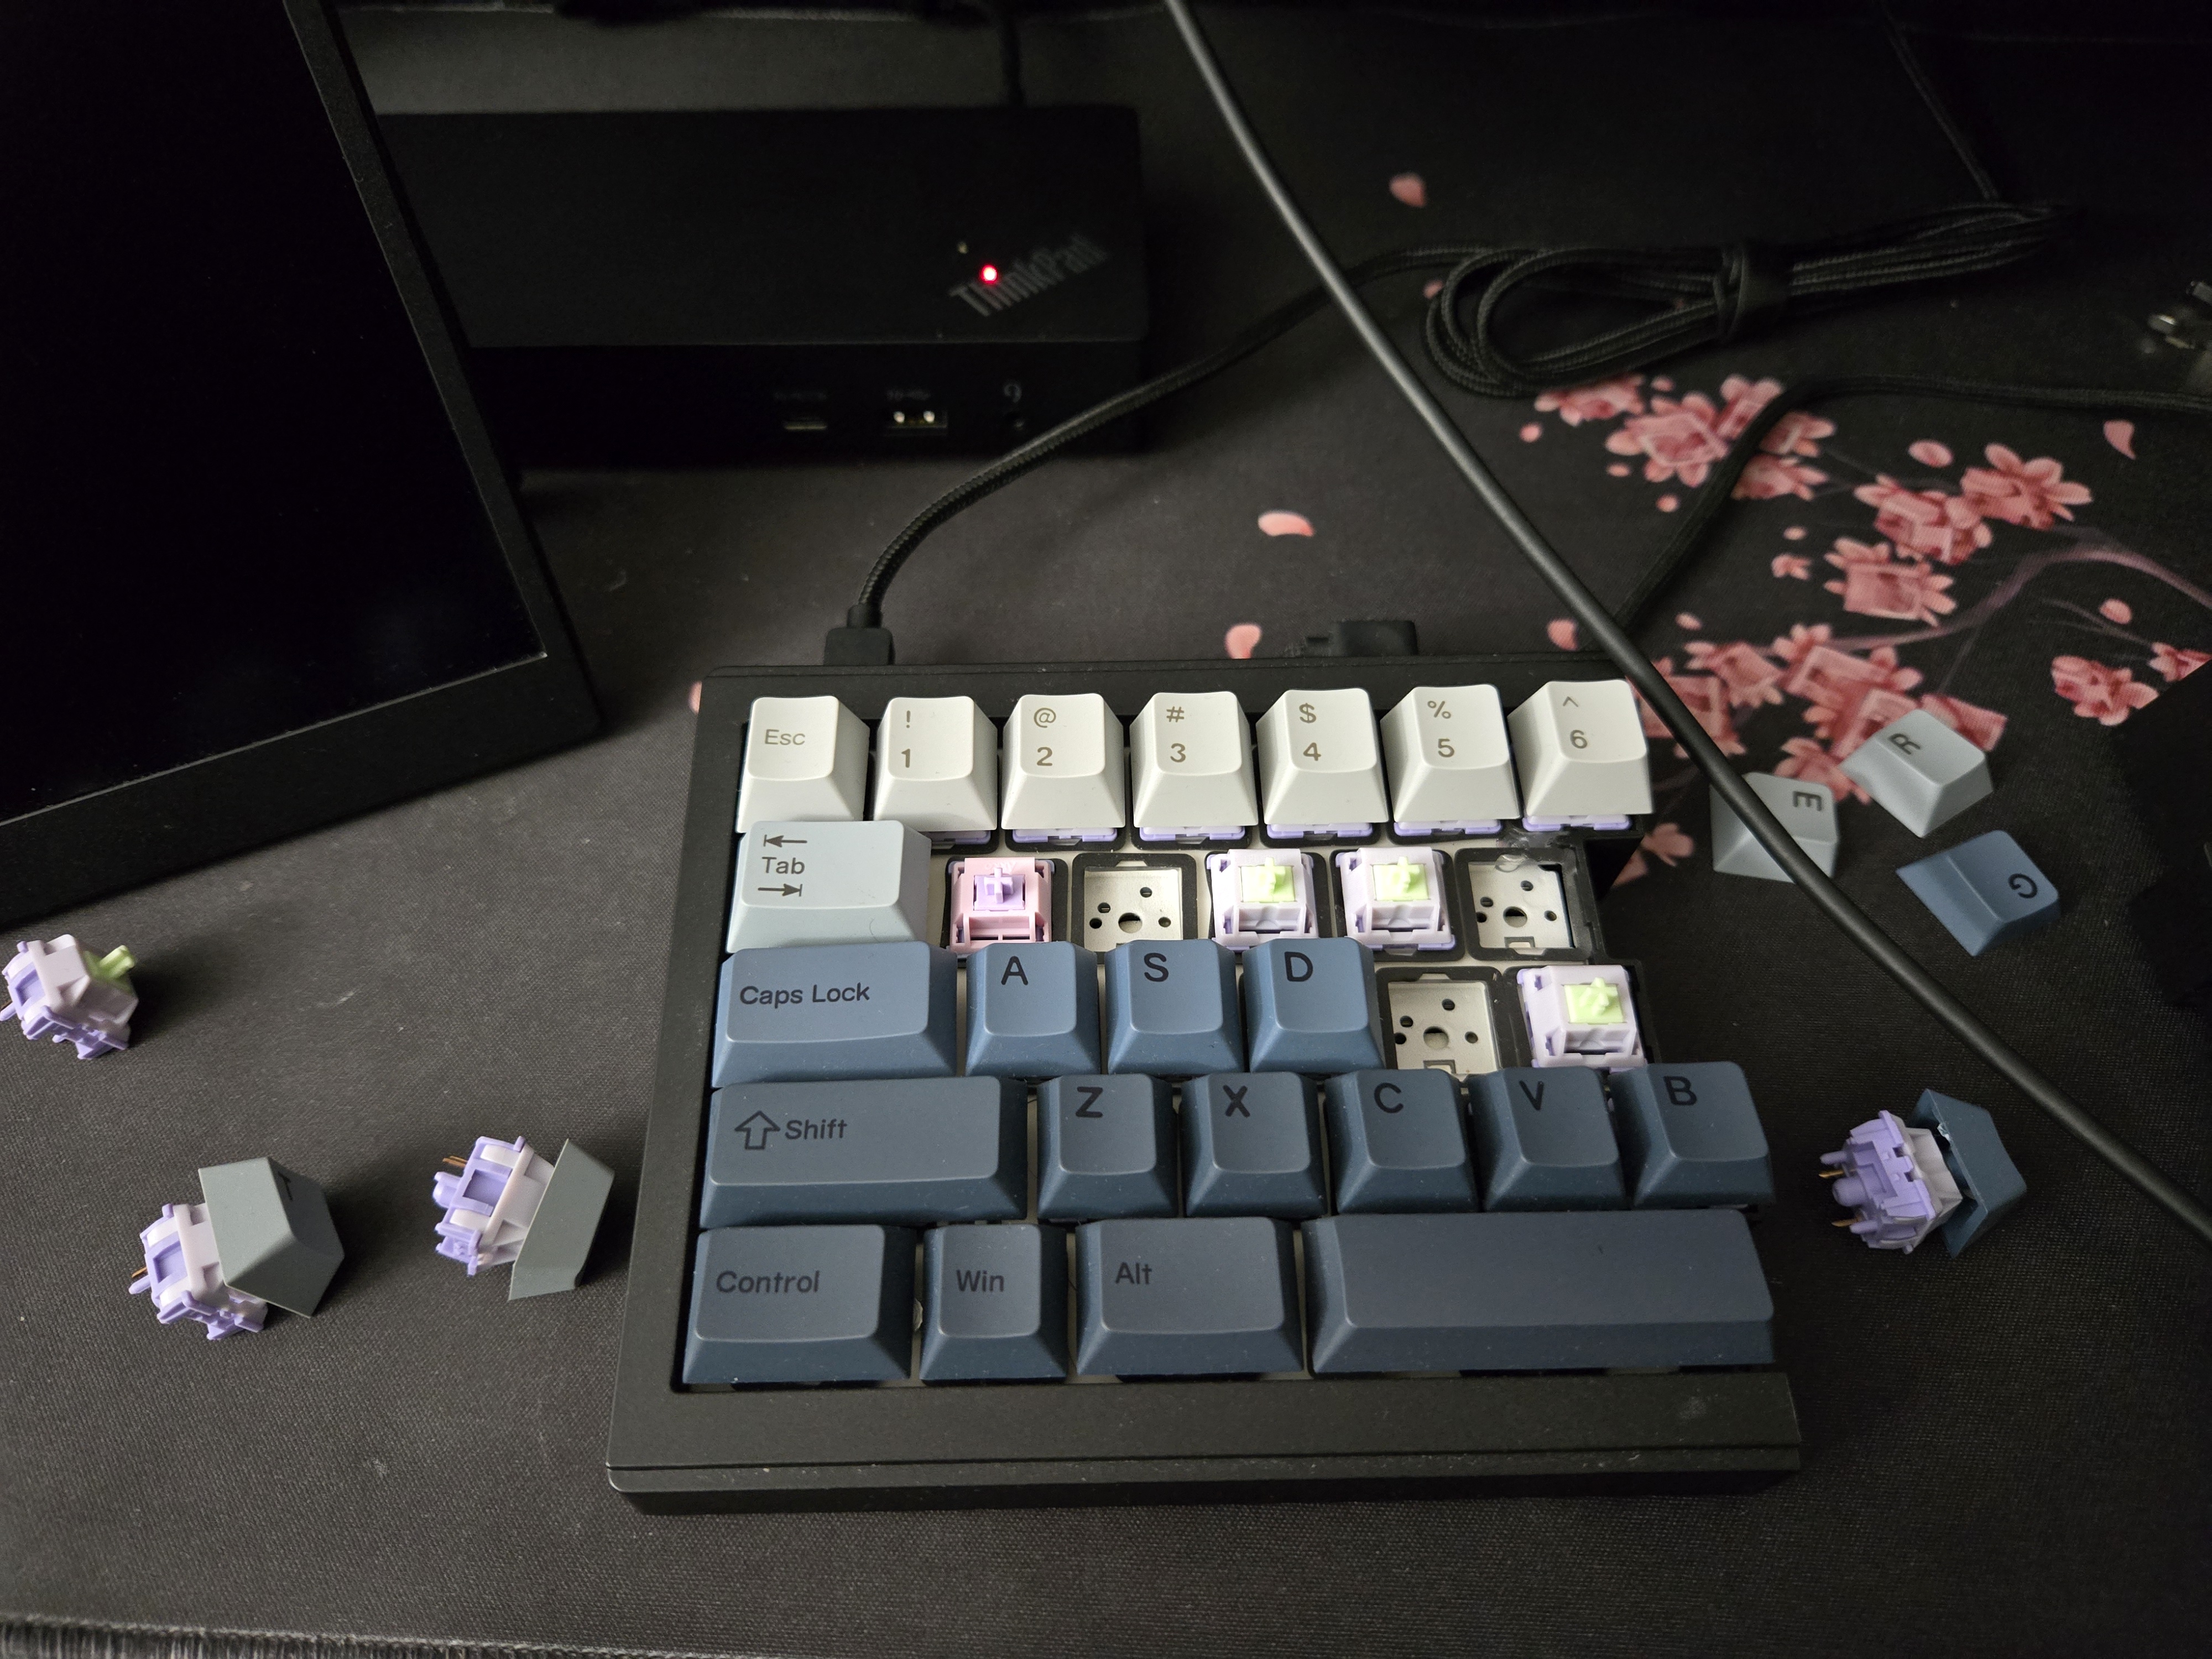
Pulled all keycaps and existing switches. Hot-swap sockets make this easy - grip and pull straight up.
The split design means switches around the border where the keyboard separates need extra care during reassembly.
Poron Foam
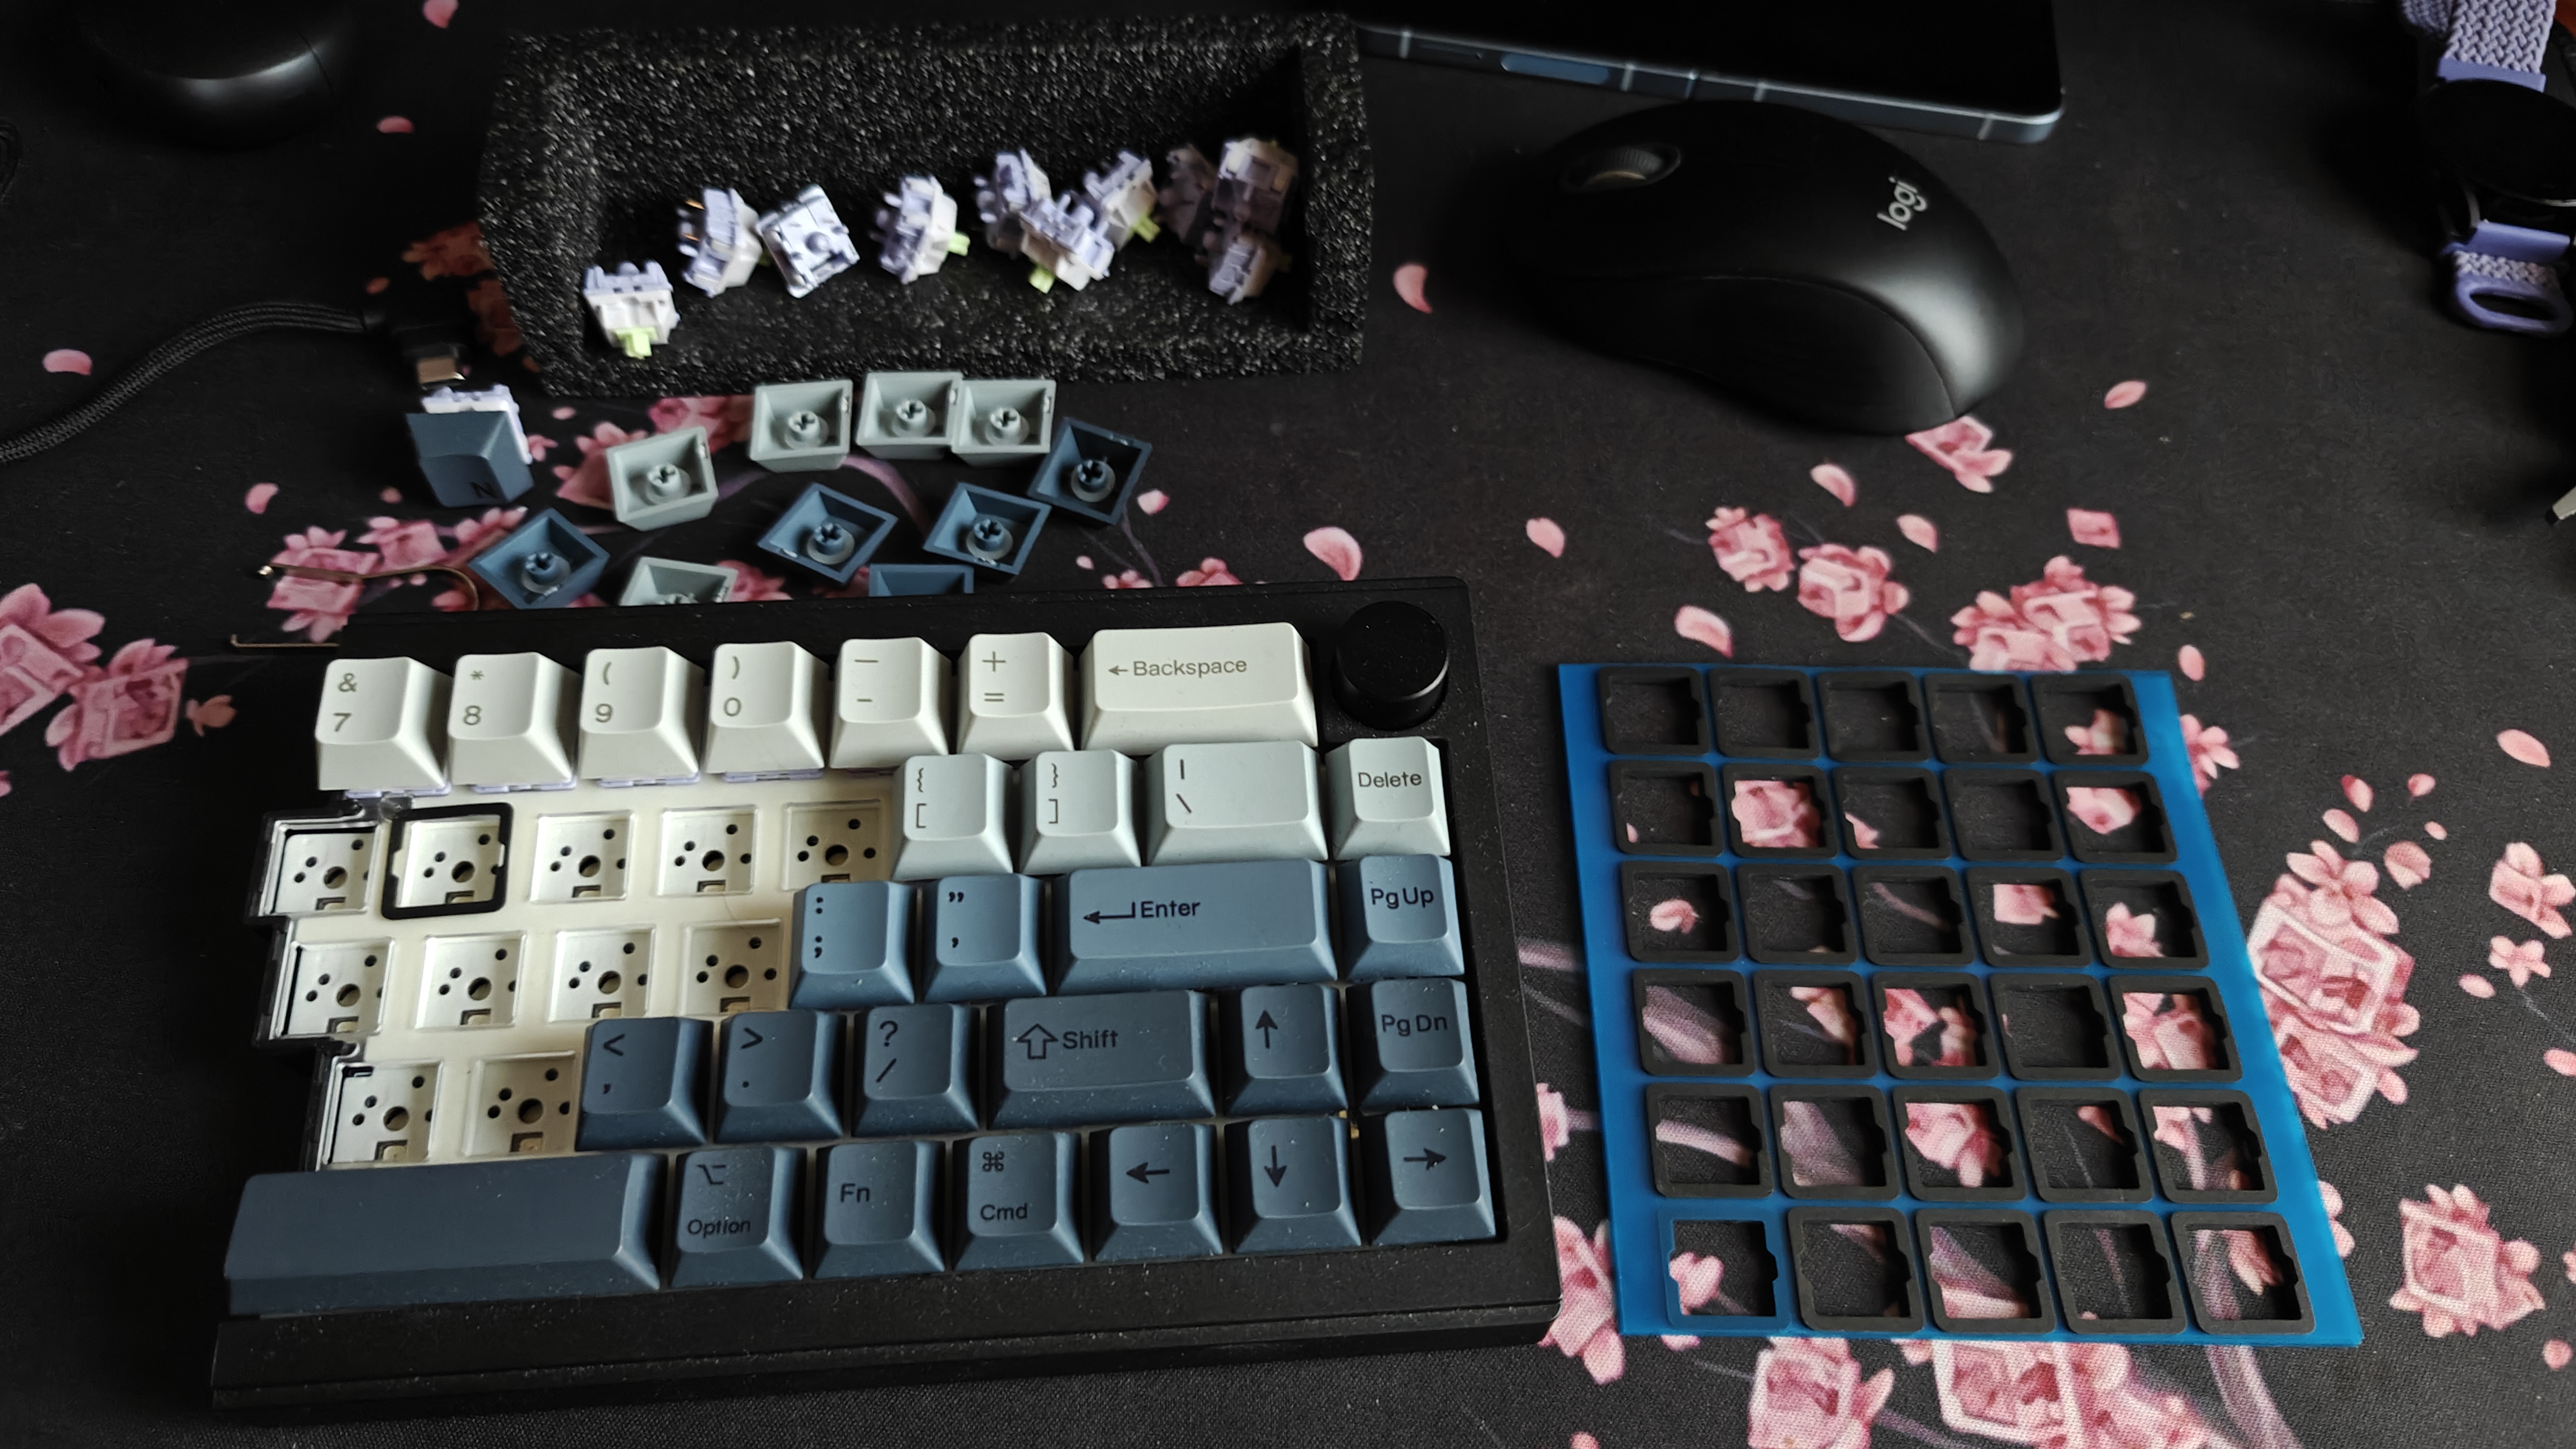
Poron foam absorbs vibration and cuts sound transmission. Problem is it comes in sheets, not pre-cut keyboard shapes.
Measured the internal cavity around the switch plate. Cut foam to size with a craft knife. Made cutouts for the switch posts. Installed it between the PCB and bottom case.
Takes patience. Multiple light passes with a sharp knife works better than one heavy cut. Poron is dense.
The border switches around the split point were especially annoying. Foam needed precise cutting so it wouldnt interfere with the split mechanism.
Silent Switches
Swapped everything to AKKO V3 Fairy Linear Silent switches. Dampened stems reduce both bottom-out and upstroke noise.
Specs: 45g actuation, 4mm total travel, 2mm actuation point. Dual-stage rubber dampeners. POM stem, PC top, nylon bottom.
Getting switches seated properly around the split border was tedious. Multiple insertion attempts to get them flush with the plate.
Reassembly
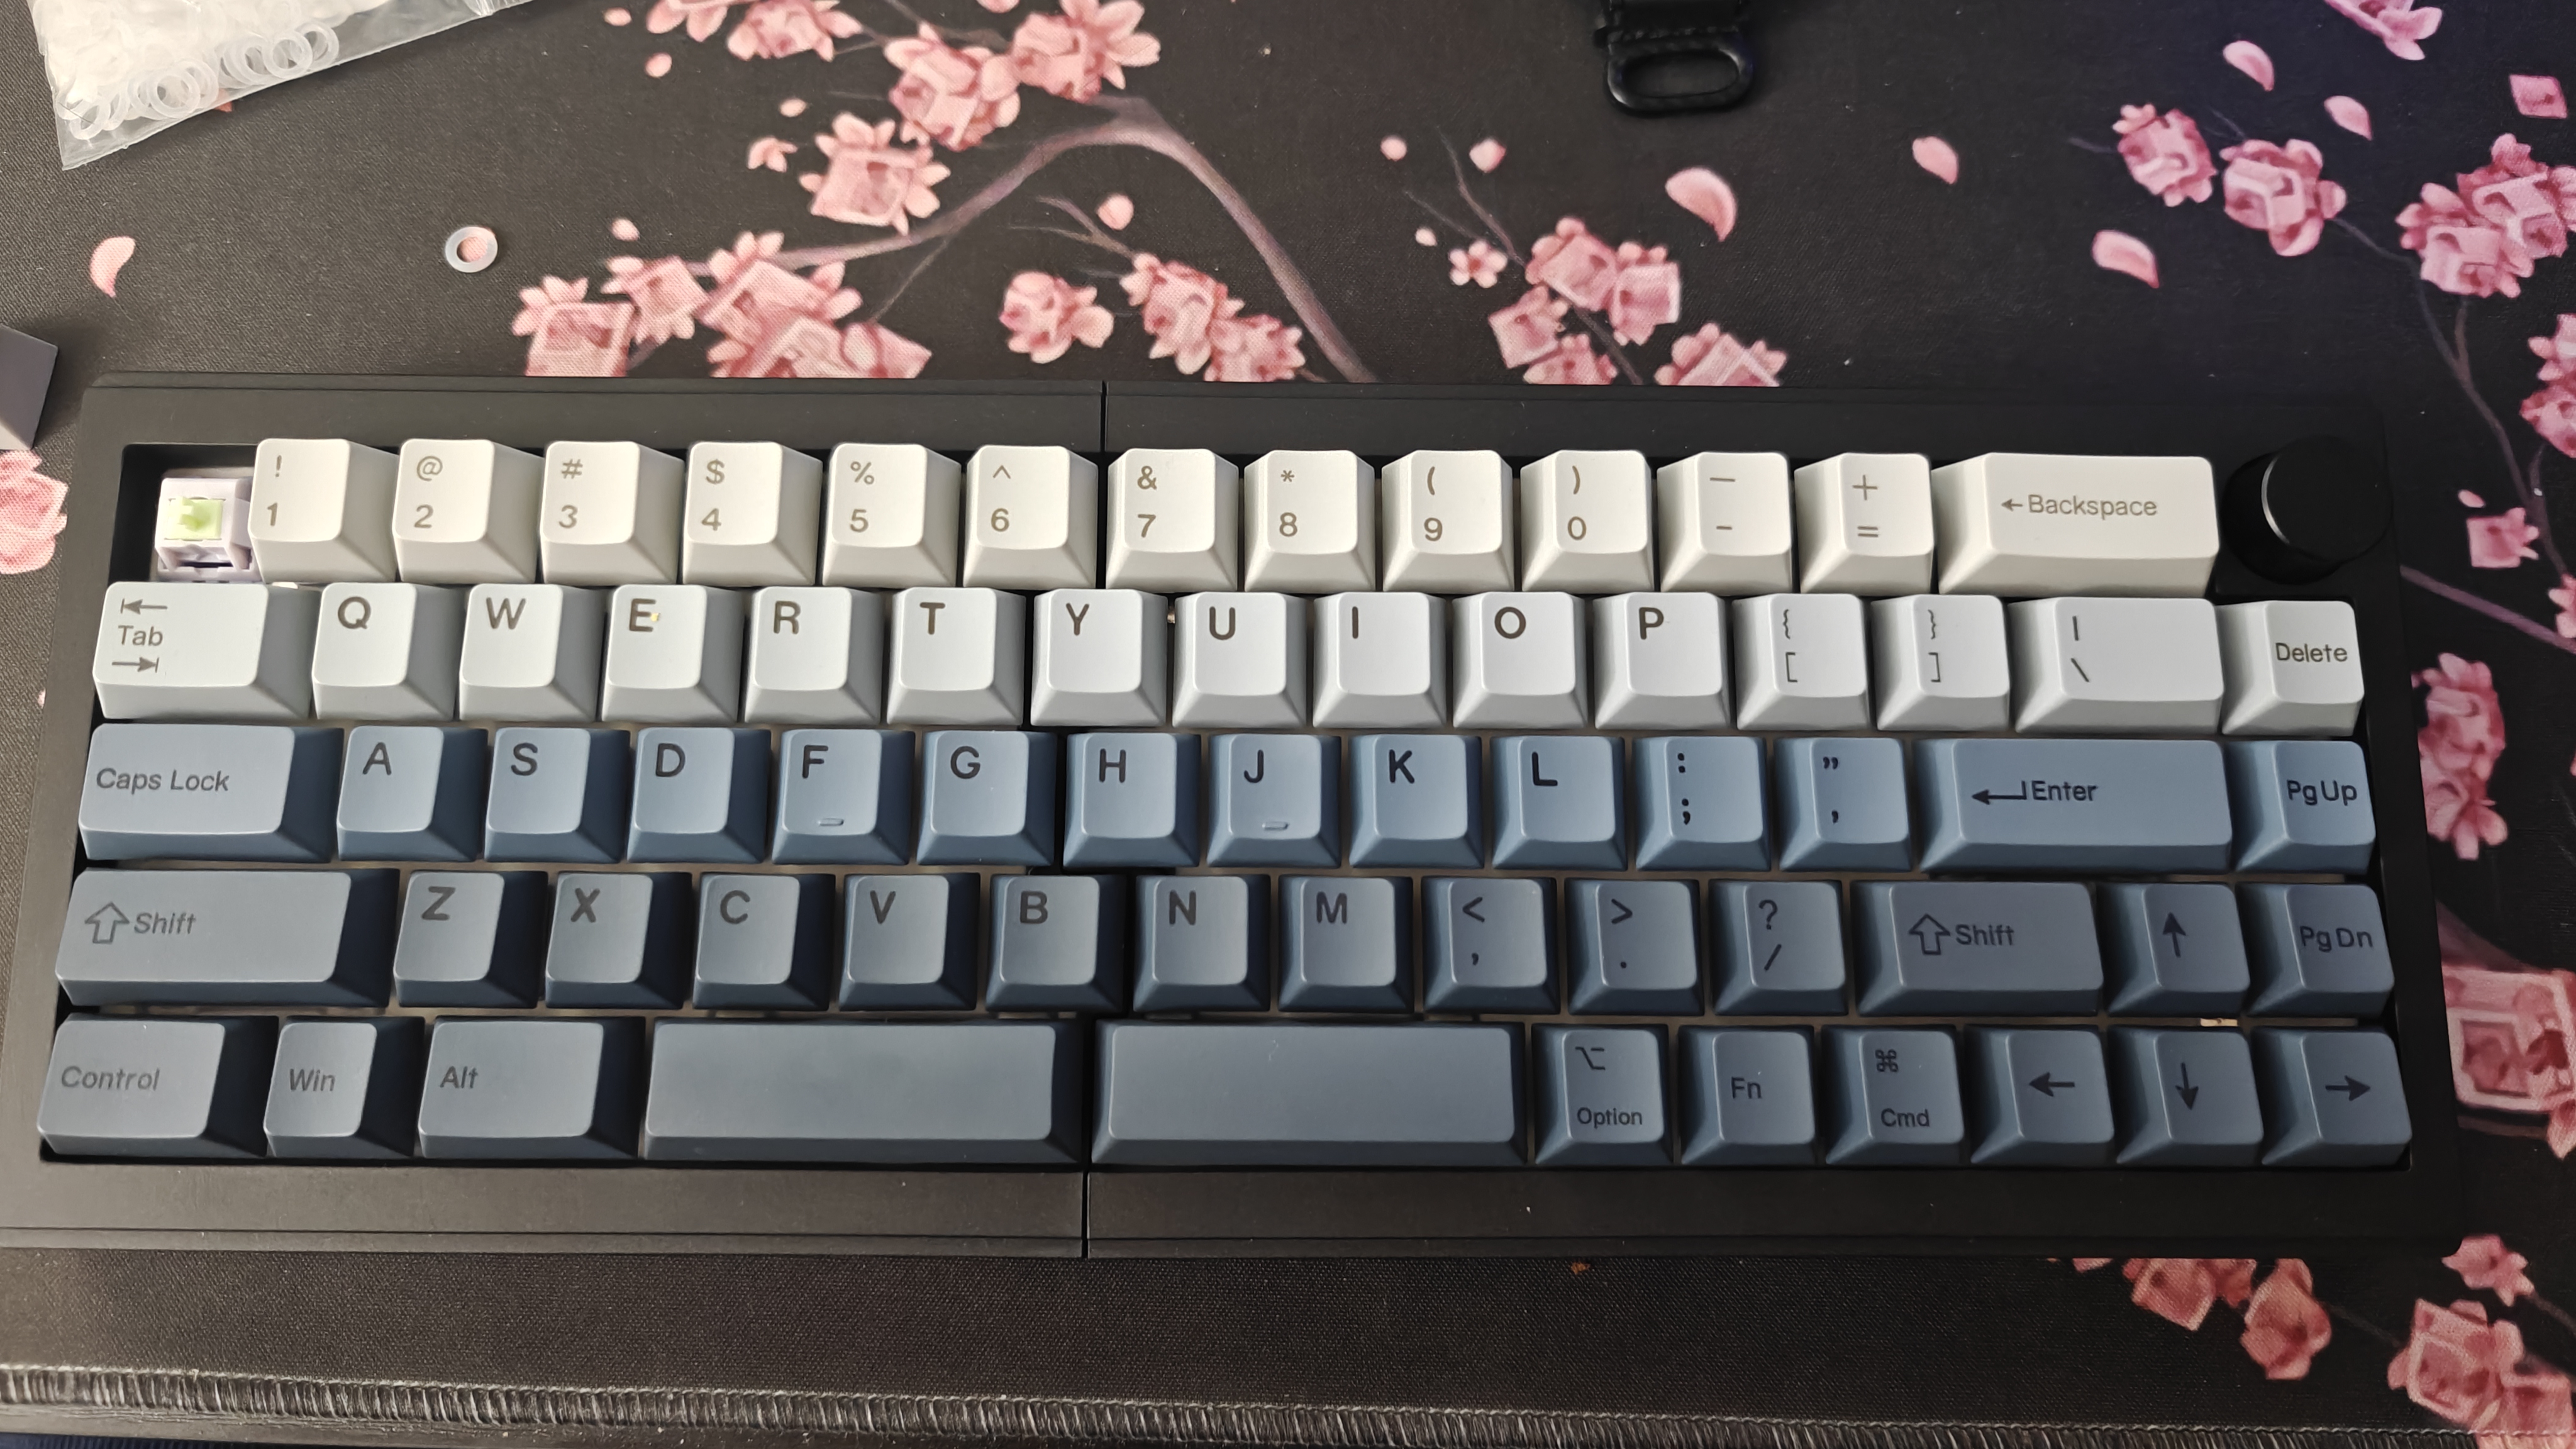
Both halves fully assembled. Quiet, functional, office-friendly.
Results
Mission accomplished. The Poron foam plus silent switches dropped typing volume dramatically. Anyone within three feet can barely hear it over normal room noise.
The linear switches dont have the tactile bump I was used to but the actuation point is clear and consistent. I adapted within a few hours.
Trade-offs: lost the satisfying thock sound but that was the whole point. Linear switches take some getting used to if you prefer tactile. Mod cost about $40 total. $25 for switches, $15 for foam.
Difficulty
Medium, not easy. The foam cutting requires precision and patience. Irregular cuts can interfere with switch operation or create pressure points. The split border switches are finicky to reinstall properly.
No soldering though. Hot-swap keeps it accessible.
Time breakdown:
- Planning and measuring: 20 minutes
- Foam cutting: 45 minutes (the worst part)
- Switch replacement: 30 minutes
- Keycaps: 15 minutes
- Total: about 2 hours
Final Word
The Poron foam and silent switch combo turned an office liability into something I can use without getting yelled at. Worth every minute of foam cutting frustration.
If you work in shared spaces and want mechanical feel without the noise, do this mod. If you love loud keyboards, skip it. No judgment either way.
Mod: April 5, 2025 Status: Daily driver, significantly quieter


