
What This Is
The Bambu Lab P2S. Enclosed Core XY printer. Basically a P1S with a few upgrades built in. The enclosed chamber means ABS and other temperature-sensitive filaments are actually printable without warping.
Setup
Unboxing
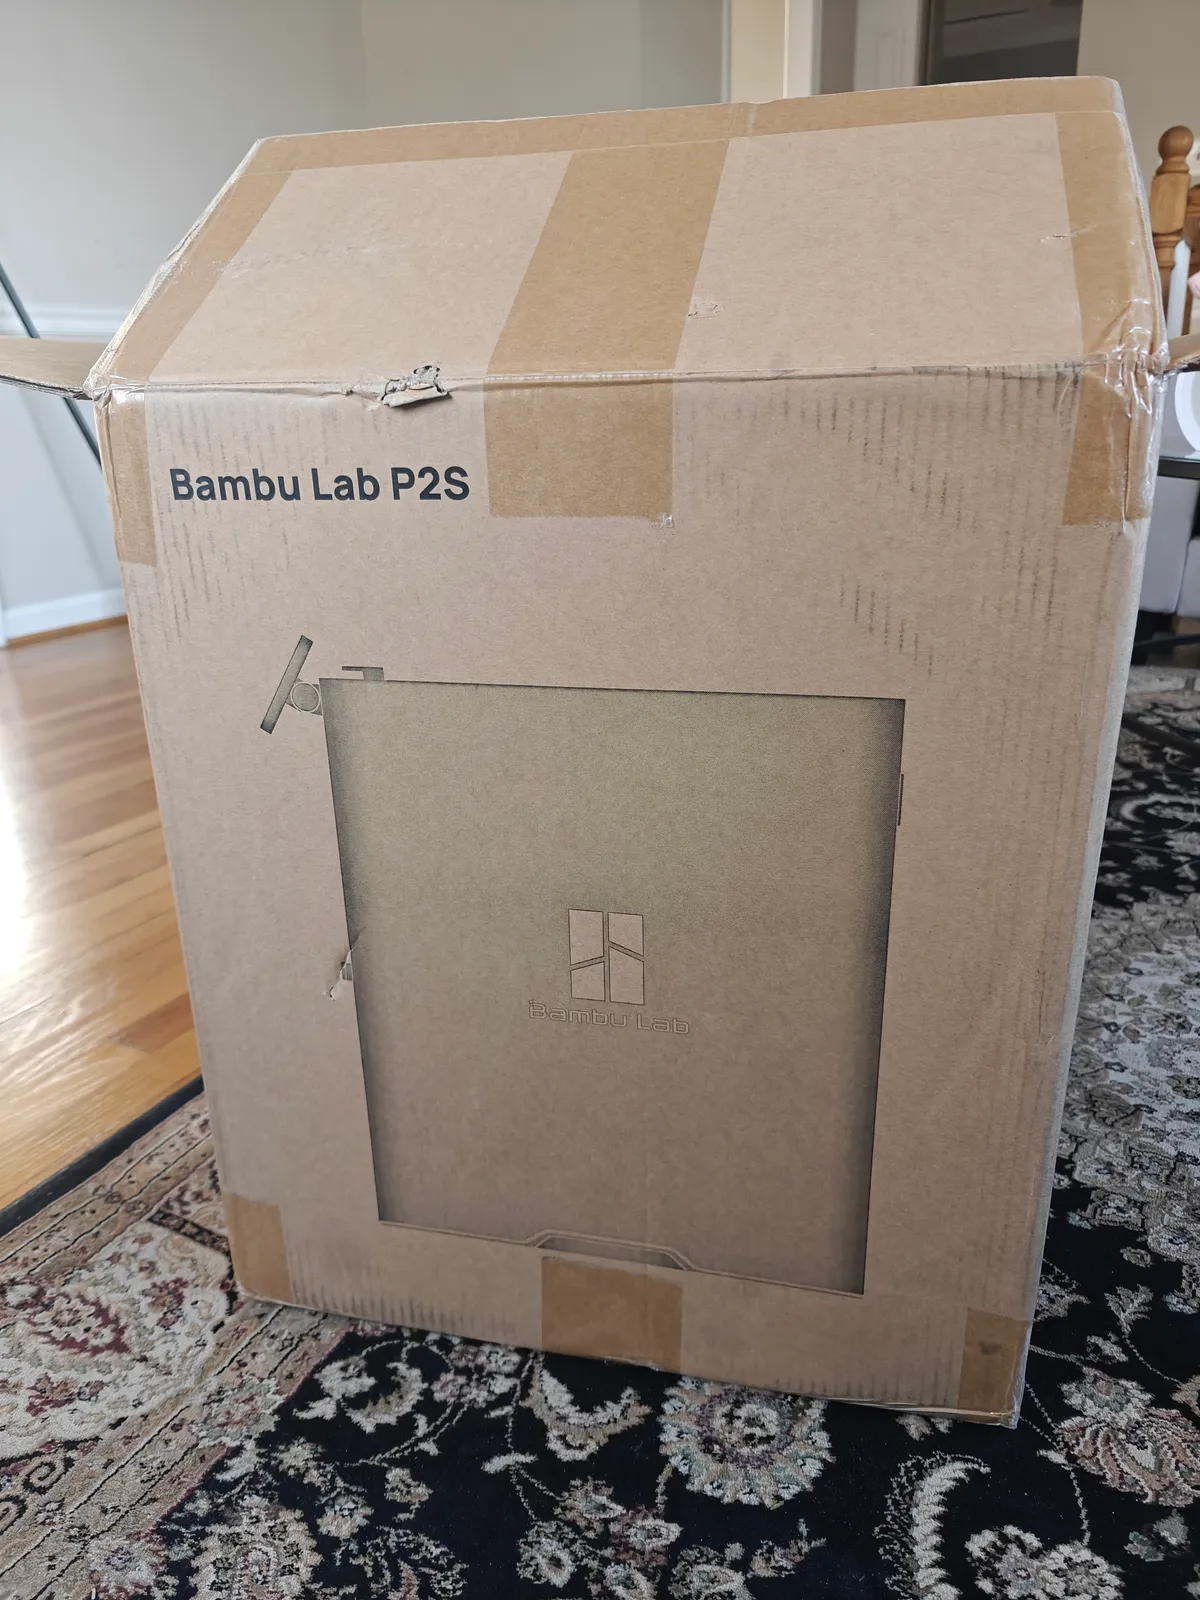
Substantial box. The P2S ships as one fully enclosed unit.
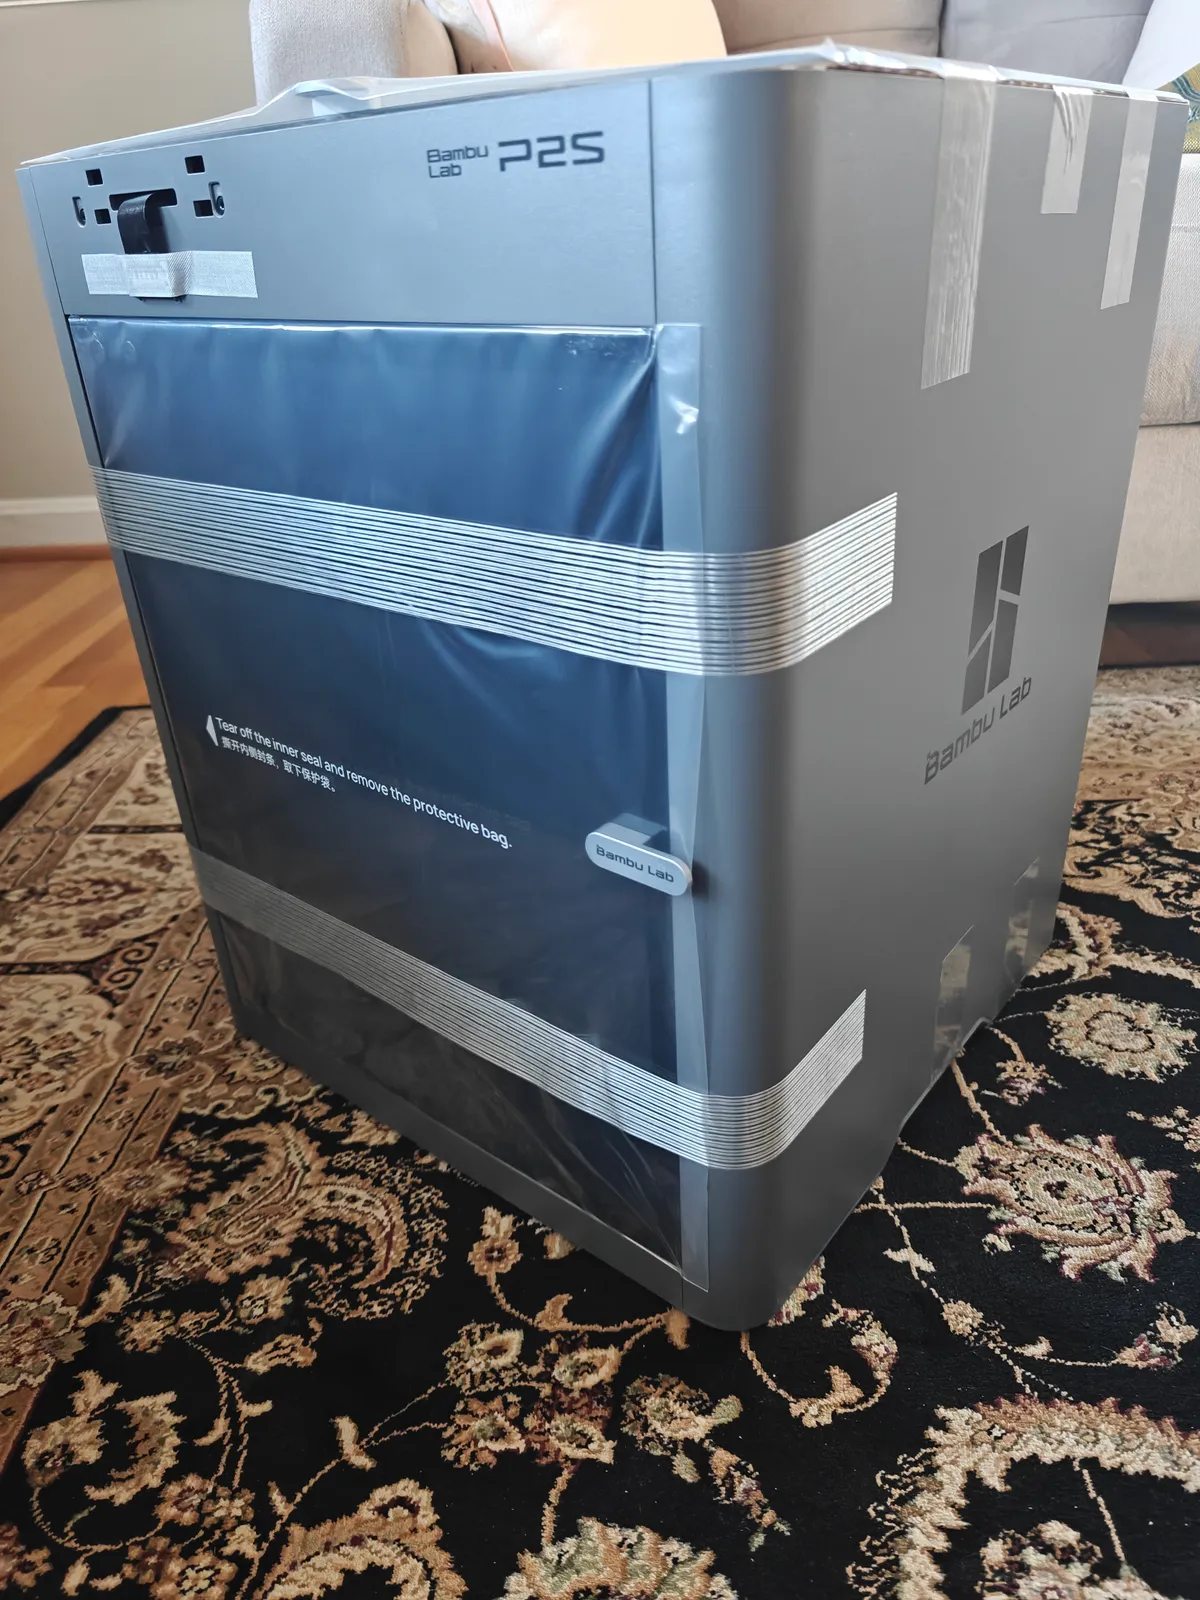
Out of the box with protective film still on. Glass door and panels are pre-installed.
Shipping Materials
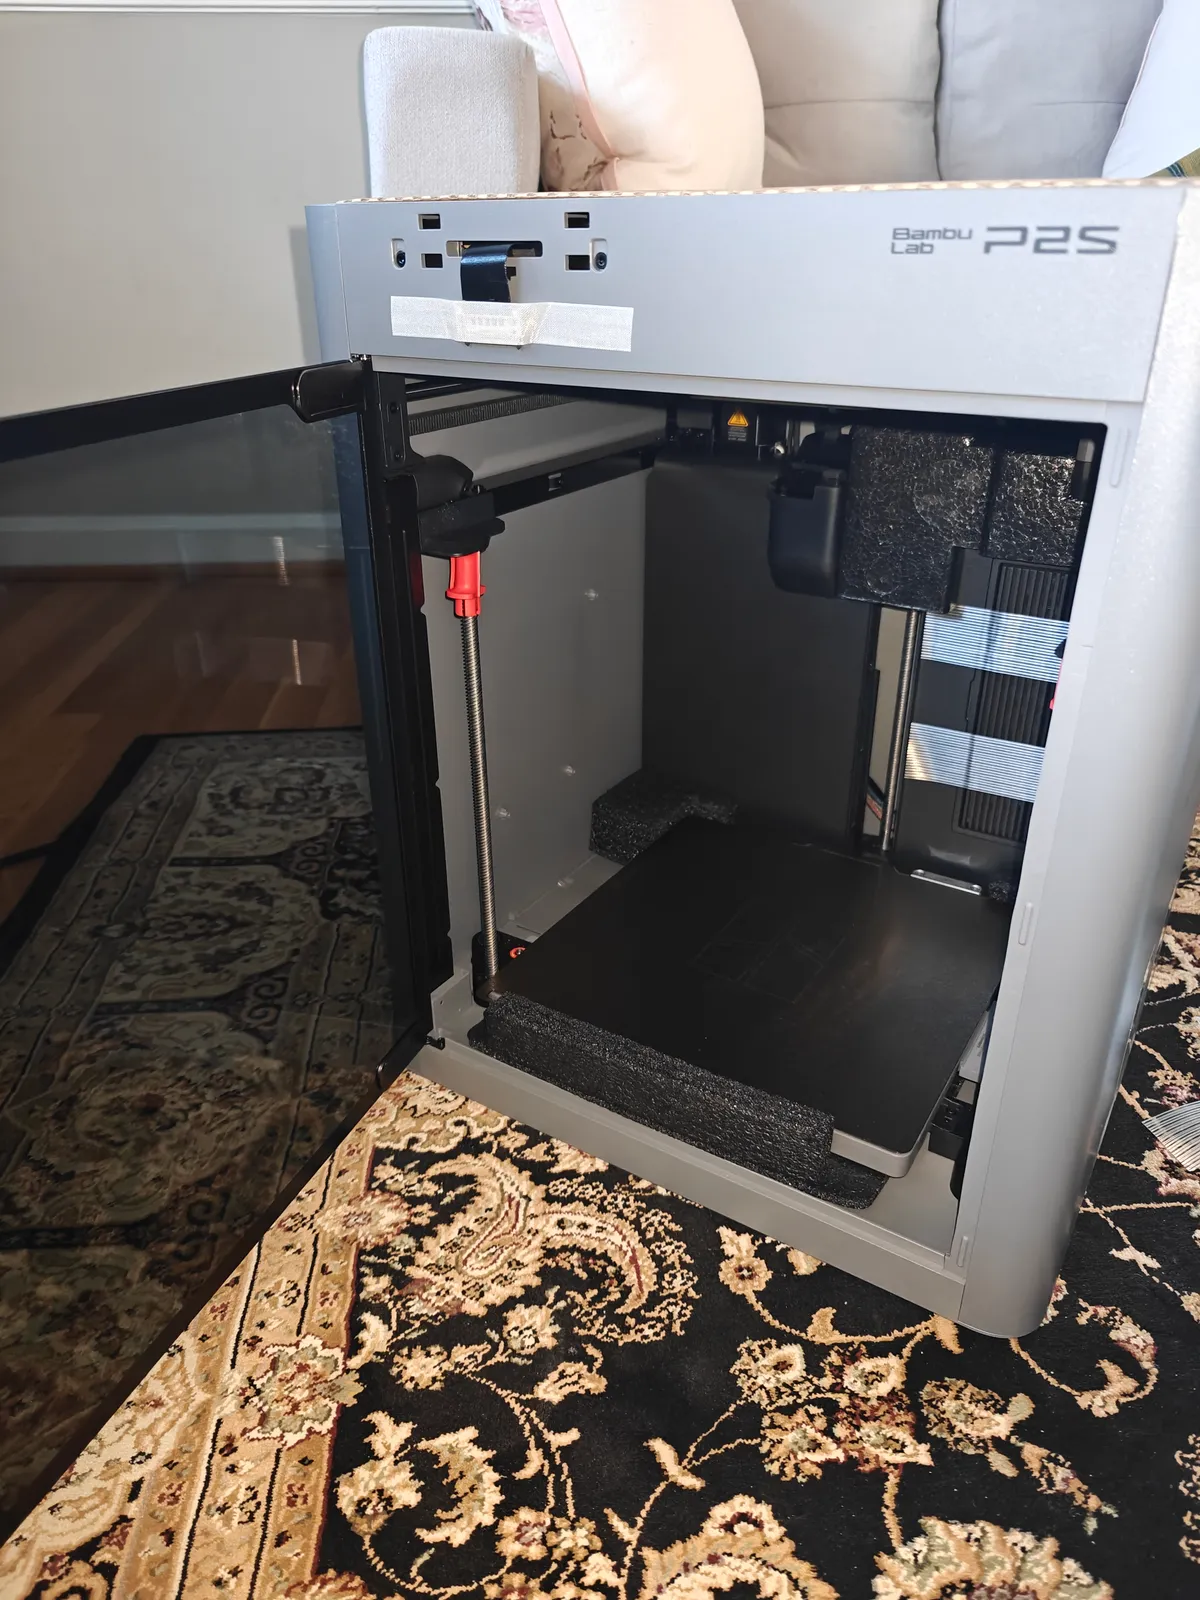
Open the door, pull out all the foam inserts protecting the print head and bed. Check every corner. They hide foam in places you wouldnt expect.
Accessories
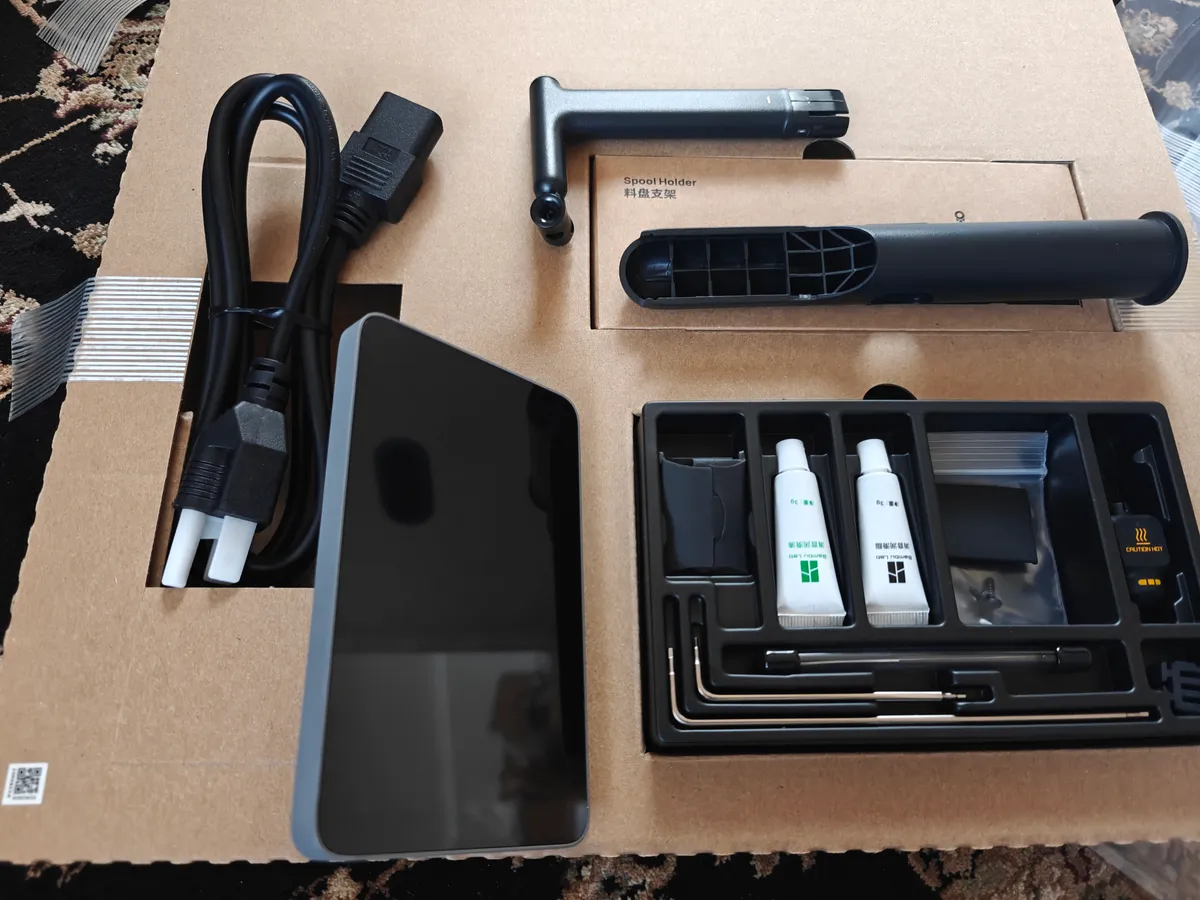
In the box: touchscreen control panel, spool holder assembly, PTFE tubing, power cable, toolkit with Allen keys and lubricants and spare parts.
Screen
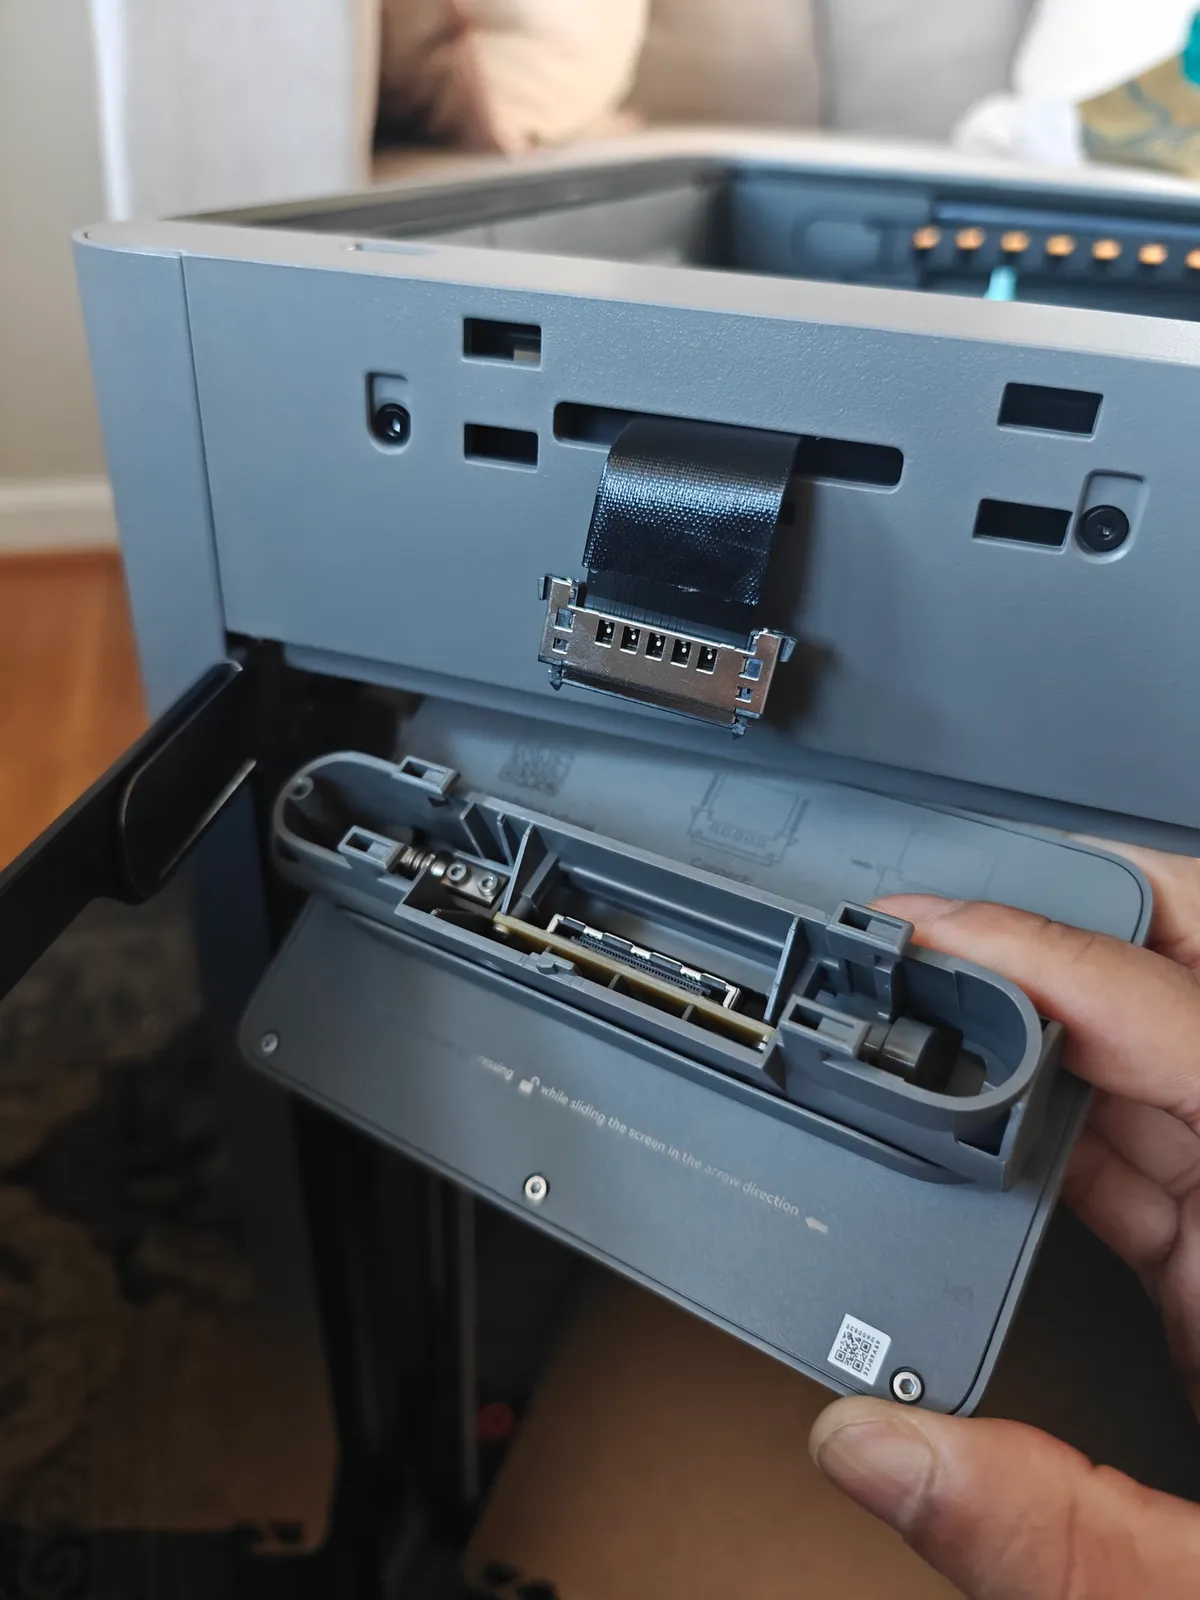
Connect the ribbon cable to the touchscreen and mount it. Straightforward. Line it up and push gently.
Spool Holder
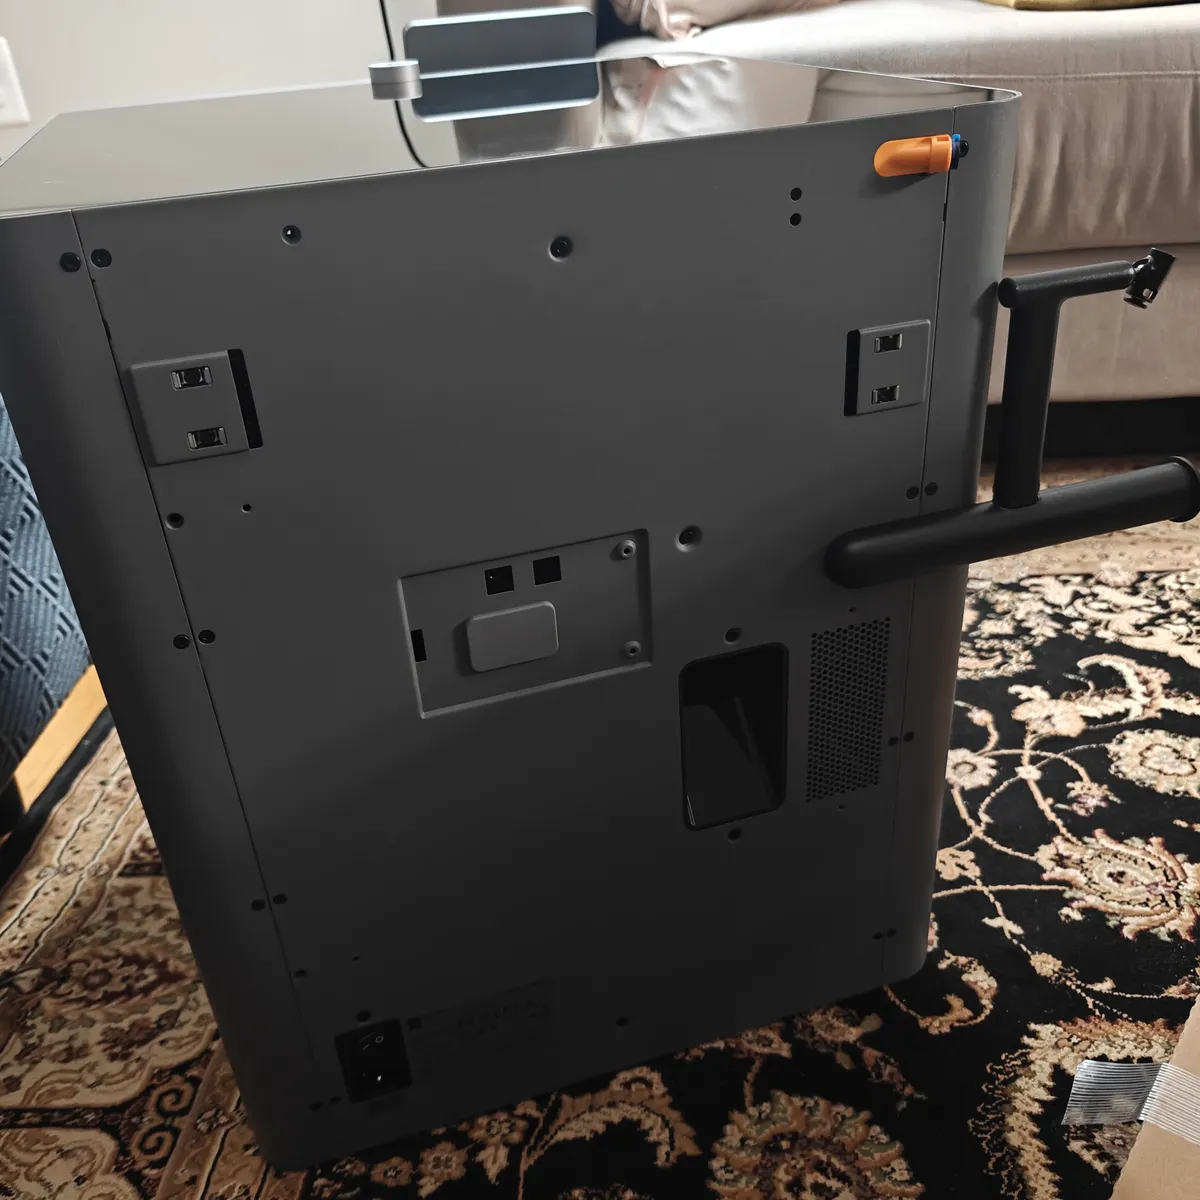
Attach the spool holder to the back and route the PTFE tube. If youre adding an AMS later this is where it connects.
First Power On
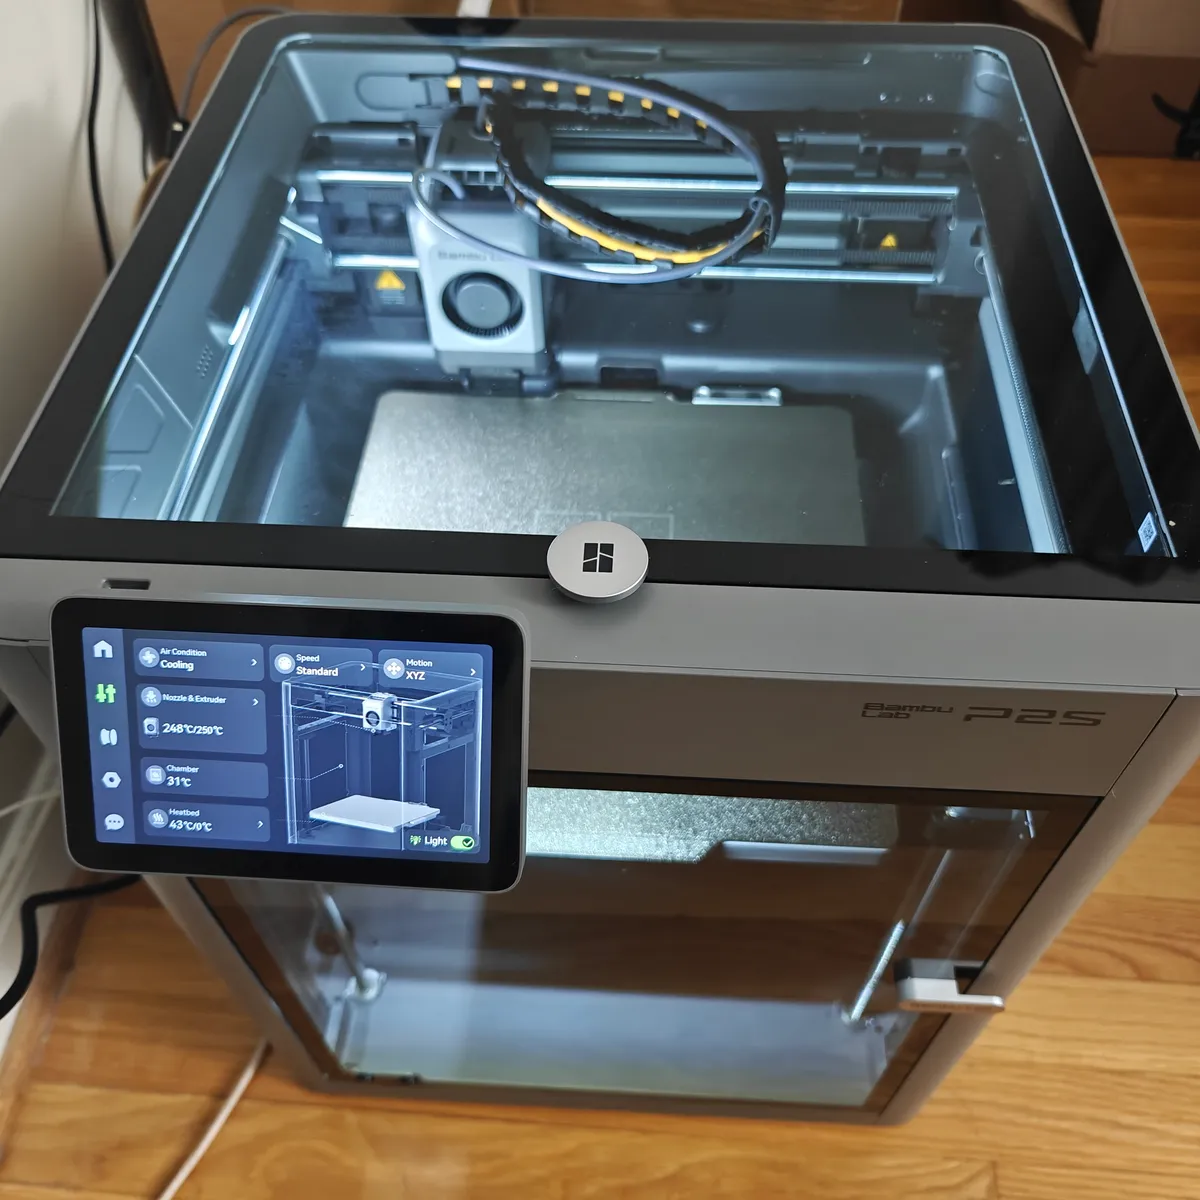
Connect to WiFi, bind to your Bambu account, let automatic calibration run. Same as other Bambu printers. Quick and painless.
Personalization
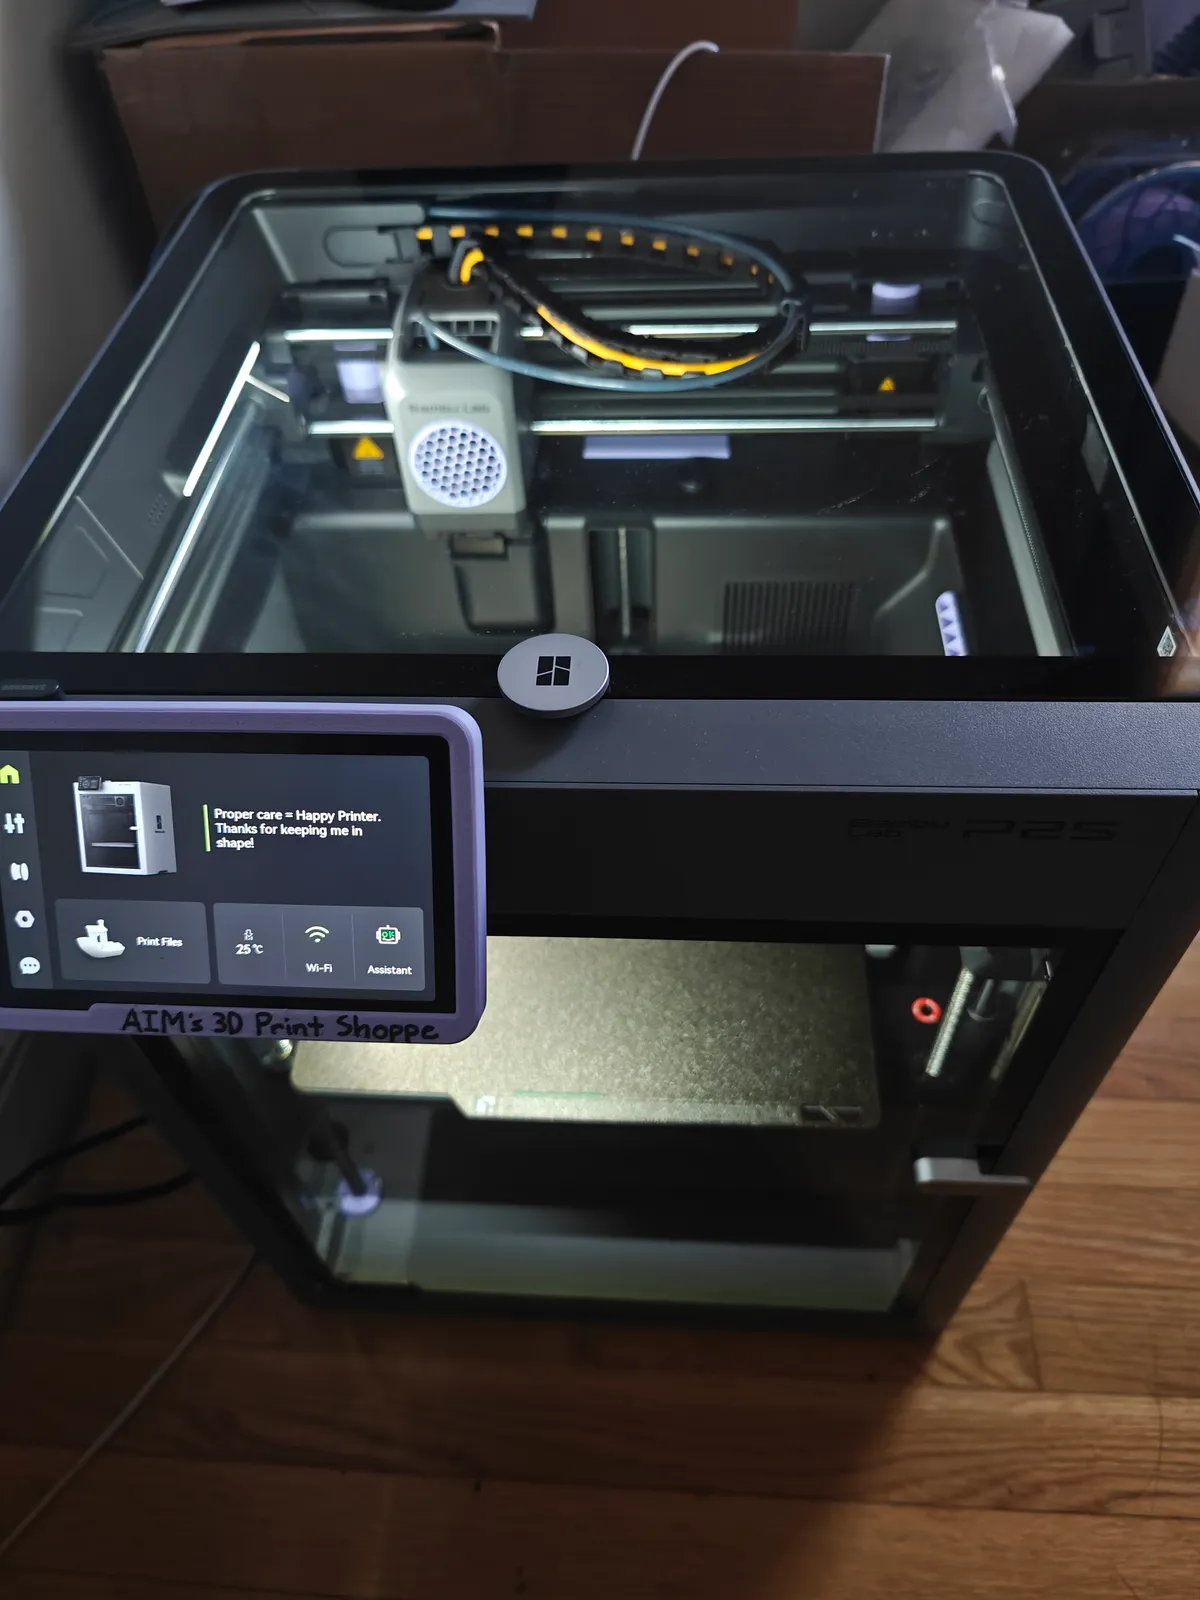
Made it mine with a periwinkle theme and some functional mods:
- Screen nameplate - custom bumper with “AIM’S 3D Print Shoppe” branding
- Extruder fan honeycomb - airflow mod that looks better than the stock grille
- Hole covers - plugged various openings inside the chamber to keep debris out
- Color coordination - all accent pieces in matching periwinkle
The P2S has several maintenance holes and cable routing gaps that collect dust and filament scraps over time. A few printed covers keeps the internals cleaner.
Specs
- Build volume: 256 x 256 x 256mm
- Enclosure: yes, heated chamber
- Max speed: 500mm/s
- Bed: textured PEI
- Connectivity: WiFi, LAN, SD
Difficulty
About 30 minutes total including unwrapping every piece of protective film. The official wiki covers each step if you want more detail.
Setup: December 9, 2025


