
What This Is
The Bambu Lab A1 Mini. If youre buying your first 3D printer in 2025, get this one. Setup is stupid simple. Screw a few things together, turn it on, calibrate, start printing. No bed leveling hell. No paper test. No weeks of tuning profiles.
Setup
Unboxing
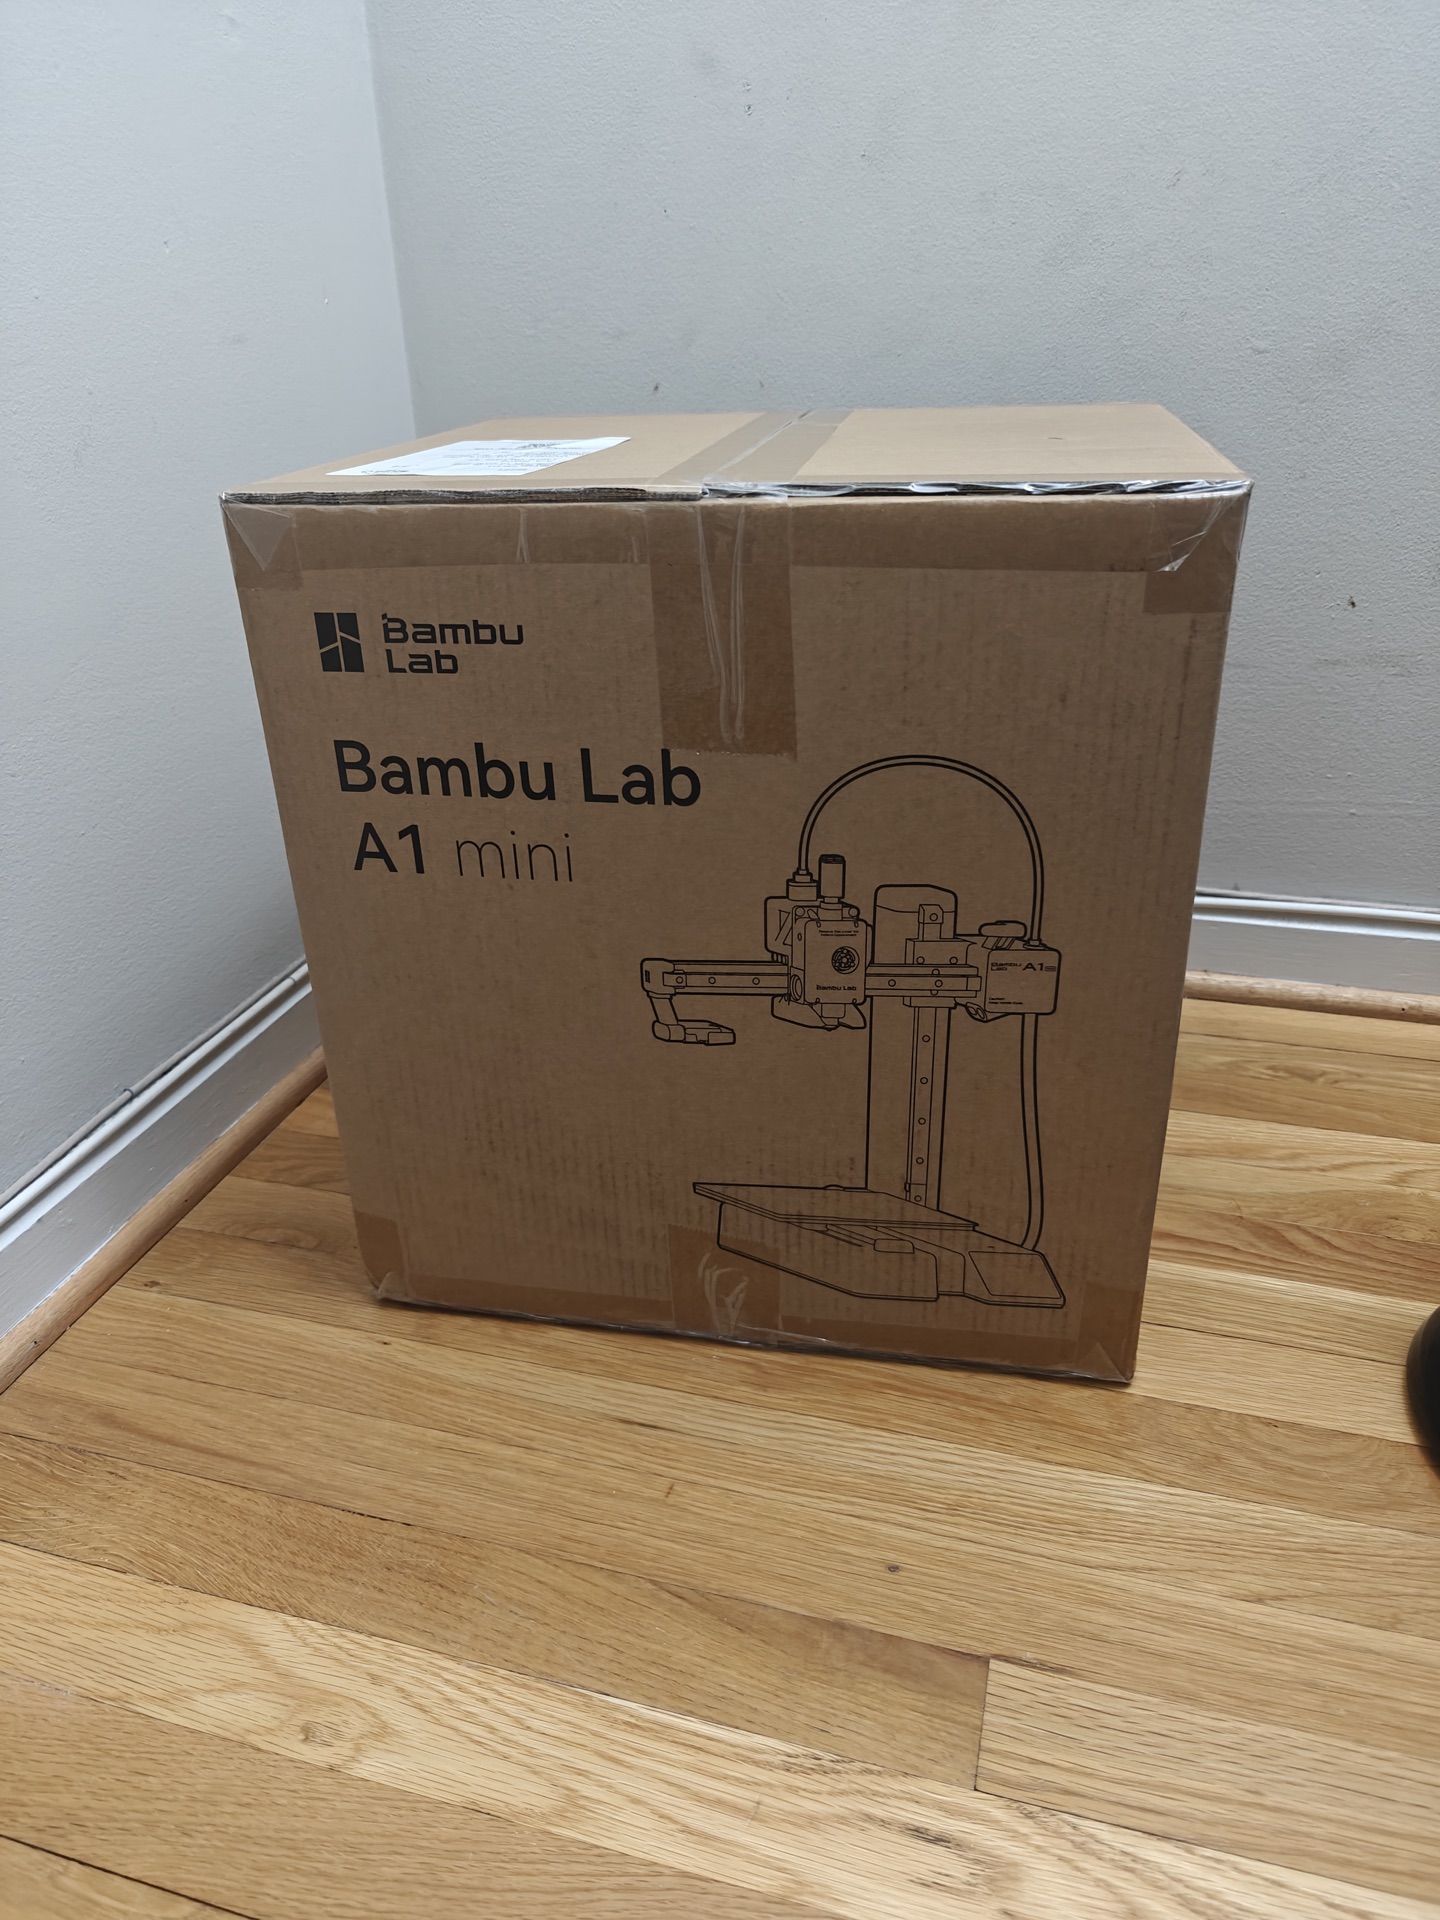
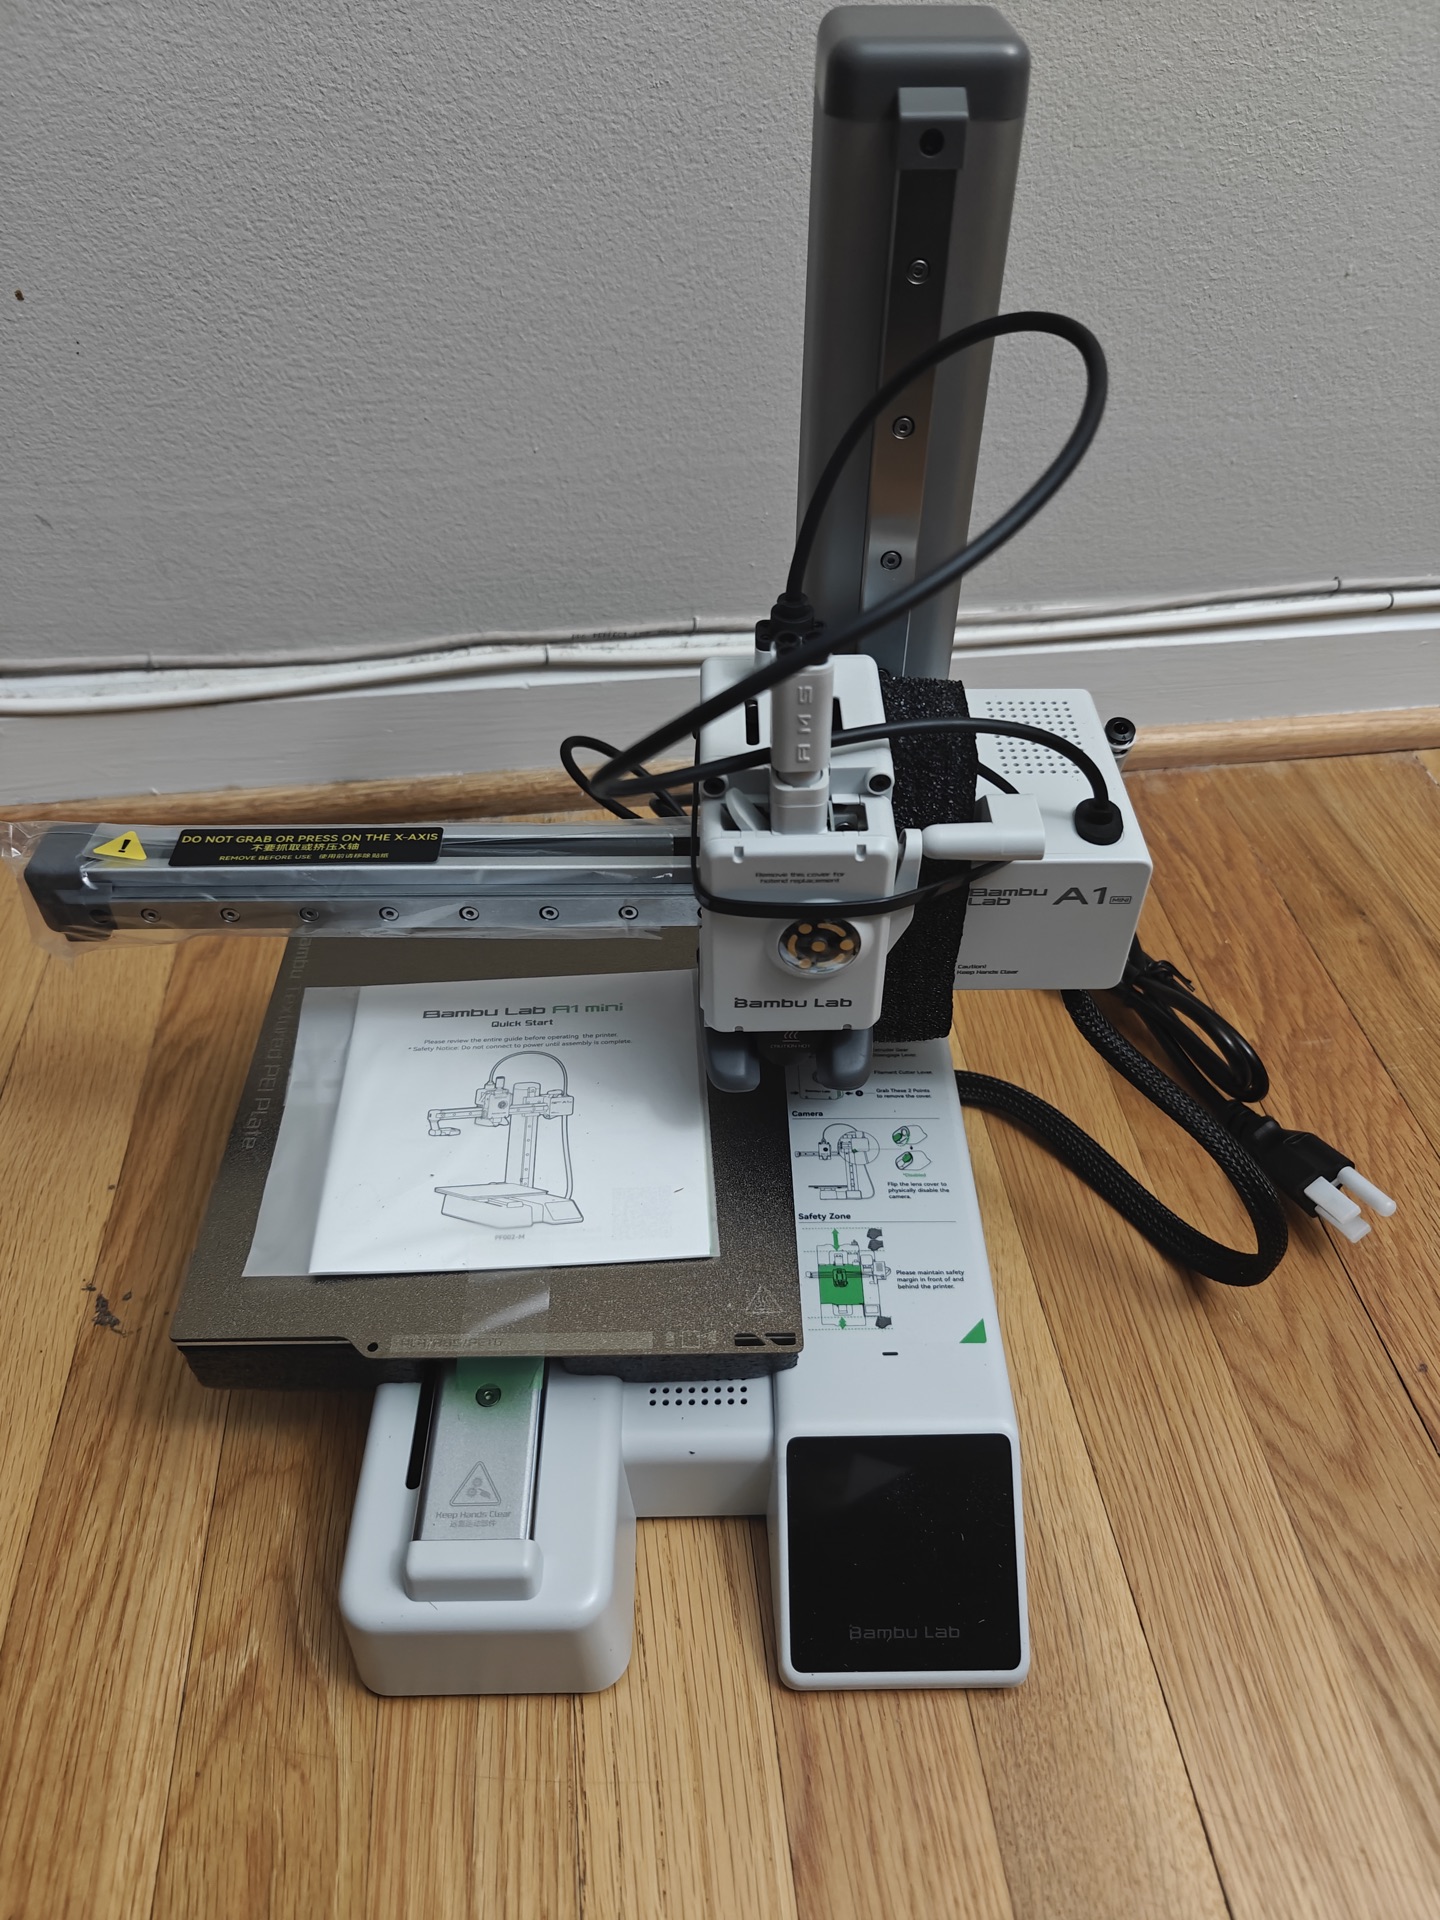
Remove foam packing. Cut zip ties on the toolhead. Install the purge wiper, spool holder, tighten three heatbed screws. Maybe 15 minutes total.
Network

Plug in power, flip the switch, connect to WiFi via the touchscreen. Download Bambu Handy app, scan the QR code, bind to your account. Calibration runs automatically. Some vibration and noise during this part is normal.
Filament
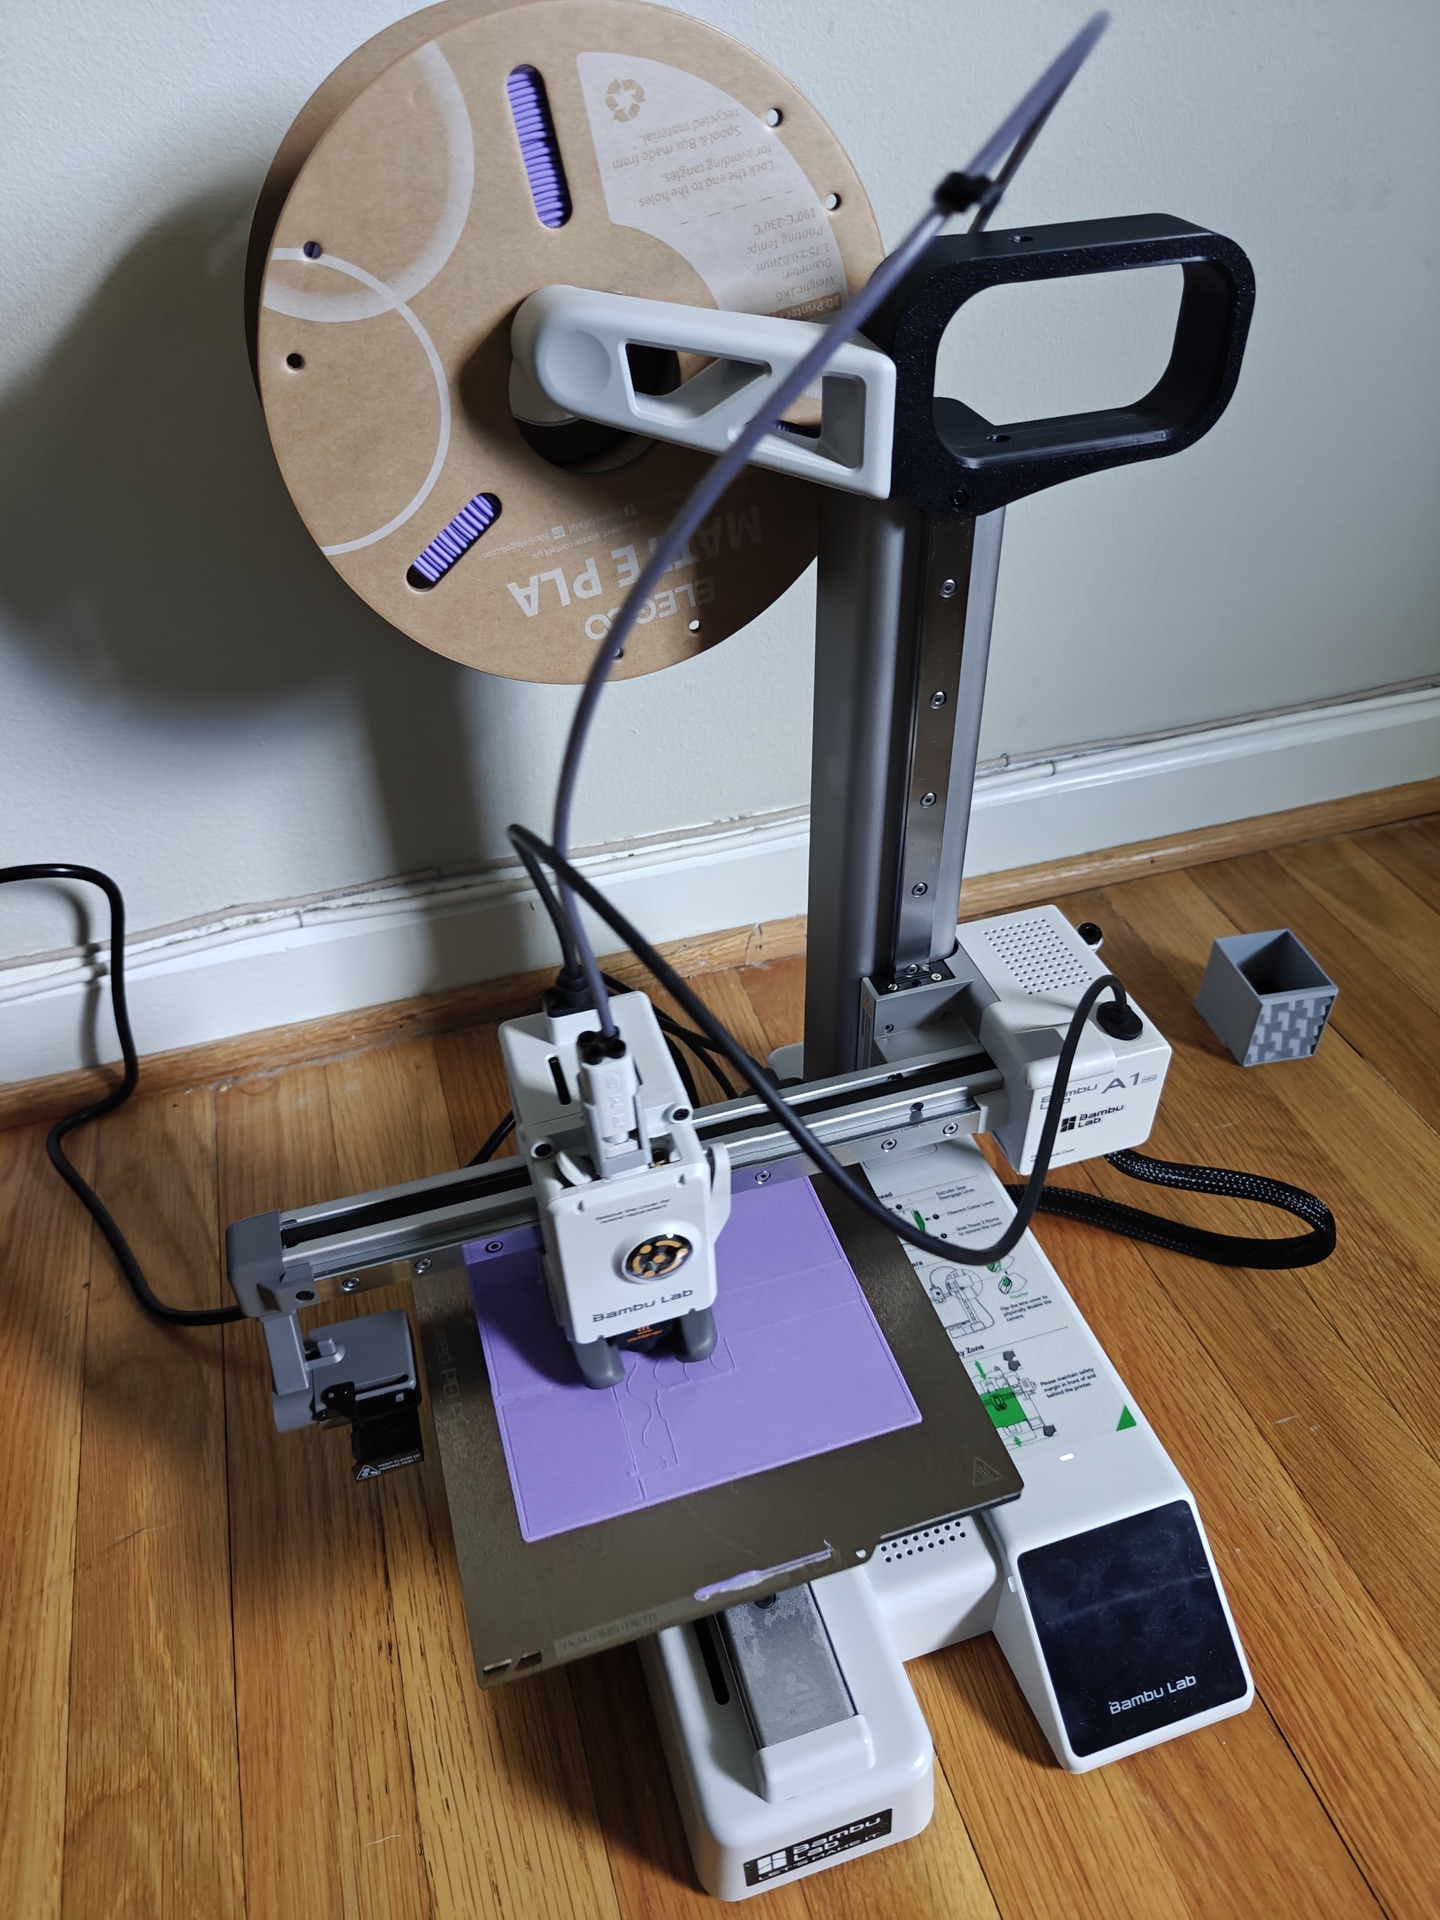
Connect PTFE tube from spool holder to toolhead. Hang filament, feed it through, printer pulls it in automatically.
Done. Seriously. Thats the whole setup.
First Prints
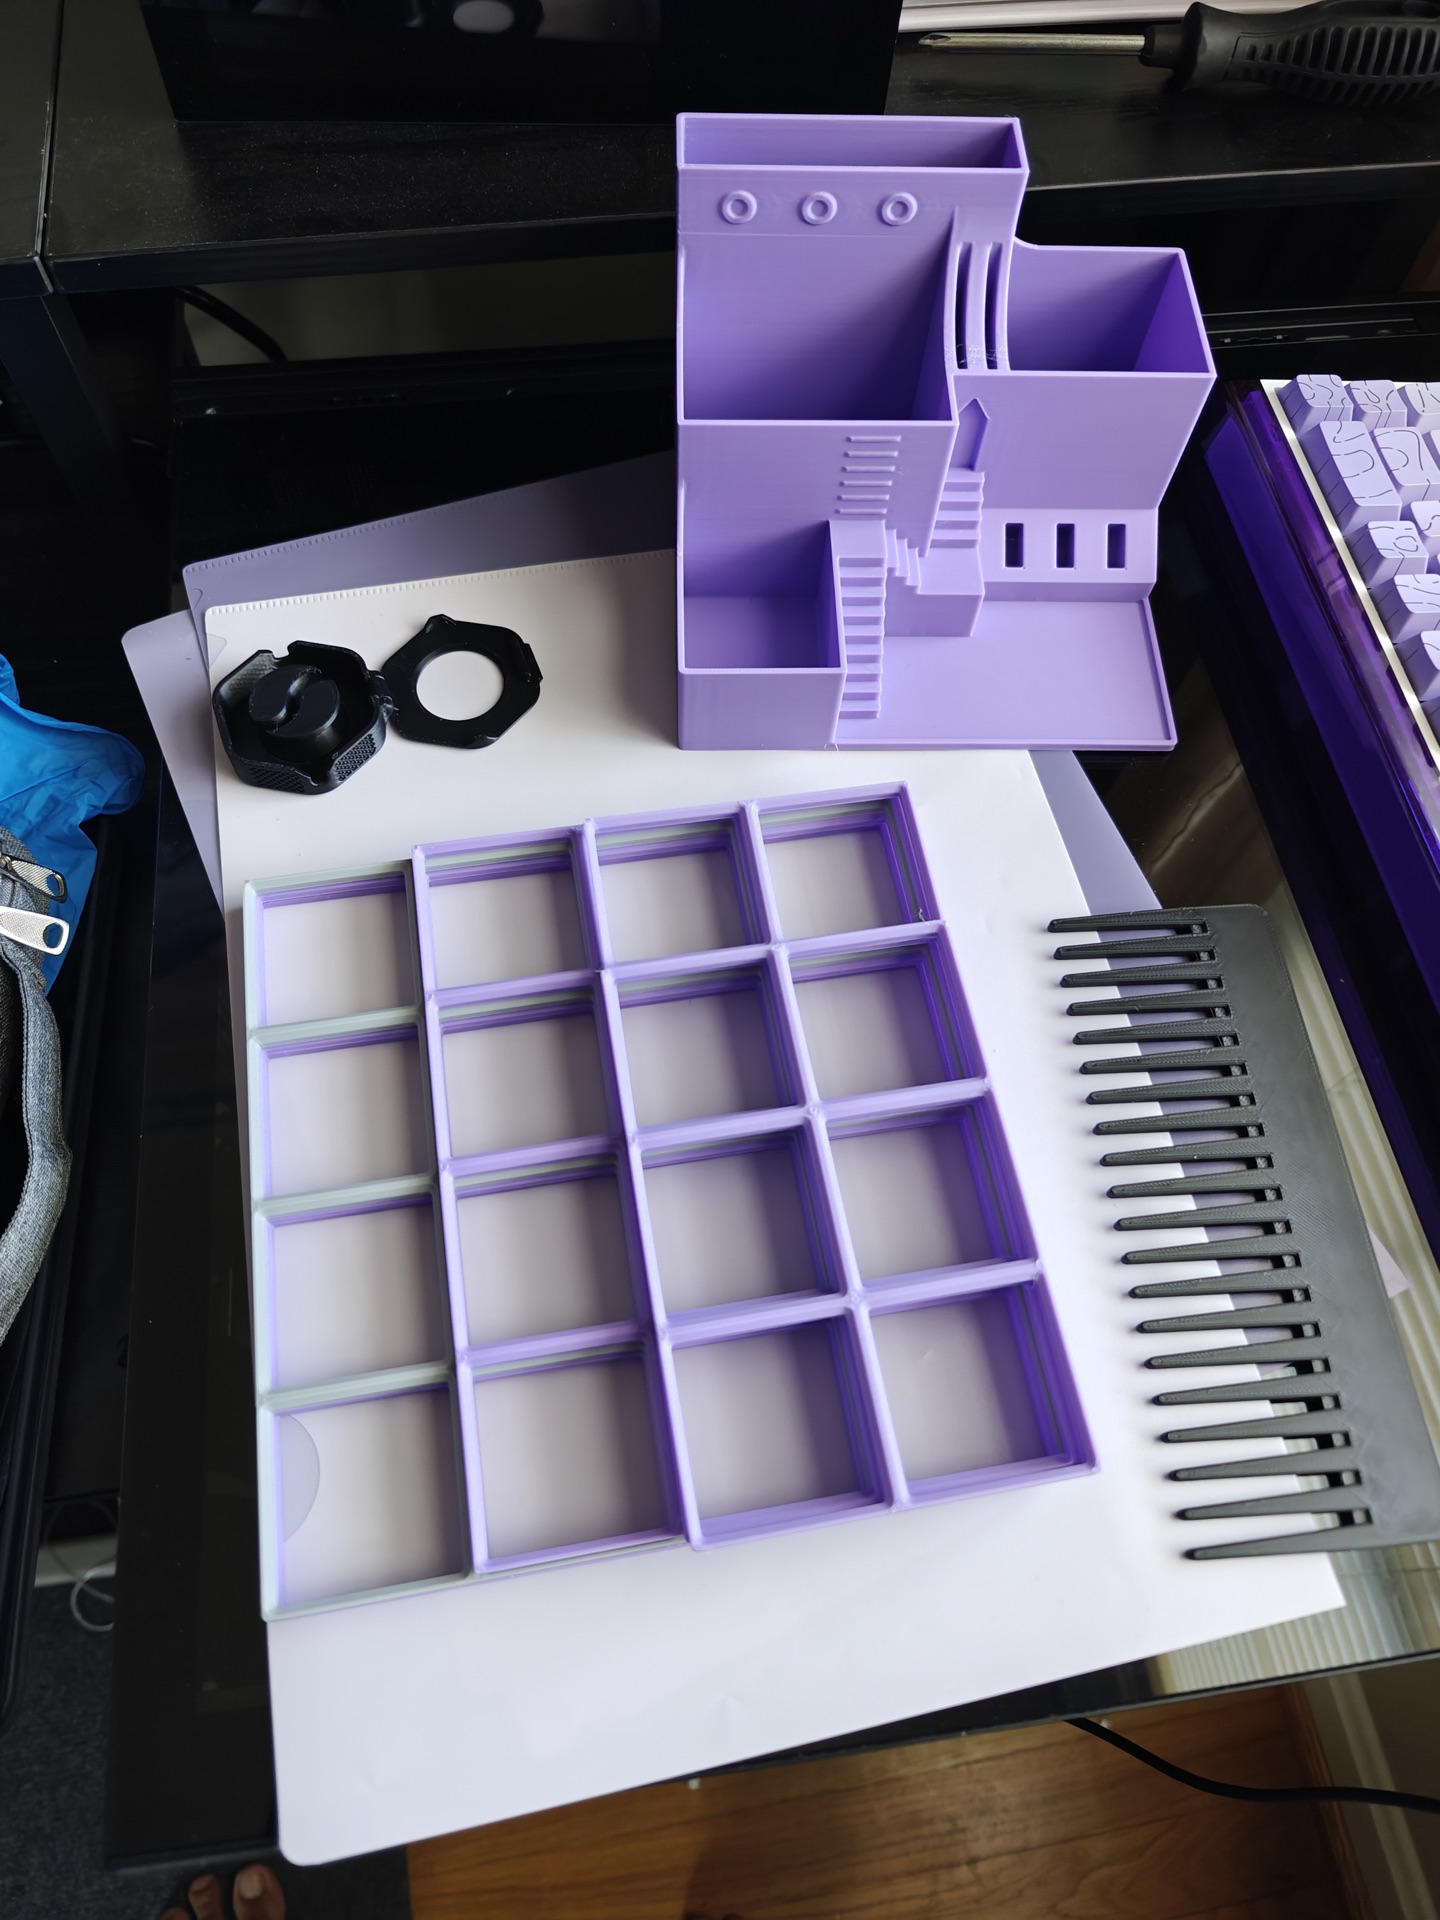
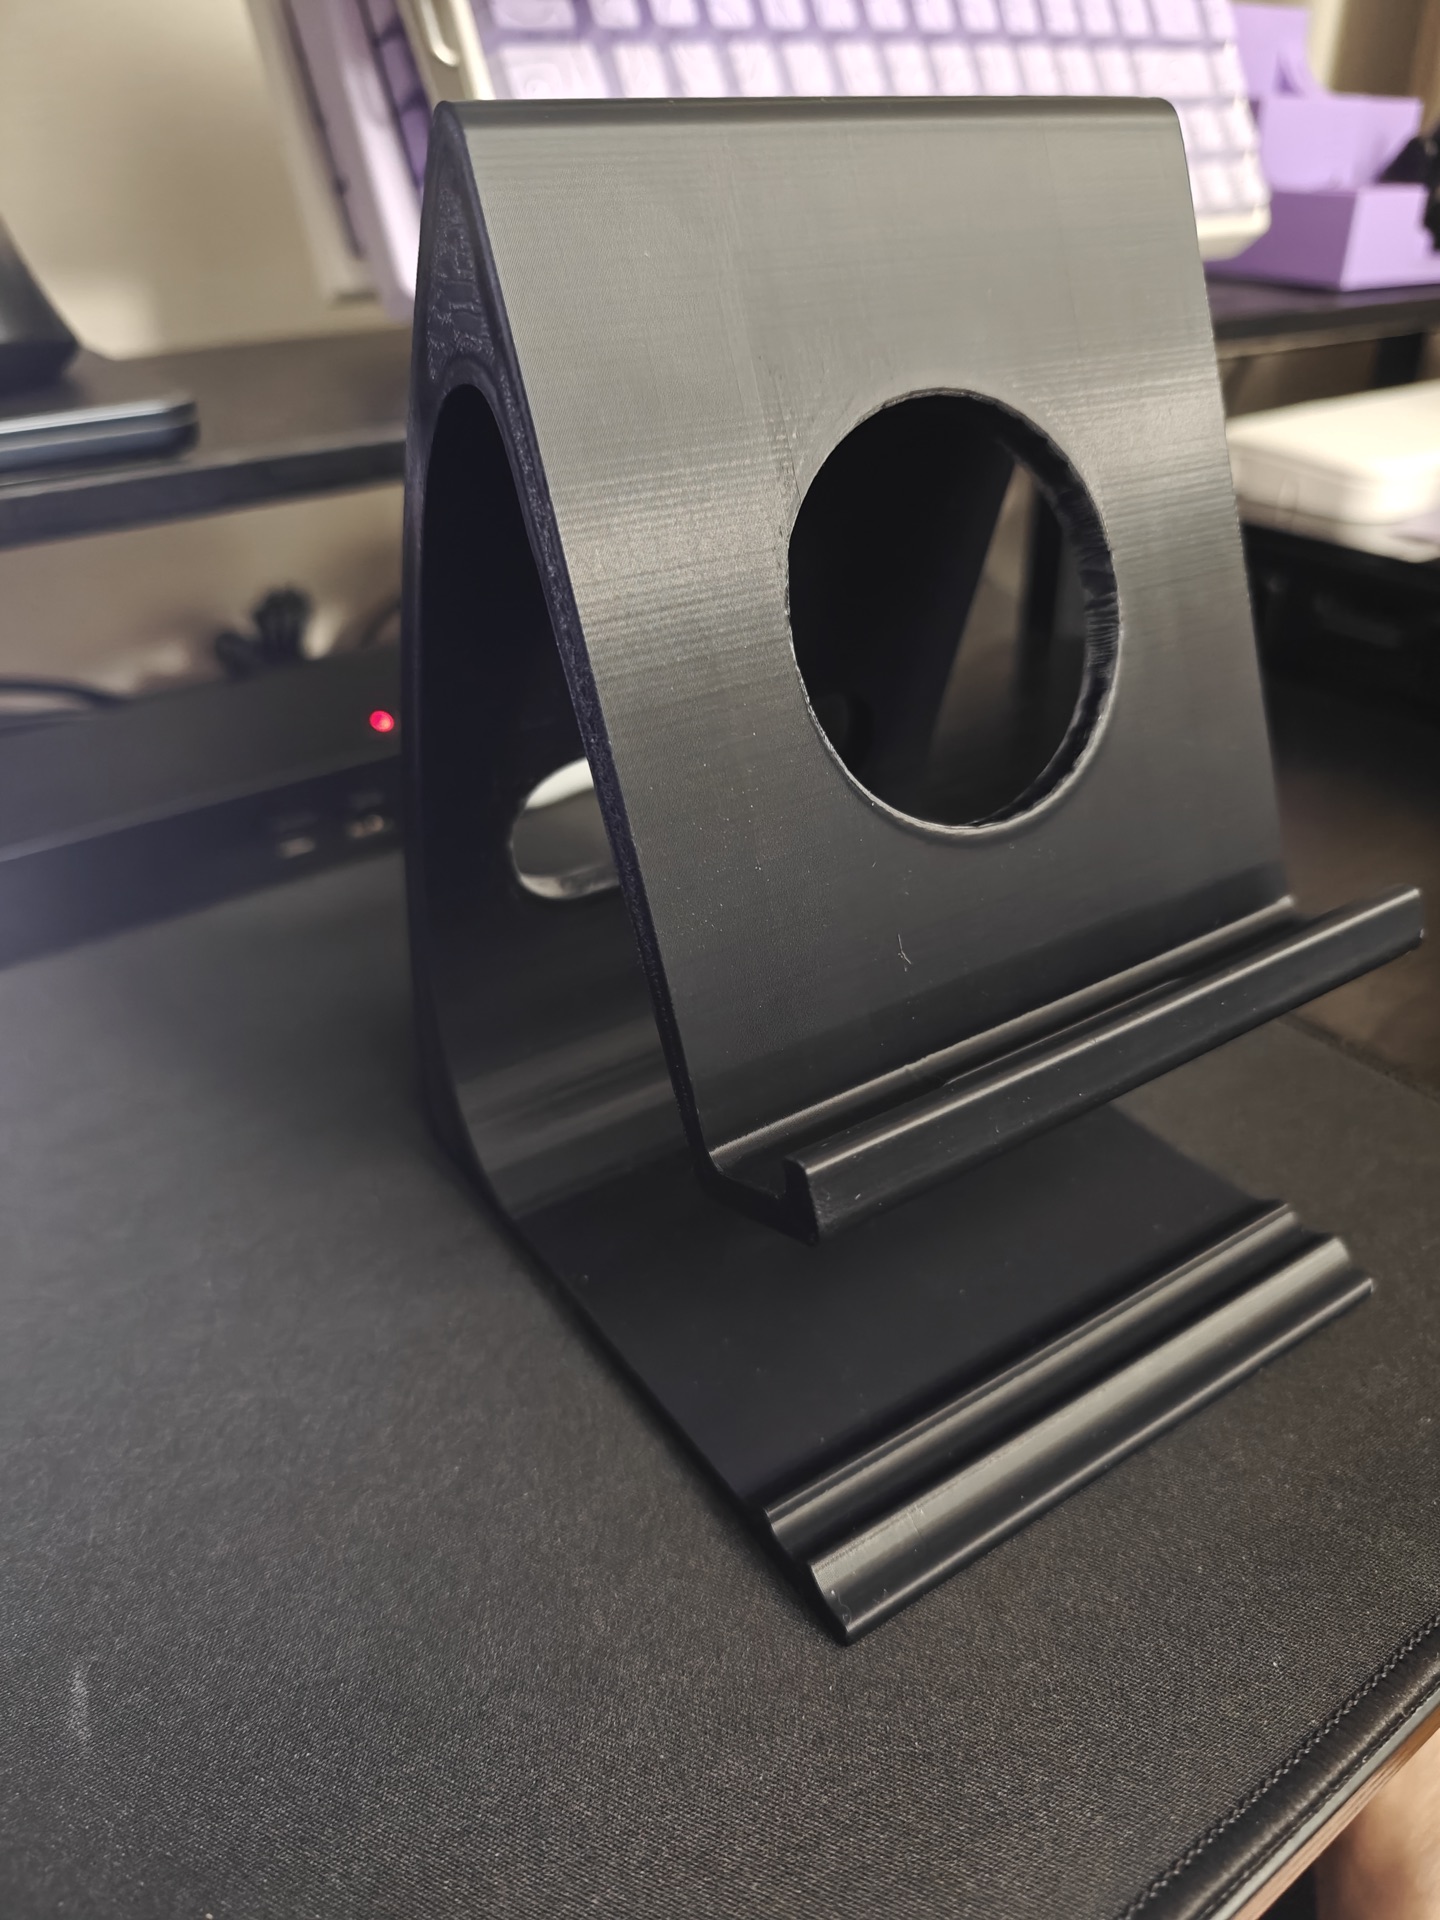
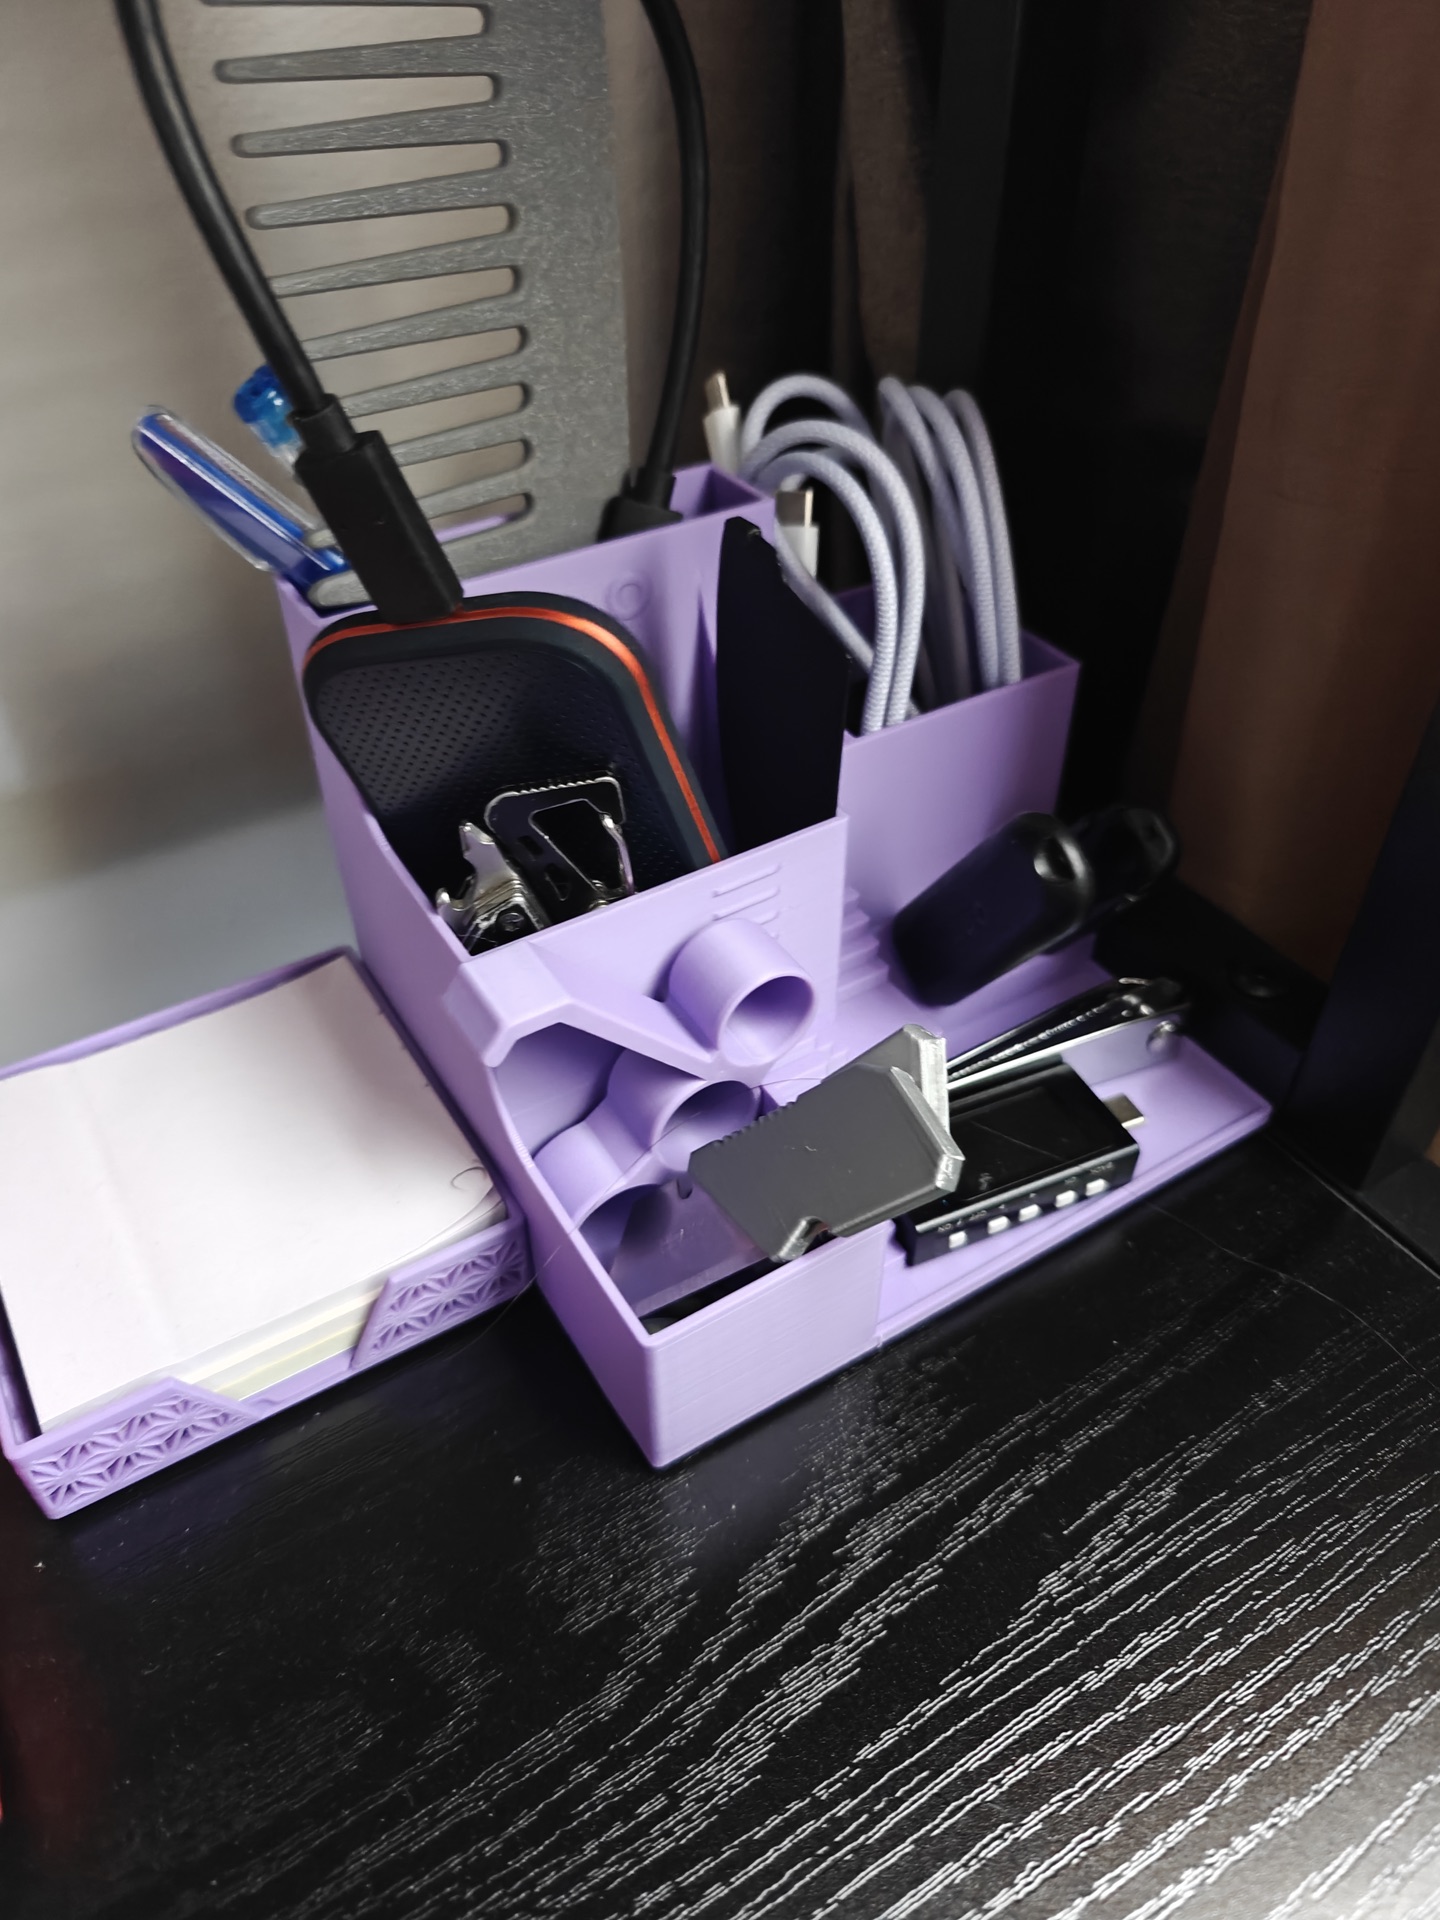
I immediately started printing organizational stuff. Cable organizers, pen holders, desk clips, all in basic PLA.

The OpenGrid and Multiboard ecosystem is great for modular desk organization. Print bases, snap accessories in, rearrange whenever.

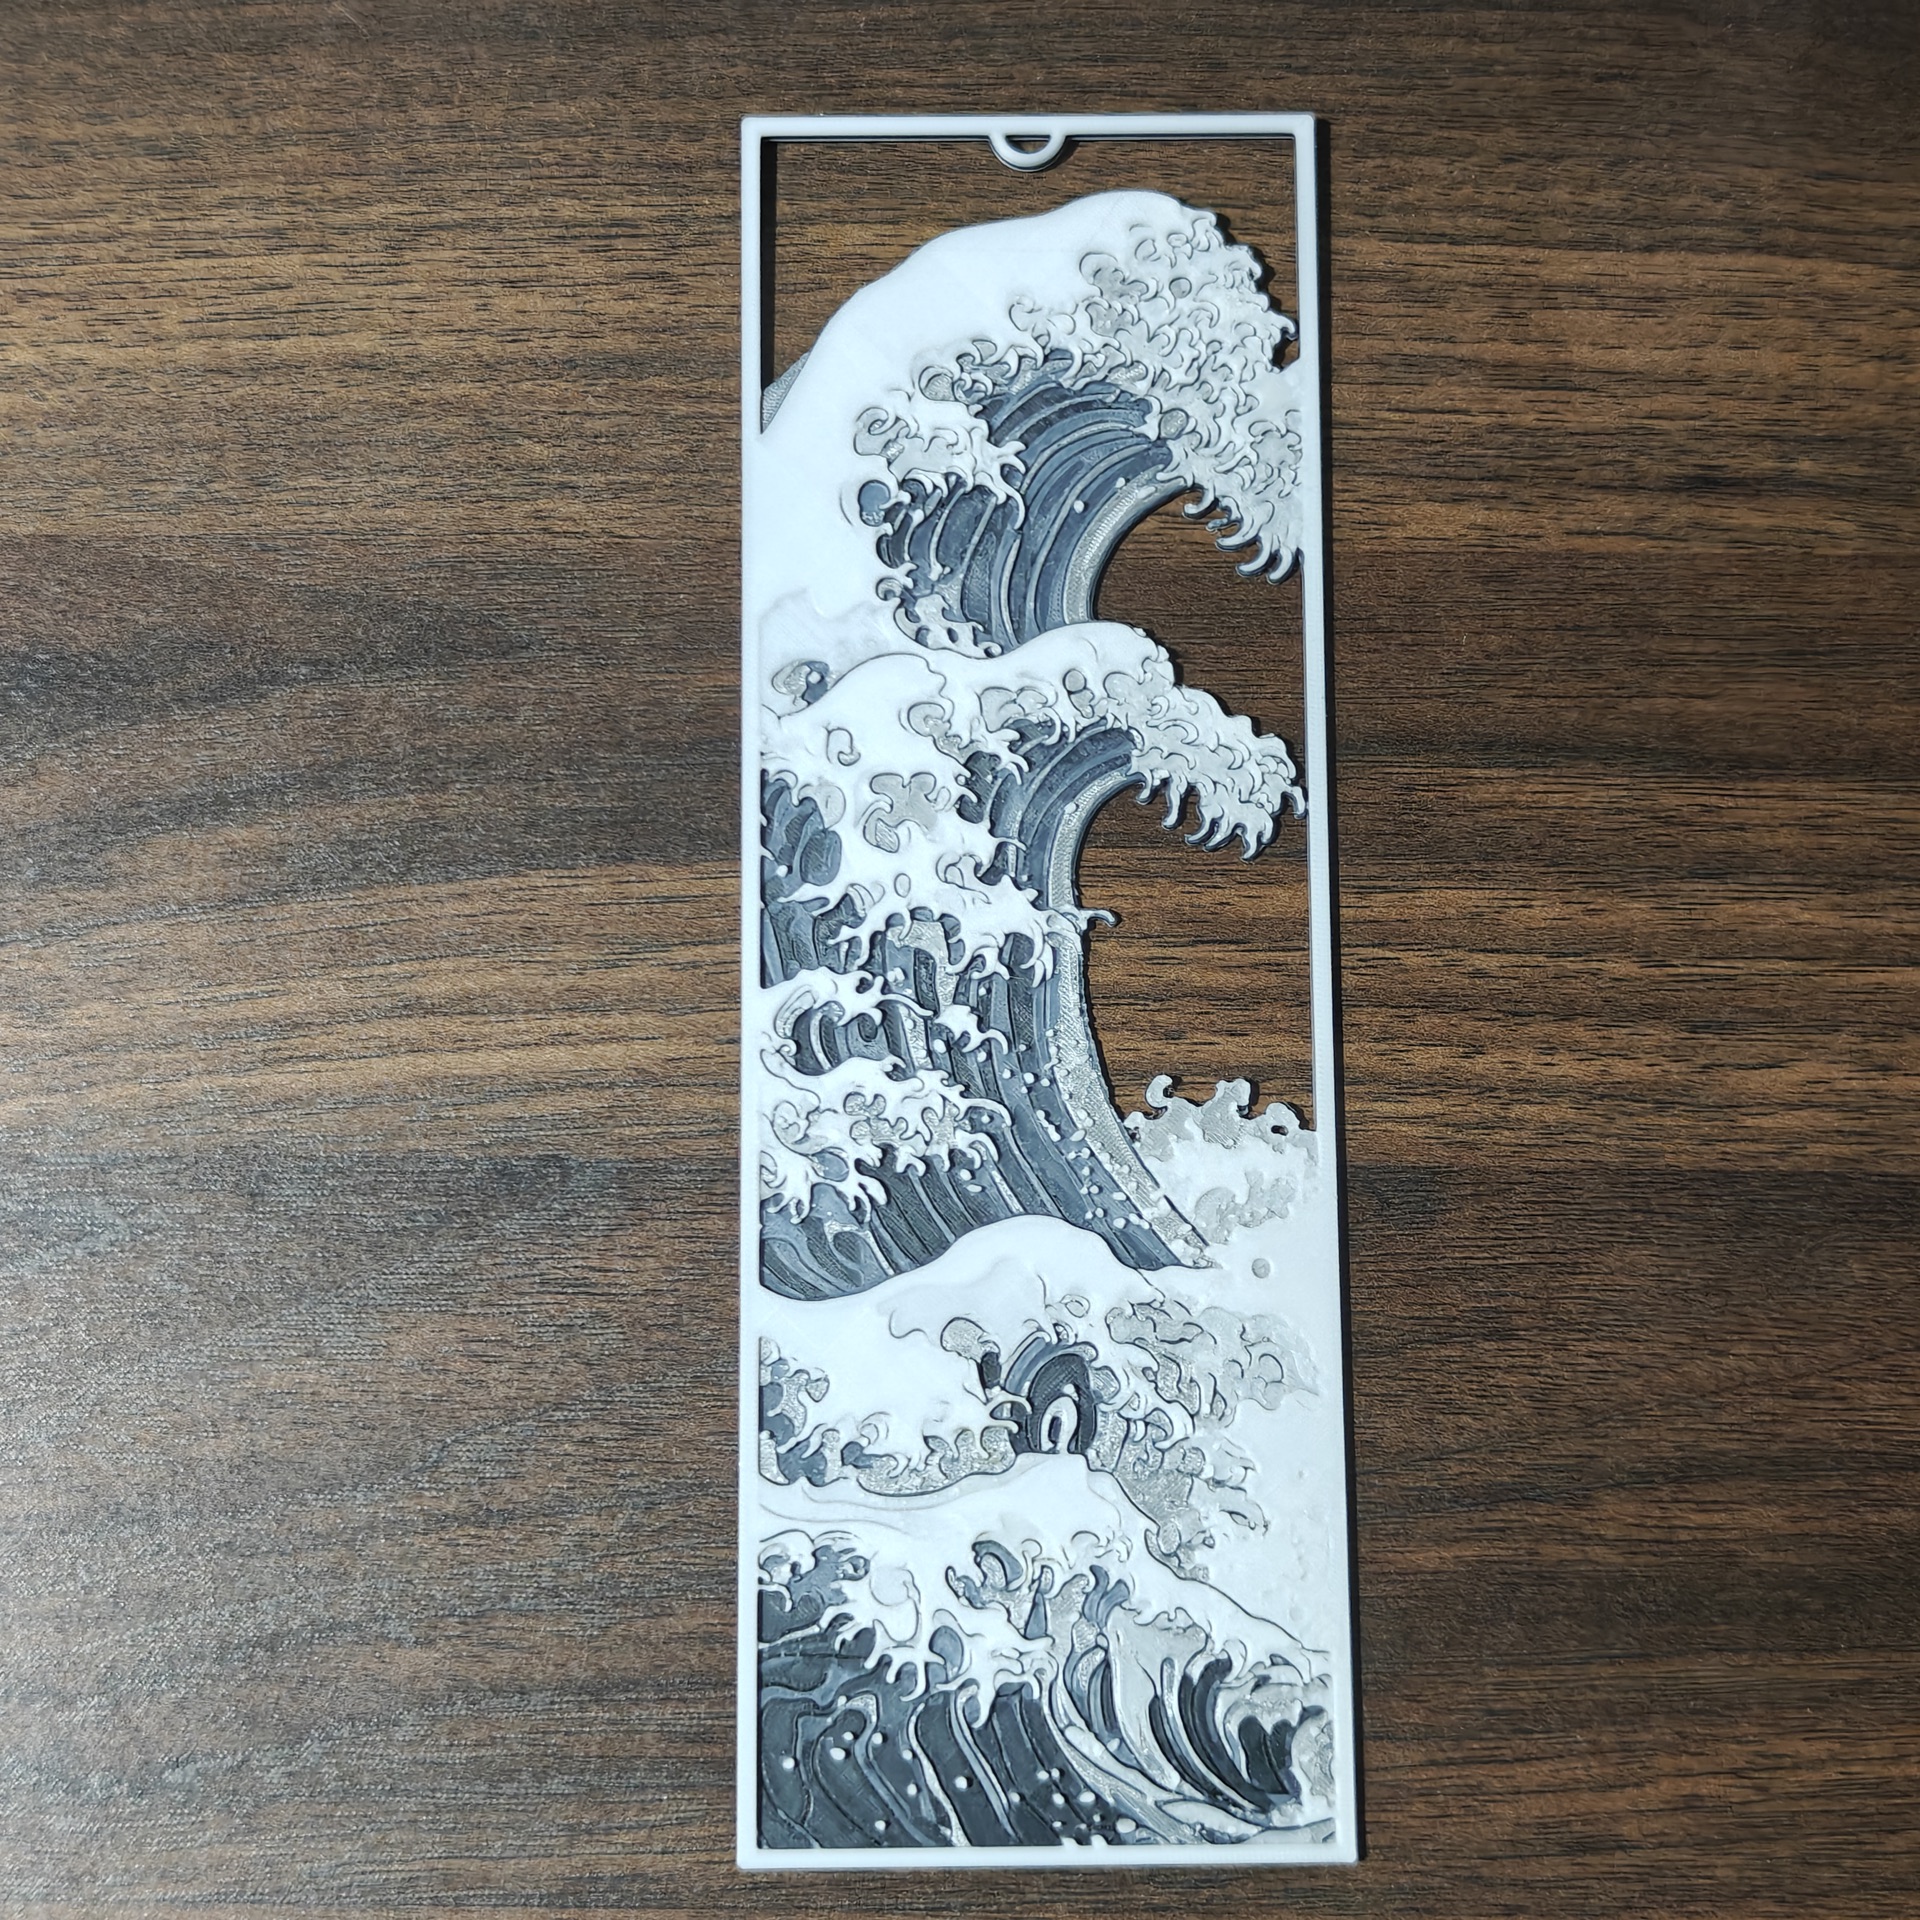
Print Quality
Out of the box quality is excellent. No tuning needed. The auto calibration actually works unlike every other printer Ive used where “auto” bed leveling still needed manual tweaking.
The Specs
- Build volume: 180 x 180 x 180mm
- Max speed: 500mm/s (fast mode), 300mm/s normal
- WiFi built in with app control
- SD card slot as backup
- PLA, PETG, TPU, ABS support with auto-detection
- Active vibration compensation
- Built-in camera for remote monitoring
Noise is around 48dB during operation. Quieter than most printers Ive been around.
Why Its Great for Beginners
Whats easy:
- Minimal assembly. Five screws total.
- Auto calibration and bed leveling. Actually works.
- WiFi control from your phone. No SD card shuffle.
- Pre-configured filament profiles. Pick your material, it just works.
- Fast prints keep you engaged. Youre not waiting hours for a benchy.
Whats missing (in a good way):
- No manual bed leveling to waste hours on
- No paper test nonsense
- No PID tuning
- No hunting for profiles online
- No guessing at speeds
Comparison
- Ender 3: Build from parts, level bed manually, tune for weeks
- Prusa Mini: Better than Ender but still needs some dialing in
- A1 Mini: Screw five things together, turn on, print quality parts in 30 minutes
Cost
Base printer runs about $200-250. AMS Lite addon is another ~$120 if you want multi-color. Total investment $200-370 depending on config.
Cheaper than a Prusa Mini (~$400). Better than any Creality at this price. Actually works unlike the sub-$200 printers that are more frustration than fun.
Tips
- Use Bambu filament first. Their PLA just works. Learn on reliable material.
- Clean the bed with isopropyl alcohol before first print.
- The app camera monitoring is actually useful. Watch from your phone.
- Start with the pre-loaded test prints. They validate everything works.
Final Word
The A1 Mini removes basically every traditional 3D printer pain point. You unbox it, spend 15 minutes on hardware, 5 minutes on network, and youre printing quality parts. No bed leveling hell. No endless calibration. No profile hunting.
The only downside is the 180mm build volume. For anything bigger you need a larger printer. For functional prints, organizers, phone stands, small parts - its plenty.
This is what 3D printing should have been from the start. Accessible, reliable, frustration-free.
Setup: July 27, 2025 First prints: Workspace organization Status: Still printing, zero issues


