
What This Is
I wanted to build a keyboard from scratch. The GMK67 was perfect for a first build - hot-swap PCB so no soldering, straightforward assembly, and cheap enough that mistakes wouldnt hurt.
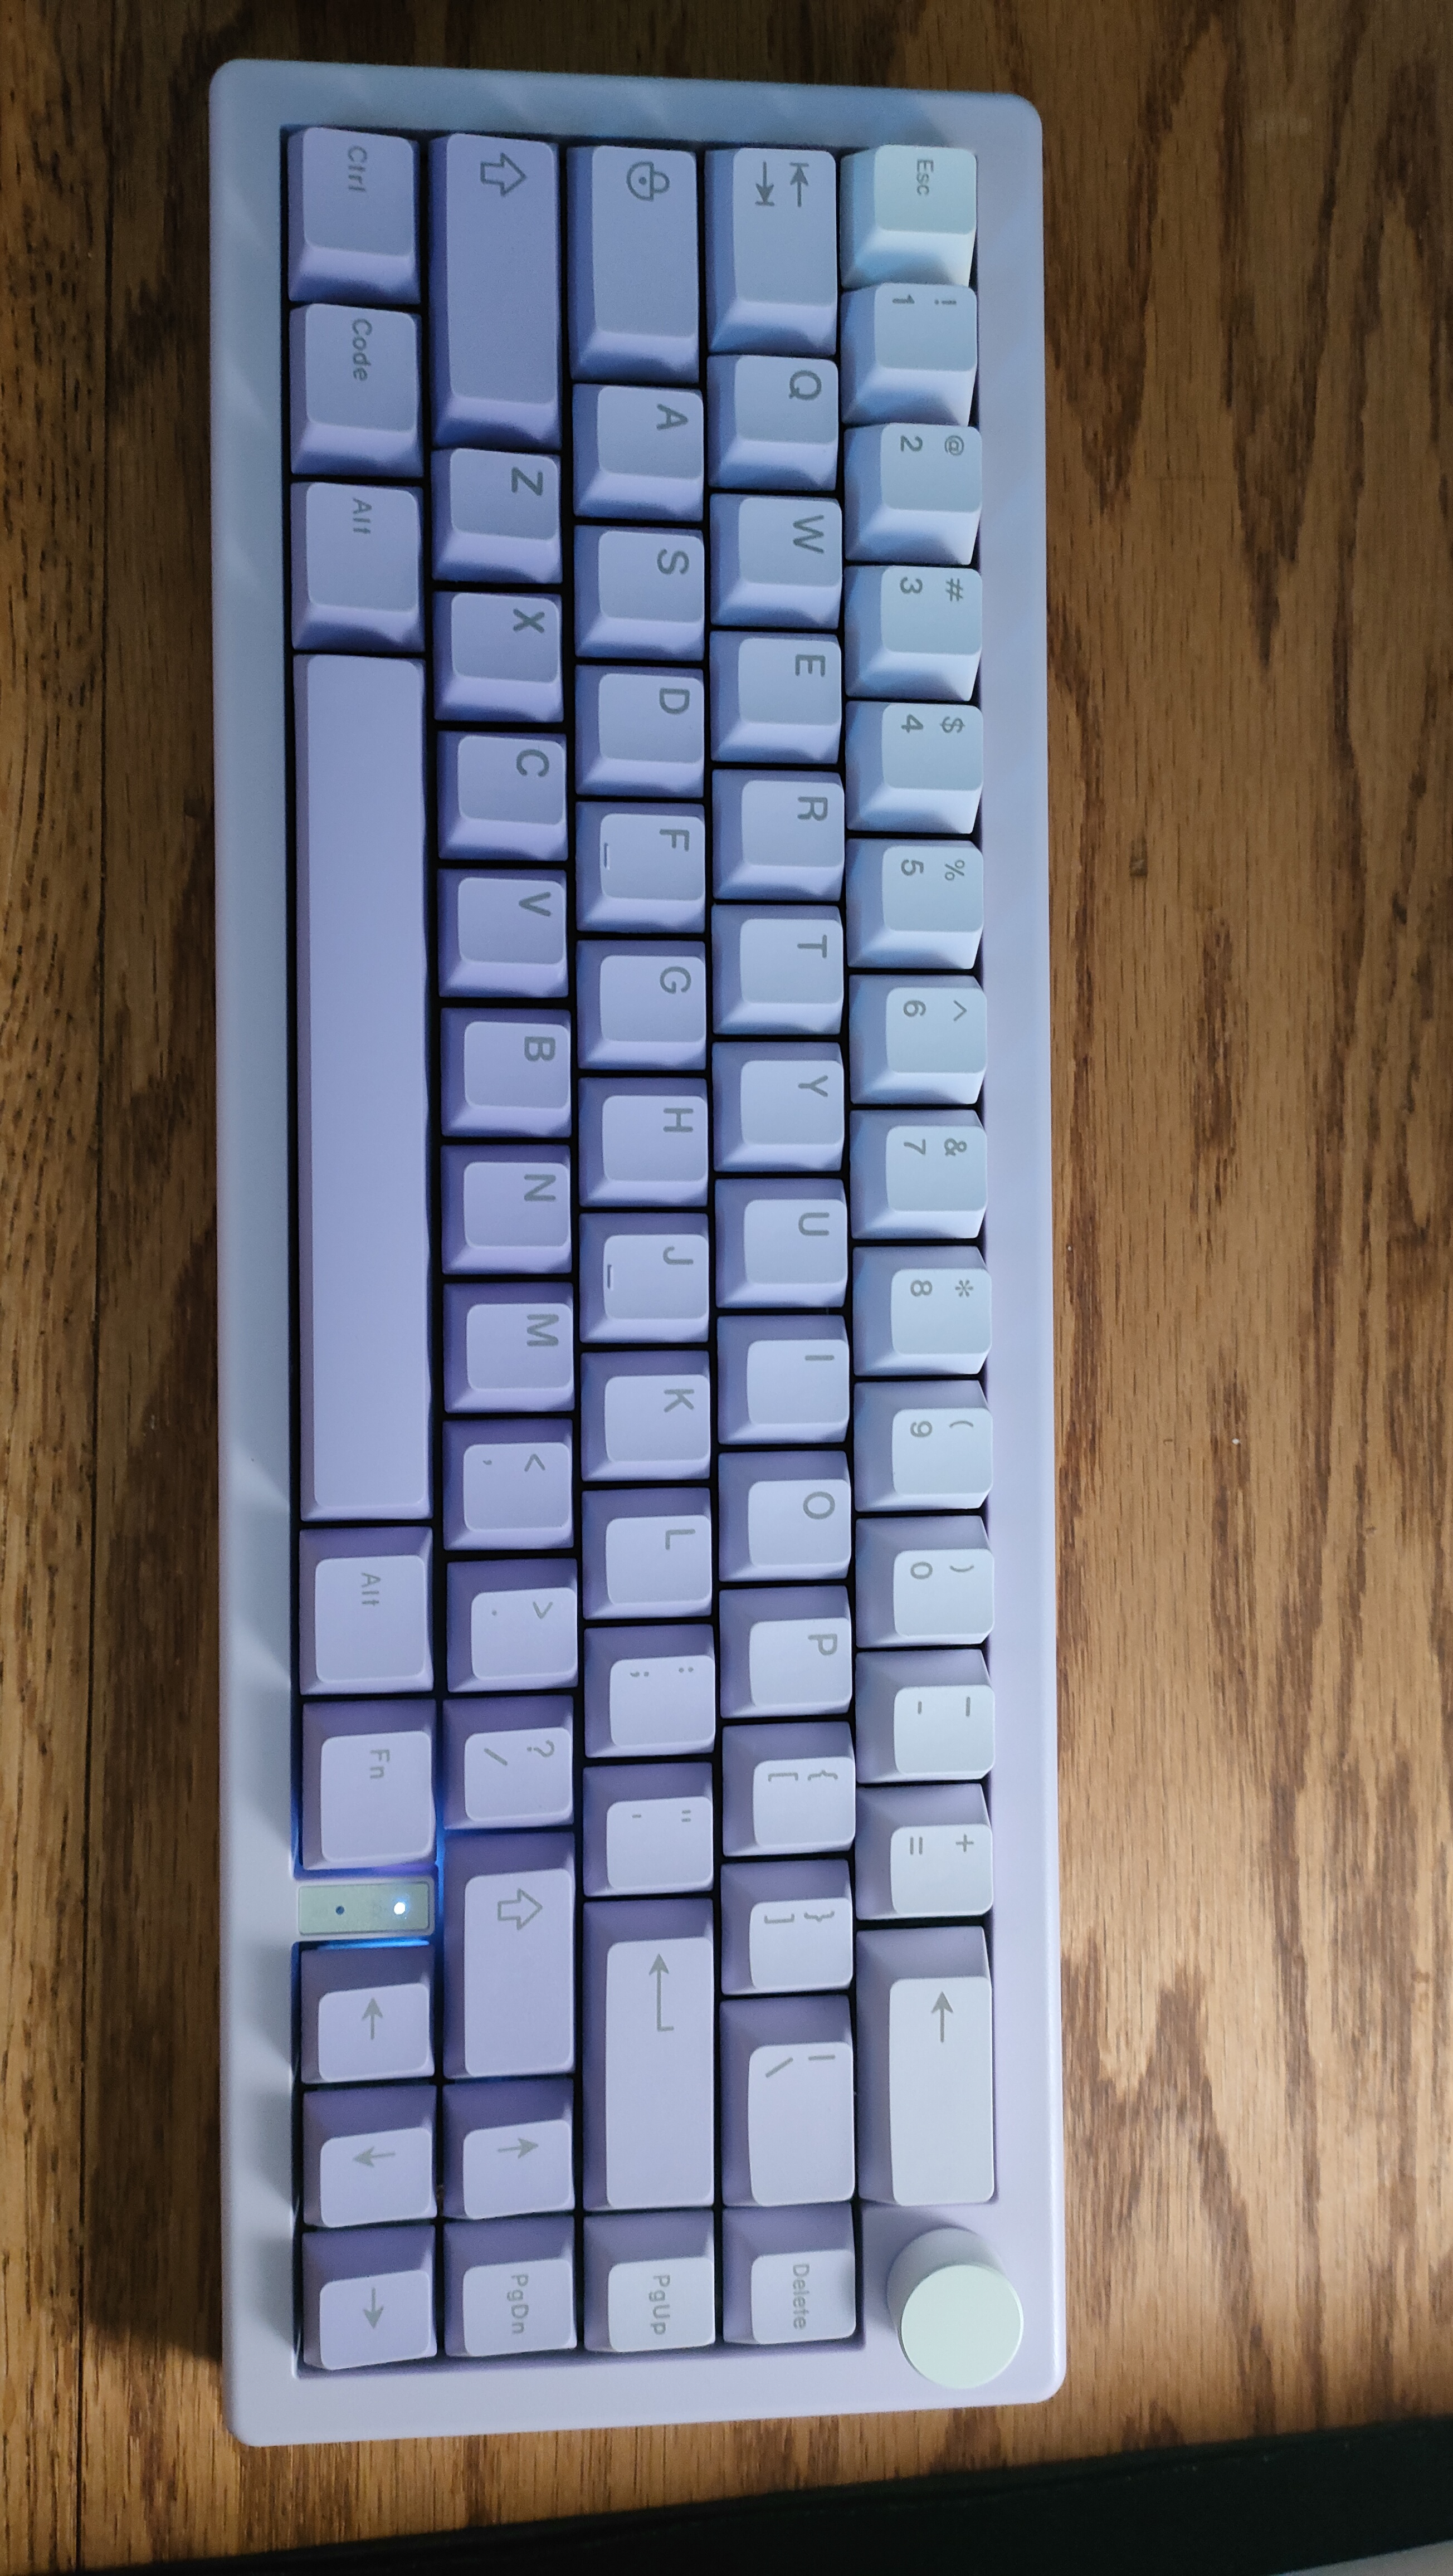
The idea was lavender everything. Linear switches for letters, tactile for modifiers, lavender gradient keycaps. Total cost around $130.
The Parts
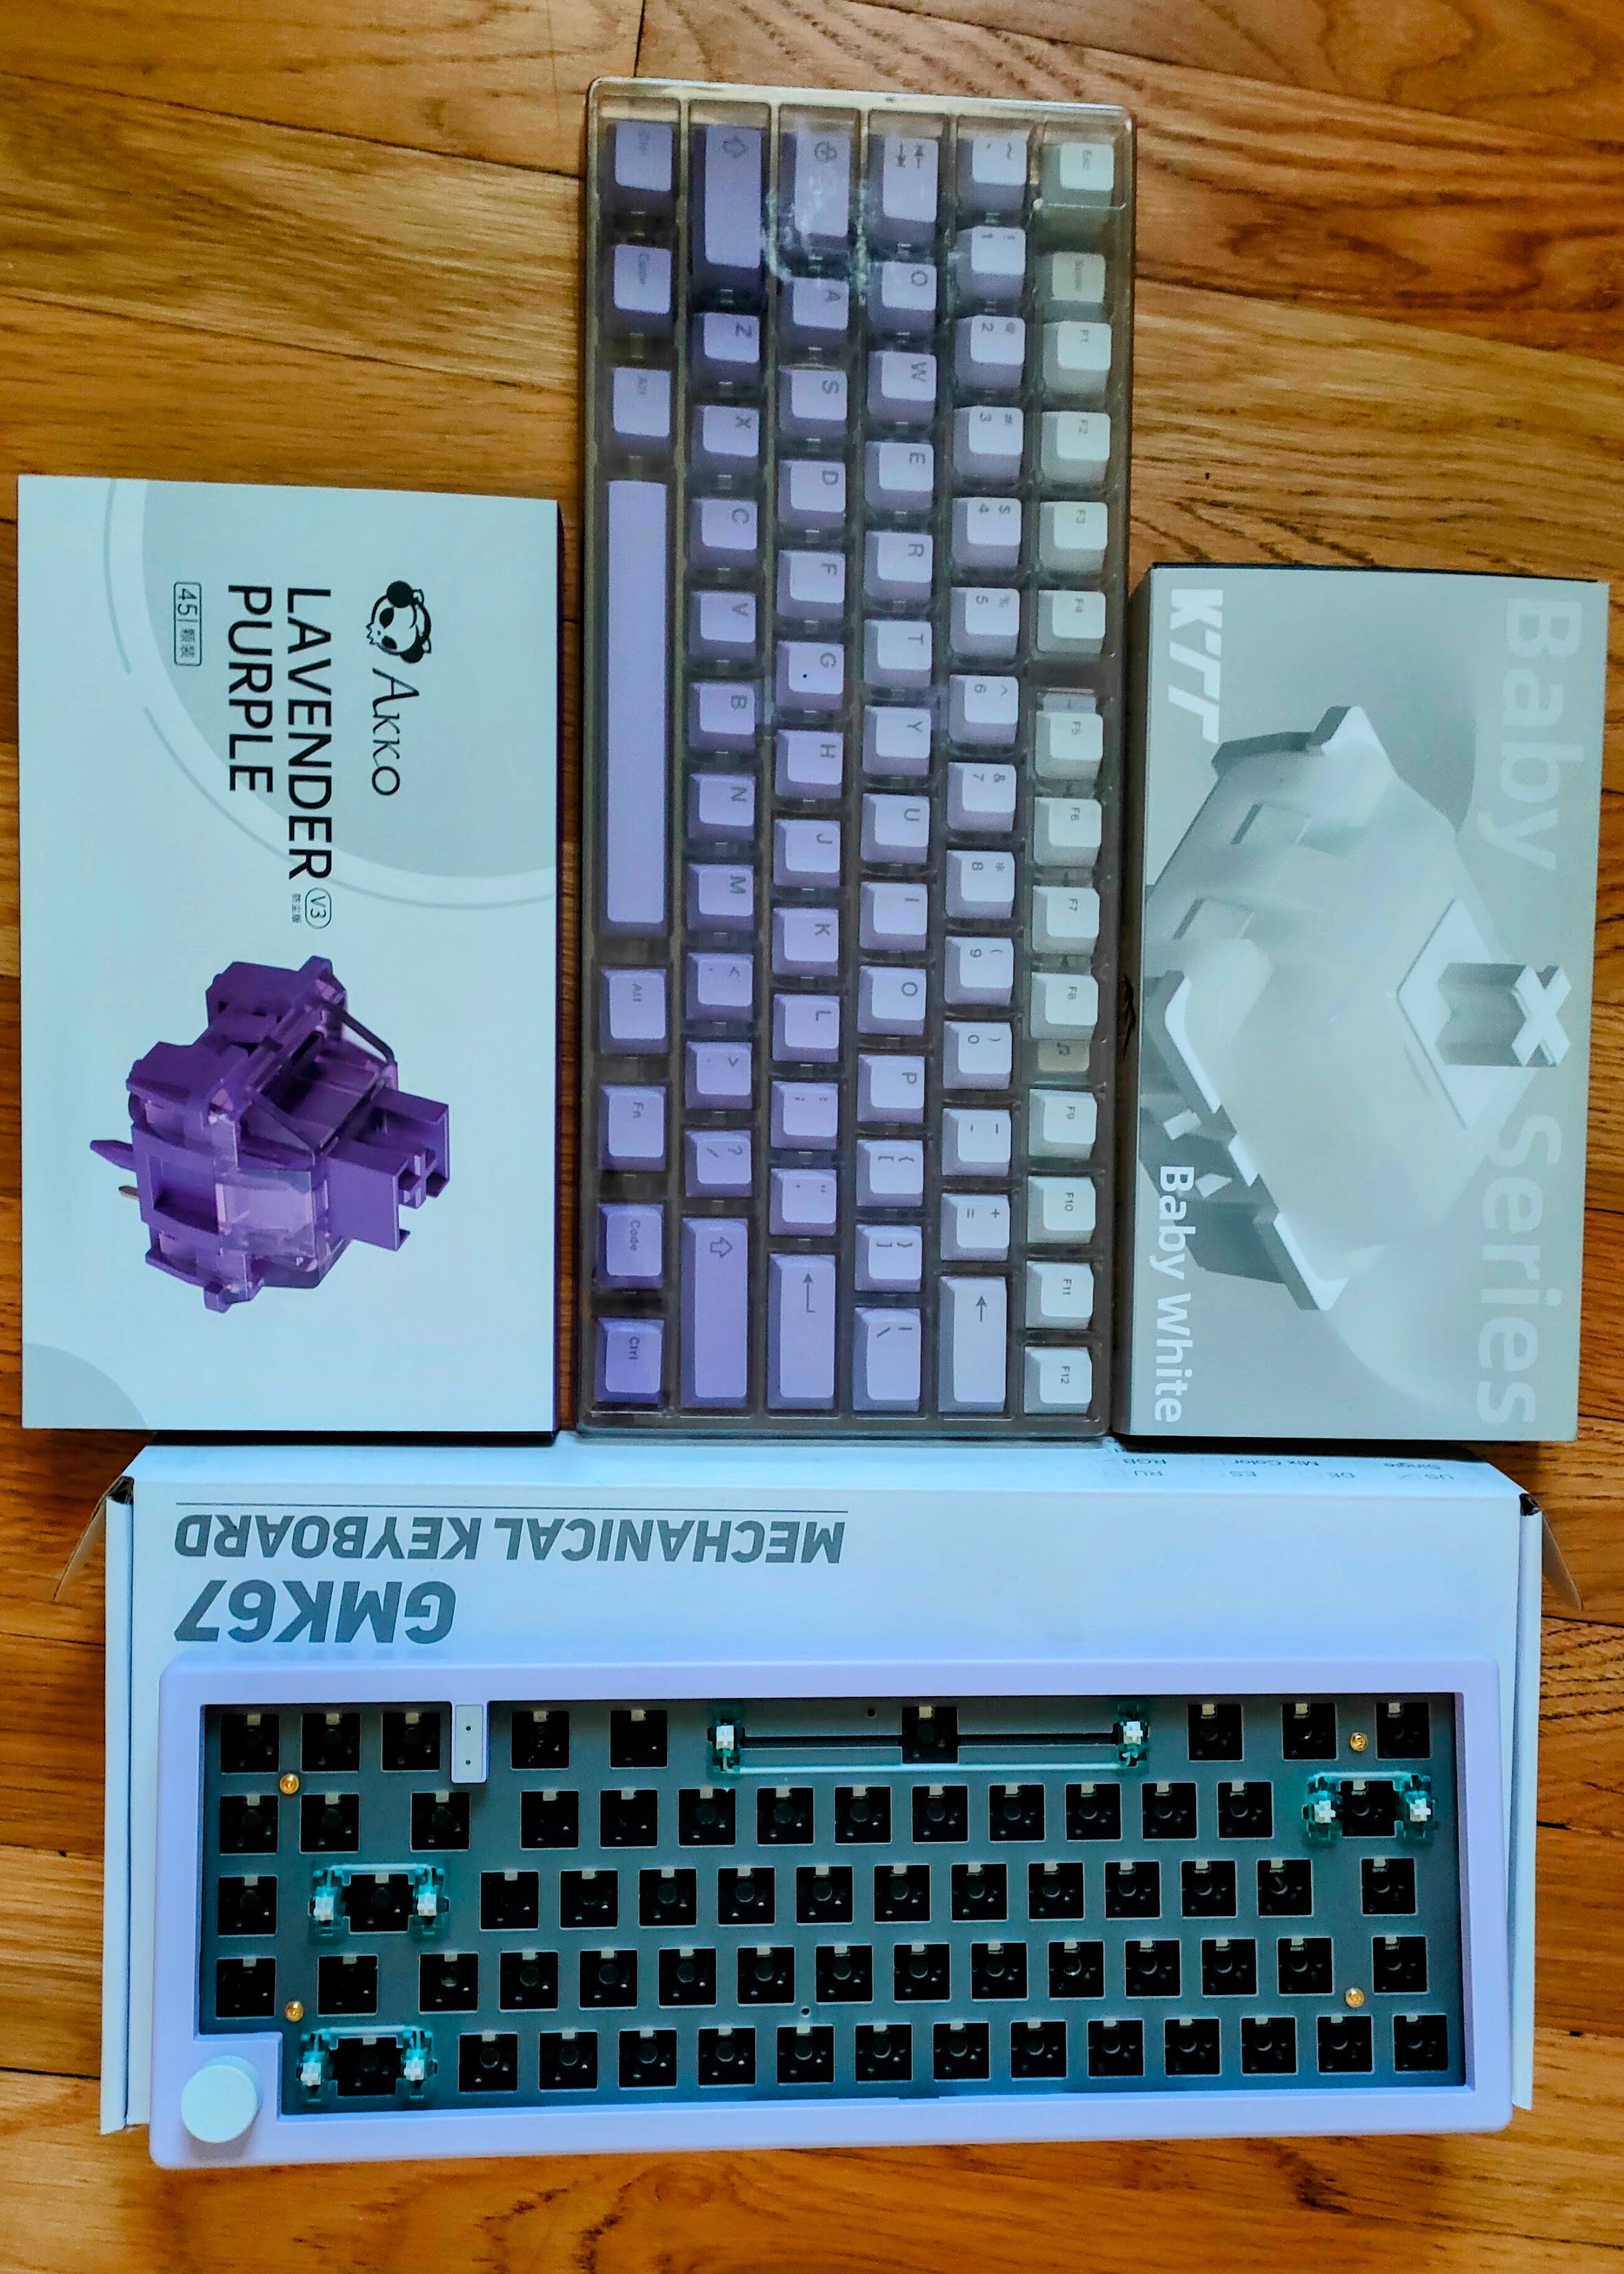
- Board: GMK67 hot-swap PCB, 65% layout
- Switches (letters): AKKO Lavender, linear
- Switches (modifiers): KTT Baby White, tactile
- Keycaps: Lavender gradient PBT set
This was my second mechanical keyboard but my first custom build from individual parts.
The Build
Component Prep
Hot-swap means no soldering. The board has clear socket guides so youd have to try pretty hard to install a switch backward.
Mixed switches was the main decision. Linear for the letter keys because I type fast and dont want resistance. Tactile for modifiers so I can feel where the function keys are without looking.
Switch Installation
Align the pins with the sockets, press until it clicks. The board guides the orientation. Just match pins to holes.
First time doing this and not a single bent pin. Nothing installed wrong. If you can press a button you can build this keyboard.
Keycaps
Lavender gradient PBT keycaps. PBT doesnt develop shine from finger oils like ABS does. They feel solid.
Sound Test
The lavender linears are buttery smooth. No bump, just press and go. The Baby White tactiles have a clear bump on the modifiers. You know exactly when youve hit a function key. The PBT gives a deeper, satisfying sound compared to thinner ABS caps.
Mixed switches work because letters get used constantly and linears reduce finger strain. Modifiers need distinction so you dont accidentally hit Shift or Ctrl. Plus the sound variation adds character.
Difficulty
Easy. No soldering, no tools, no permanent changes. The board prevents most mistakes. Switches pop out if you mess up.
Time breakdown:
- Unboxing: 10 minutes
- Switches: 20 minutes
- Keycaps: 10 minutes
- Total: about 40 minutes
Skills needed: ability to press small things firmly. Thats it.
Budget
- GMK67 kit: ~$50
- AKKO Lavender switches (70): ~$25
- KTT Baby White switches (20): ~$10
- Lavender gradient PBT keycaps: ~$35
- USB cable: ~$10
- Total: ~$130
Best part is the hot-swap design. Want clickier switches? Pop the old ones out, press new ones in. Five minutes.
Final Word
Custom keyboards arent intimidating. Theyre just expensive LEGO sets that you type on. The GMK67 is the perfect entry point. Cheap, forgiving, and the end result is a keyboard thats actually yours.
If youre thinking about building one, stop thinking and do it. This build took 40 minutes and I had zero experience.
Build: June 6, 2024 Status: Daily driver until the split keyboard took over


