
What This Is
Moto G Stylus 2022 with a cracked screen. Still functional though - the digitizer cable survived the impact. That meant I could test the repair immediately after reassembly instead of hoping it worked.
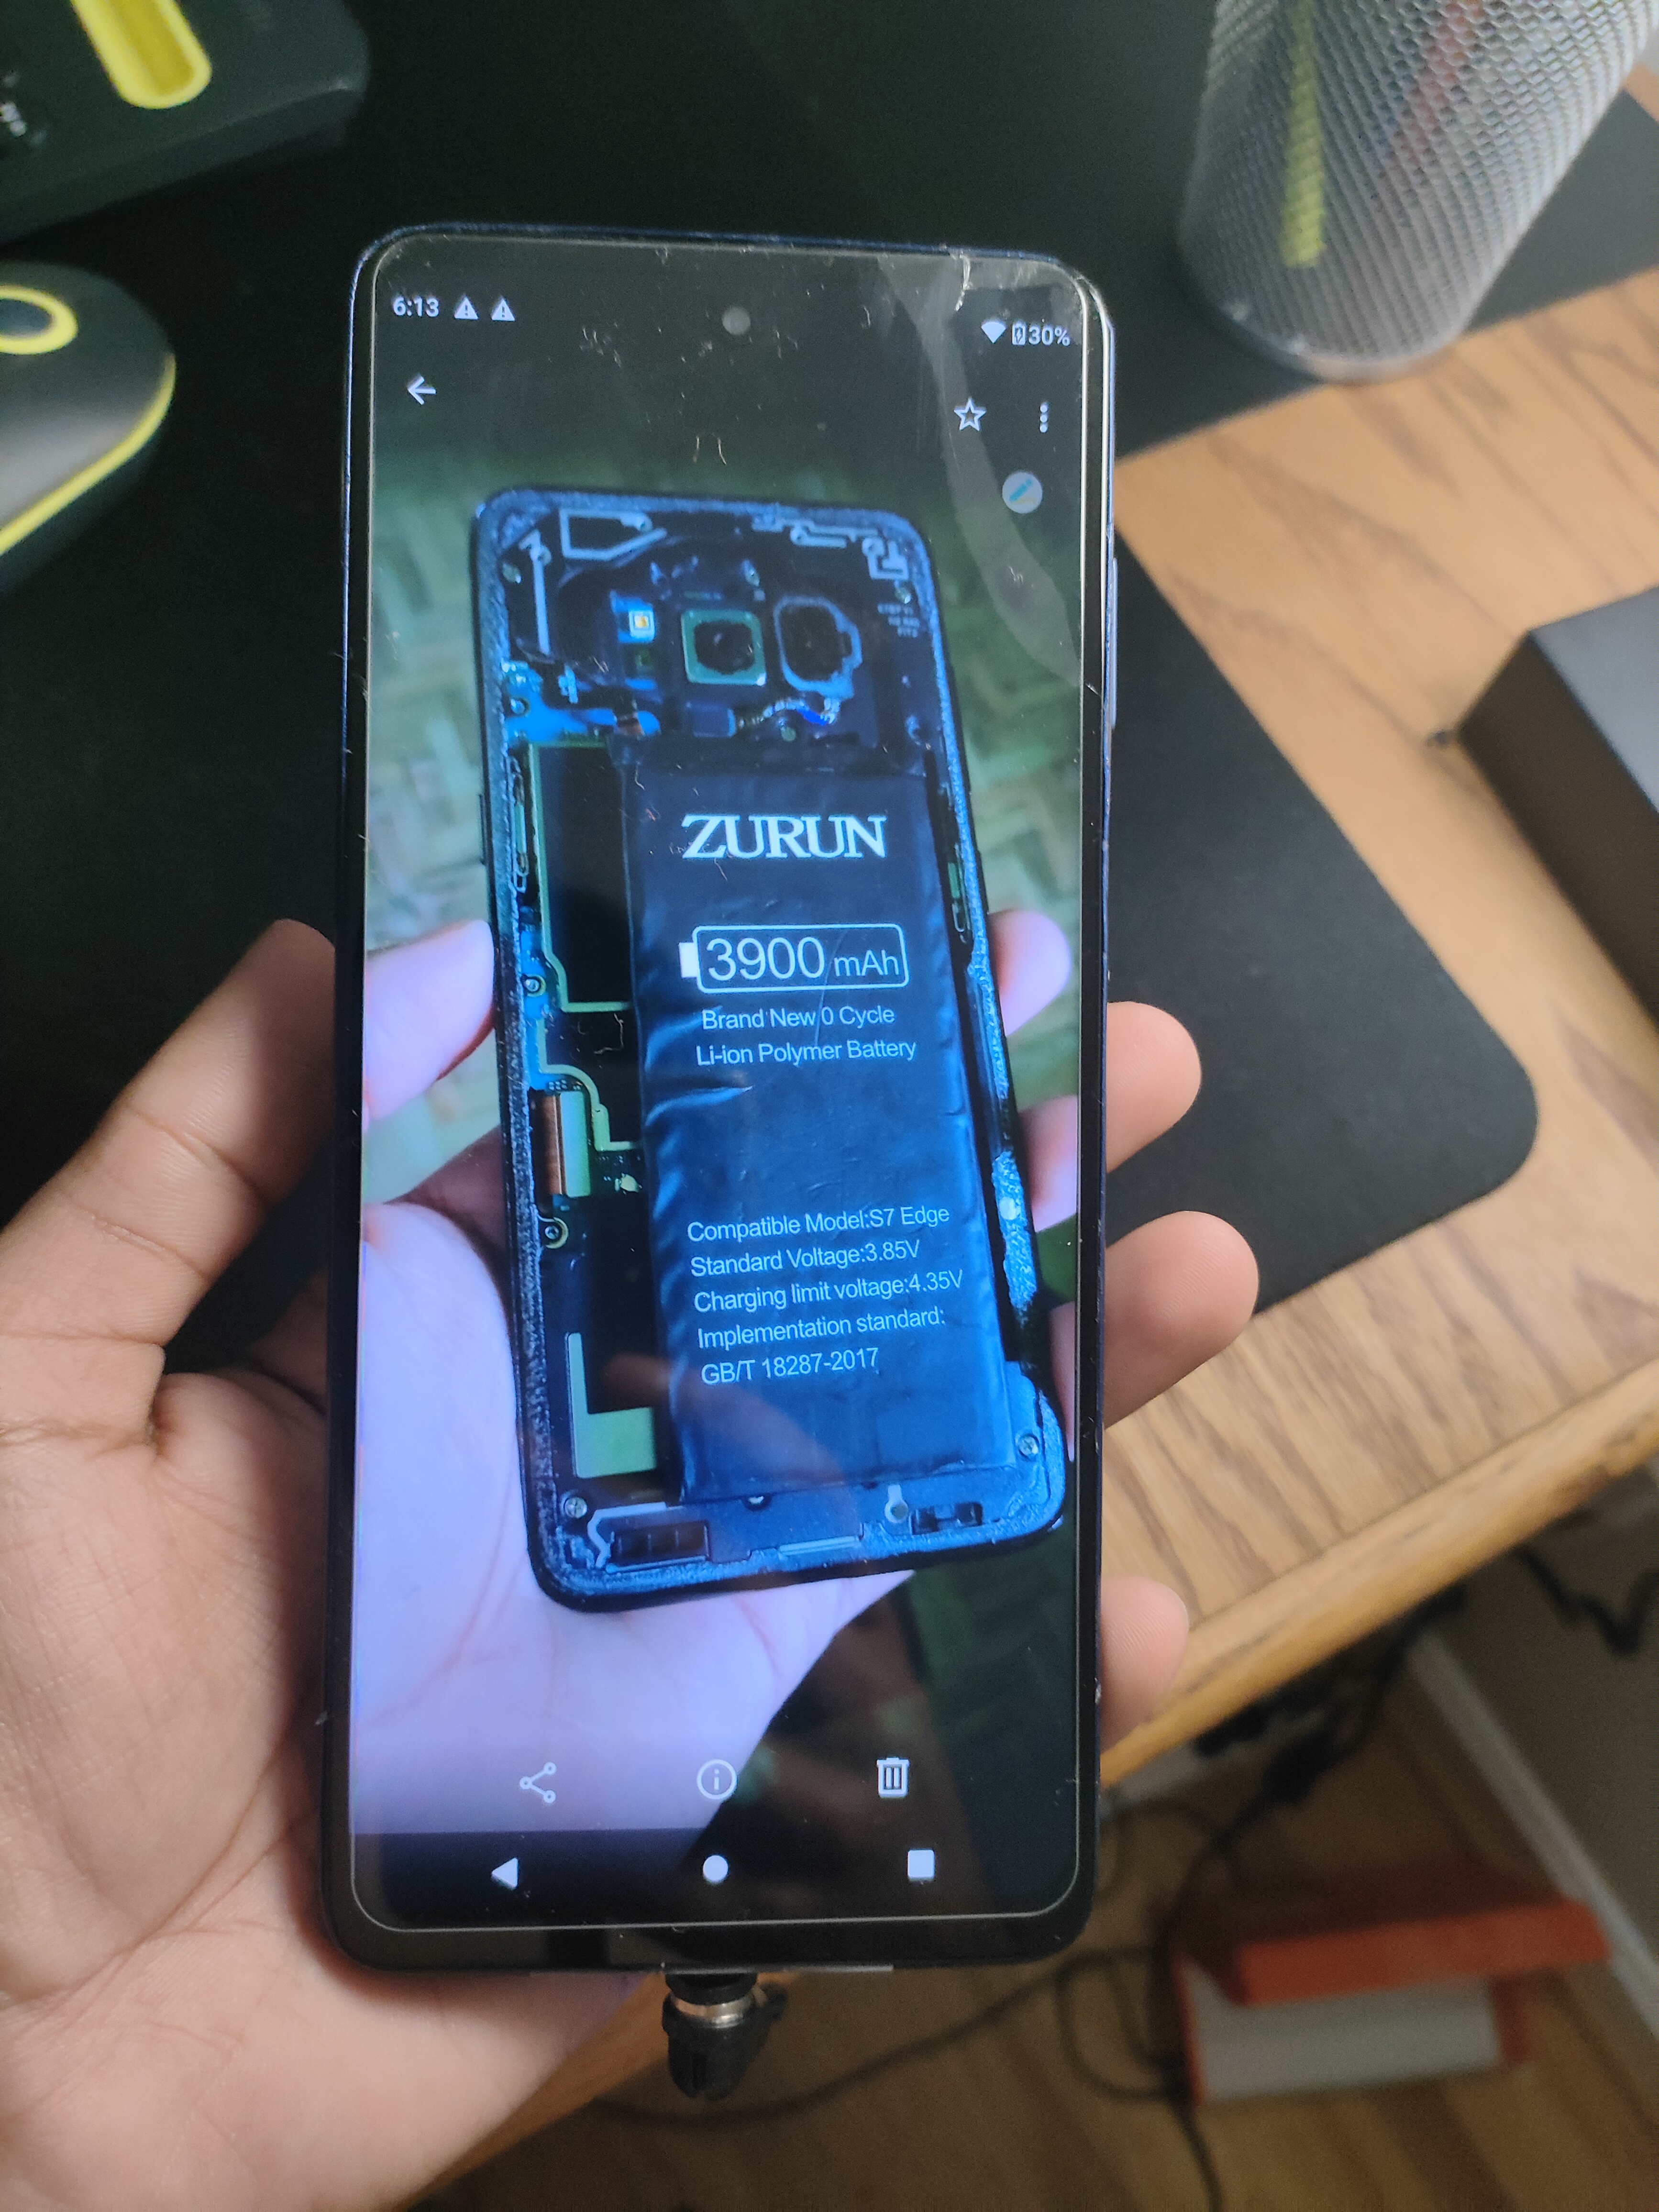
The photo you see on screen? Thats the inside of my Samsung Galaxy S6 from 2019. Man I miss those rooted Android days.
The Repair
Step 1: Back Cover
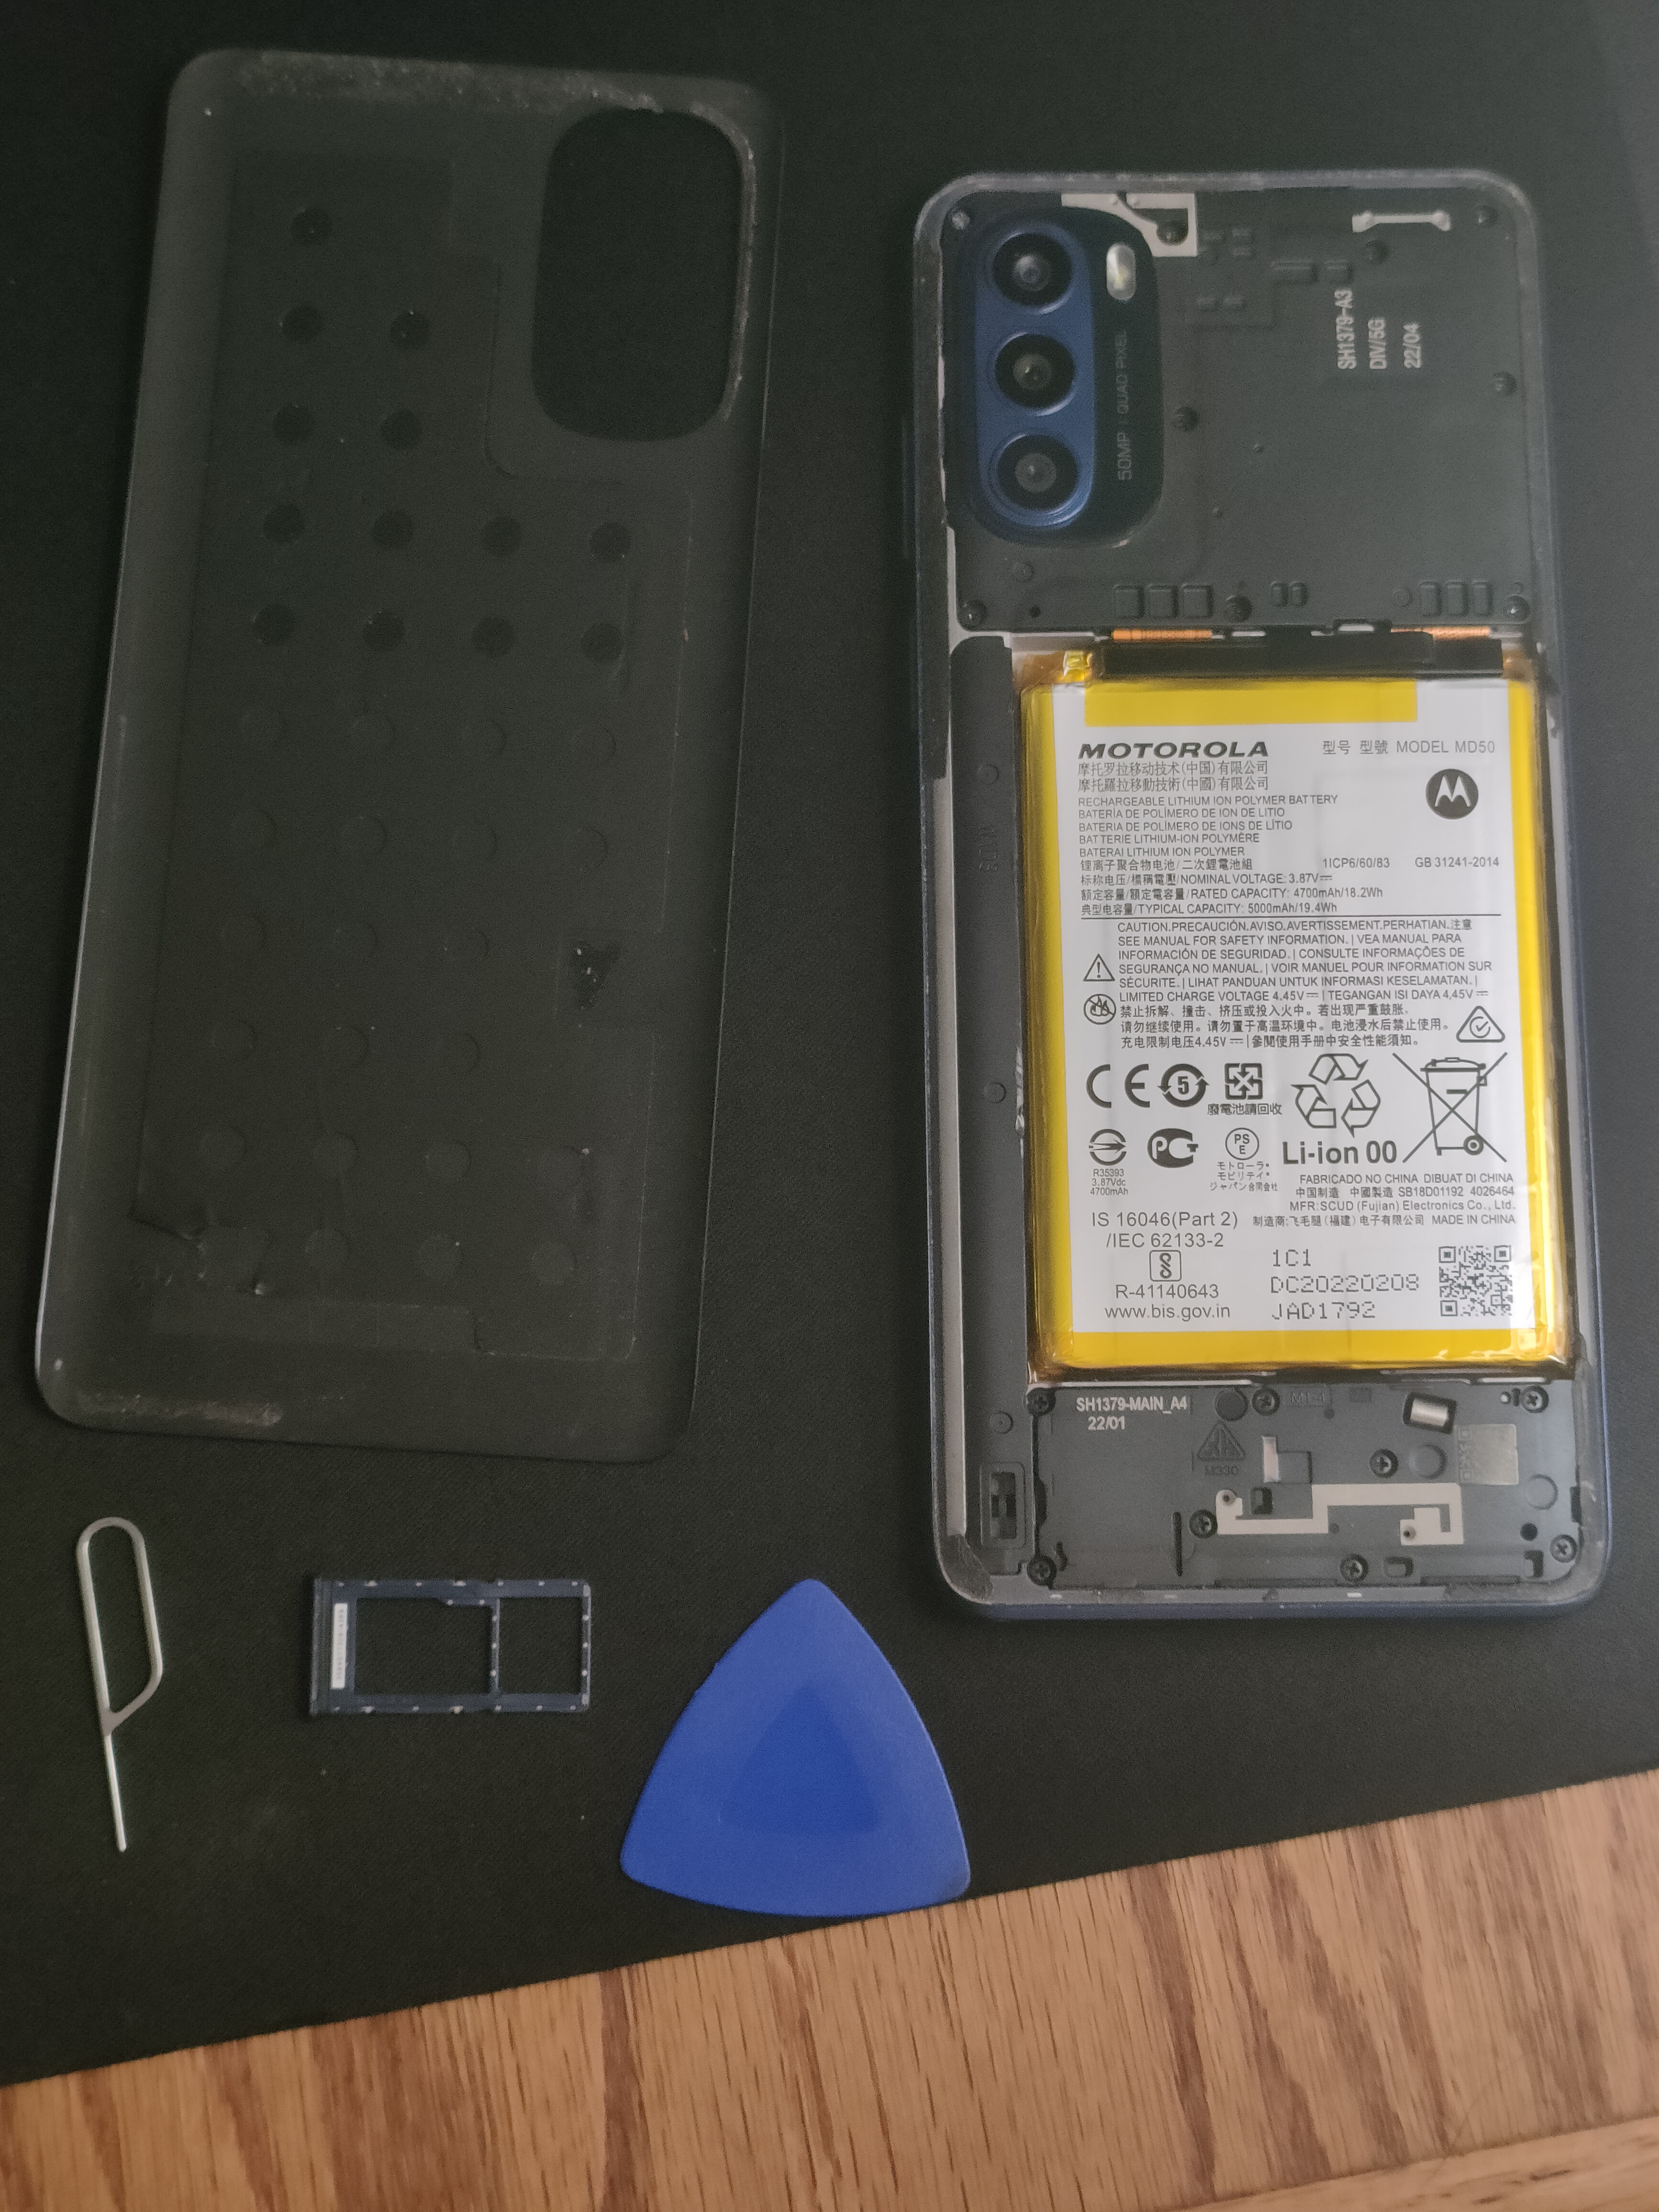
Back cover comes off with heat and careful prying. But Motorola hid screws under small stickers near the top. Easy to miss. If you dont find them youll break plastic clips trying to force the cover off.
Always check under stickers and rubber feet for hidden screws. Basic rule but easy to forget.
Step 2: Battery
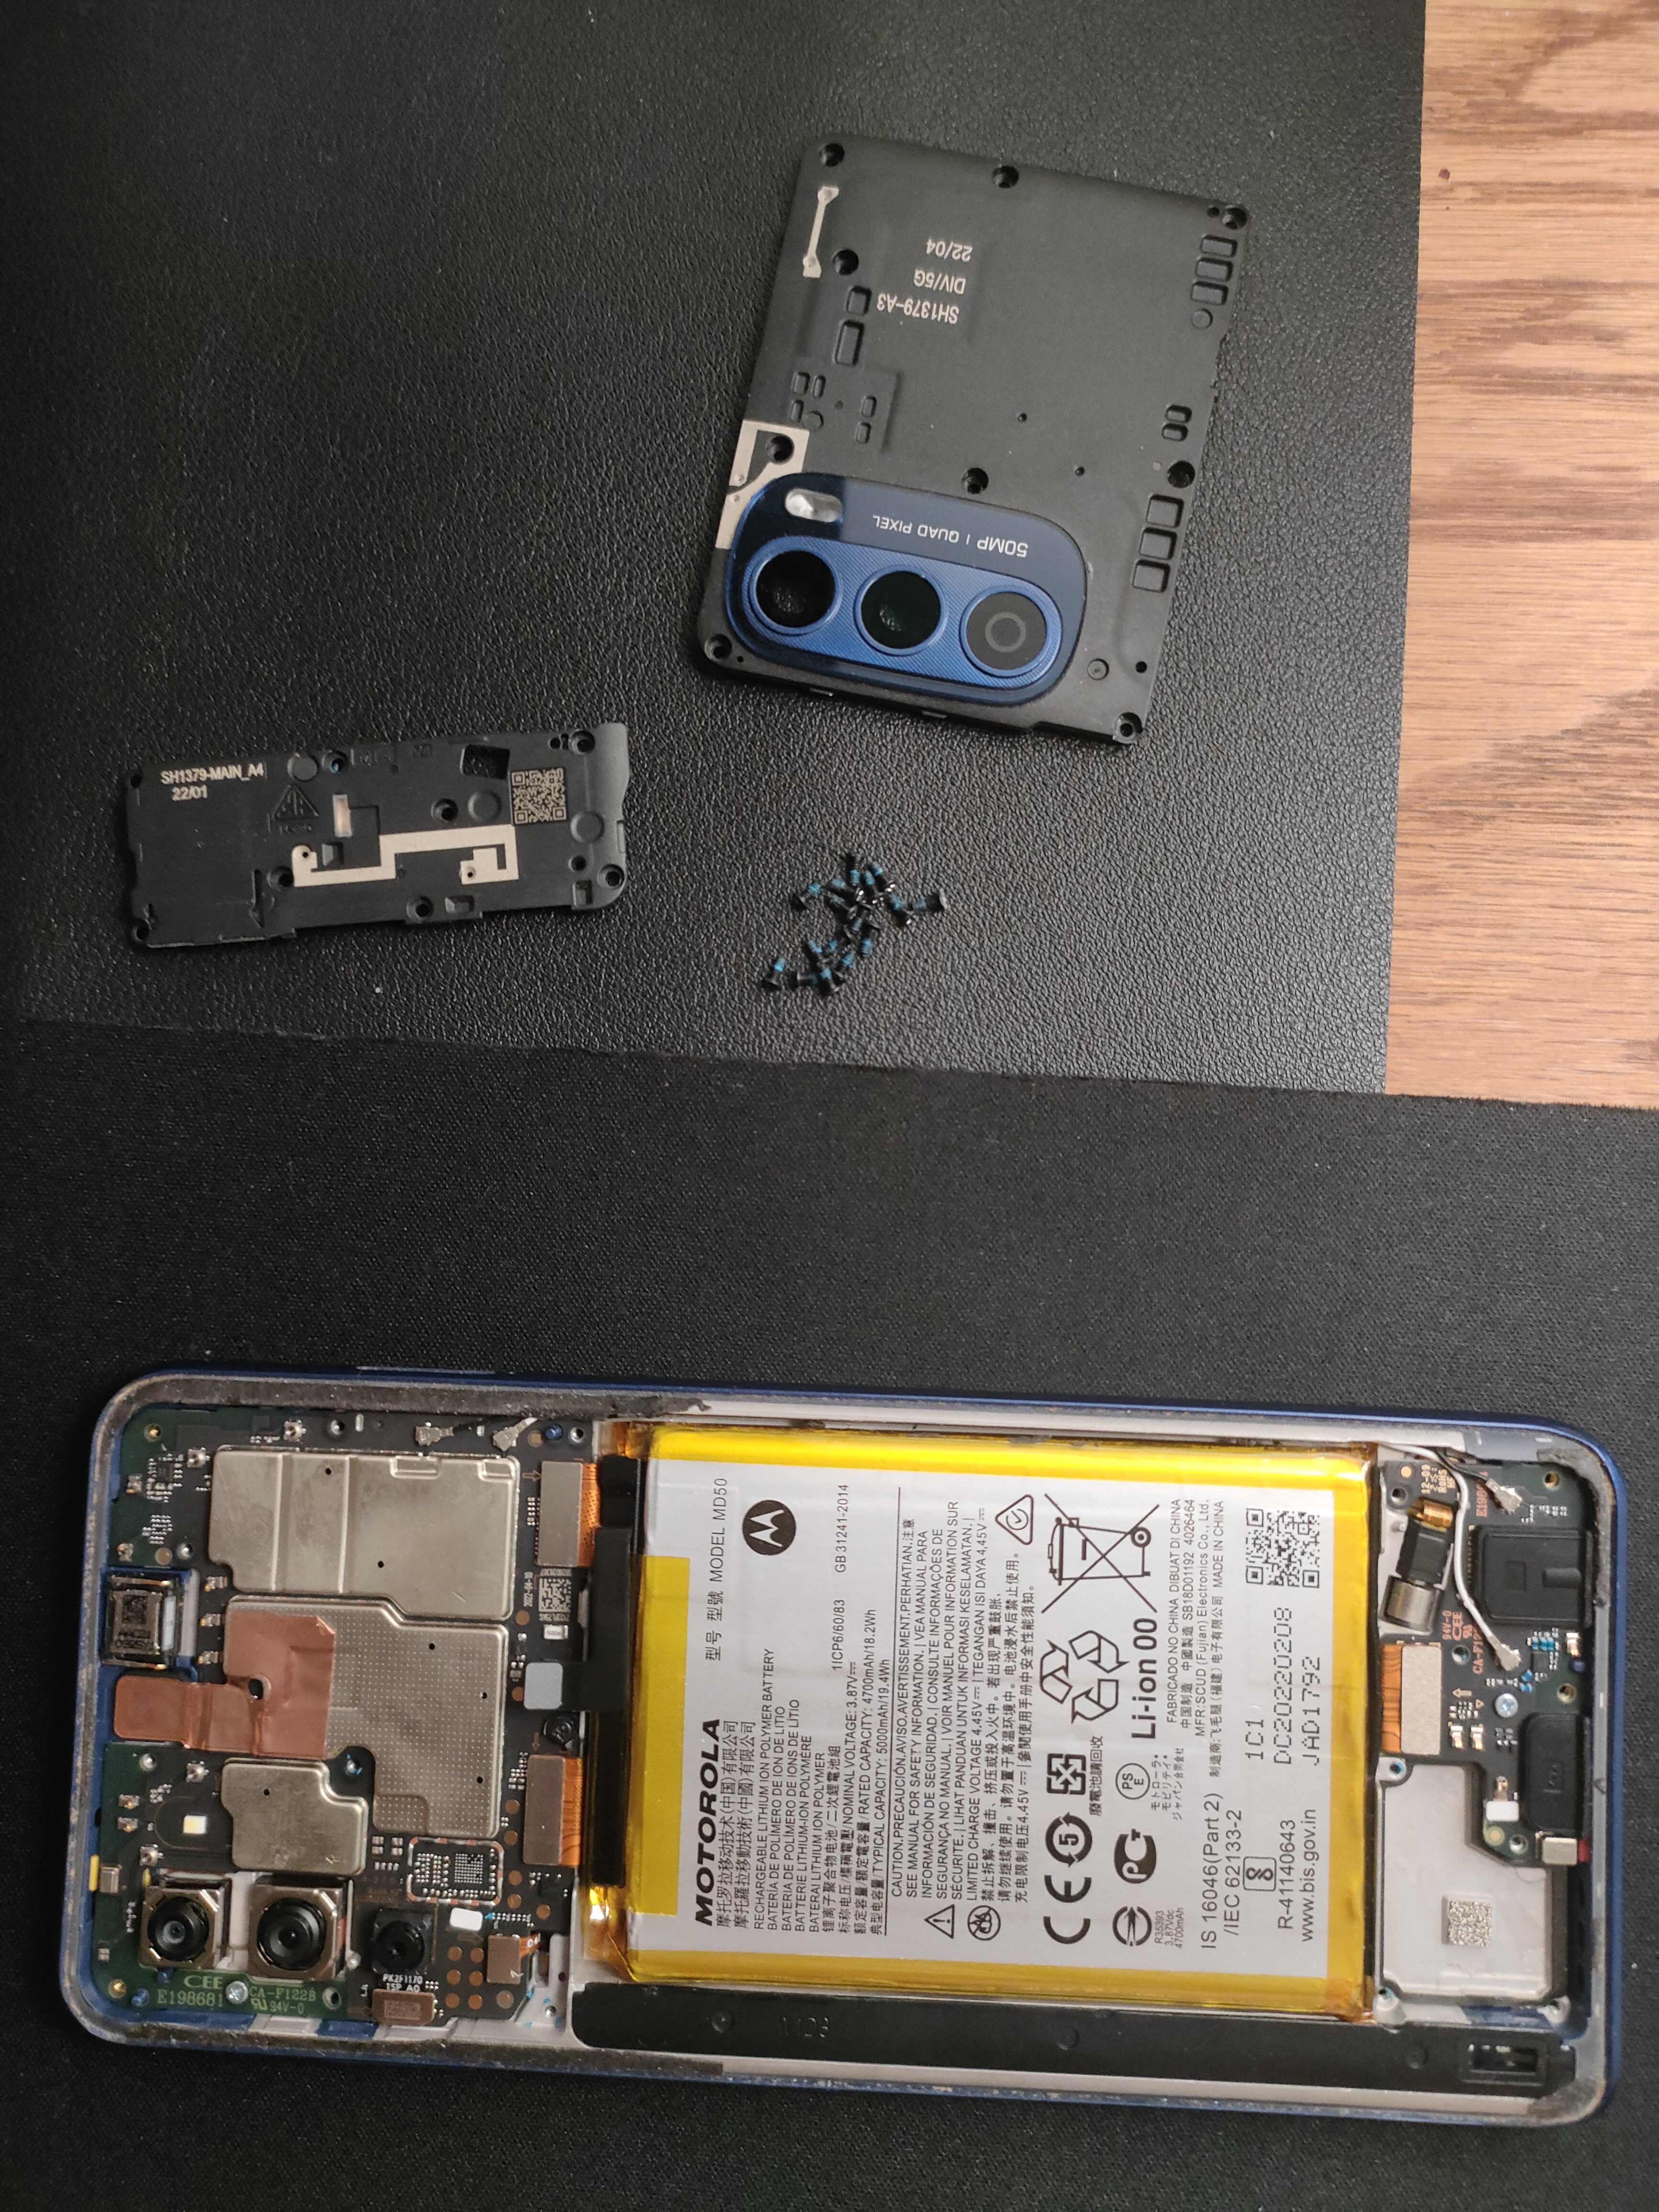
The battery has to come out completely to reach the display connector. Its not optional. Some phones let you swap the screen without touching the battery. This one doesnt.
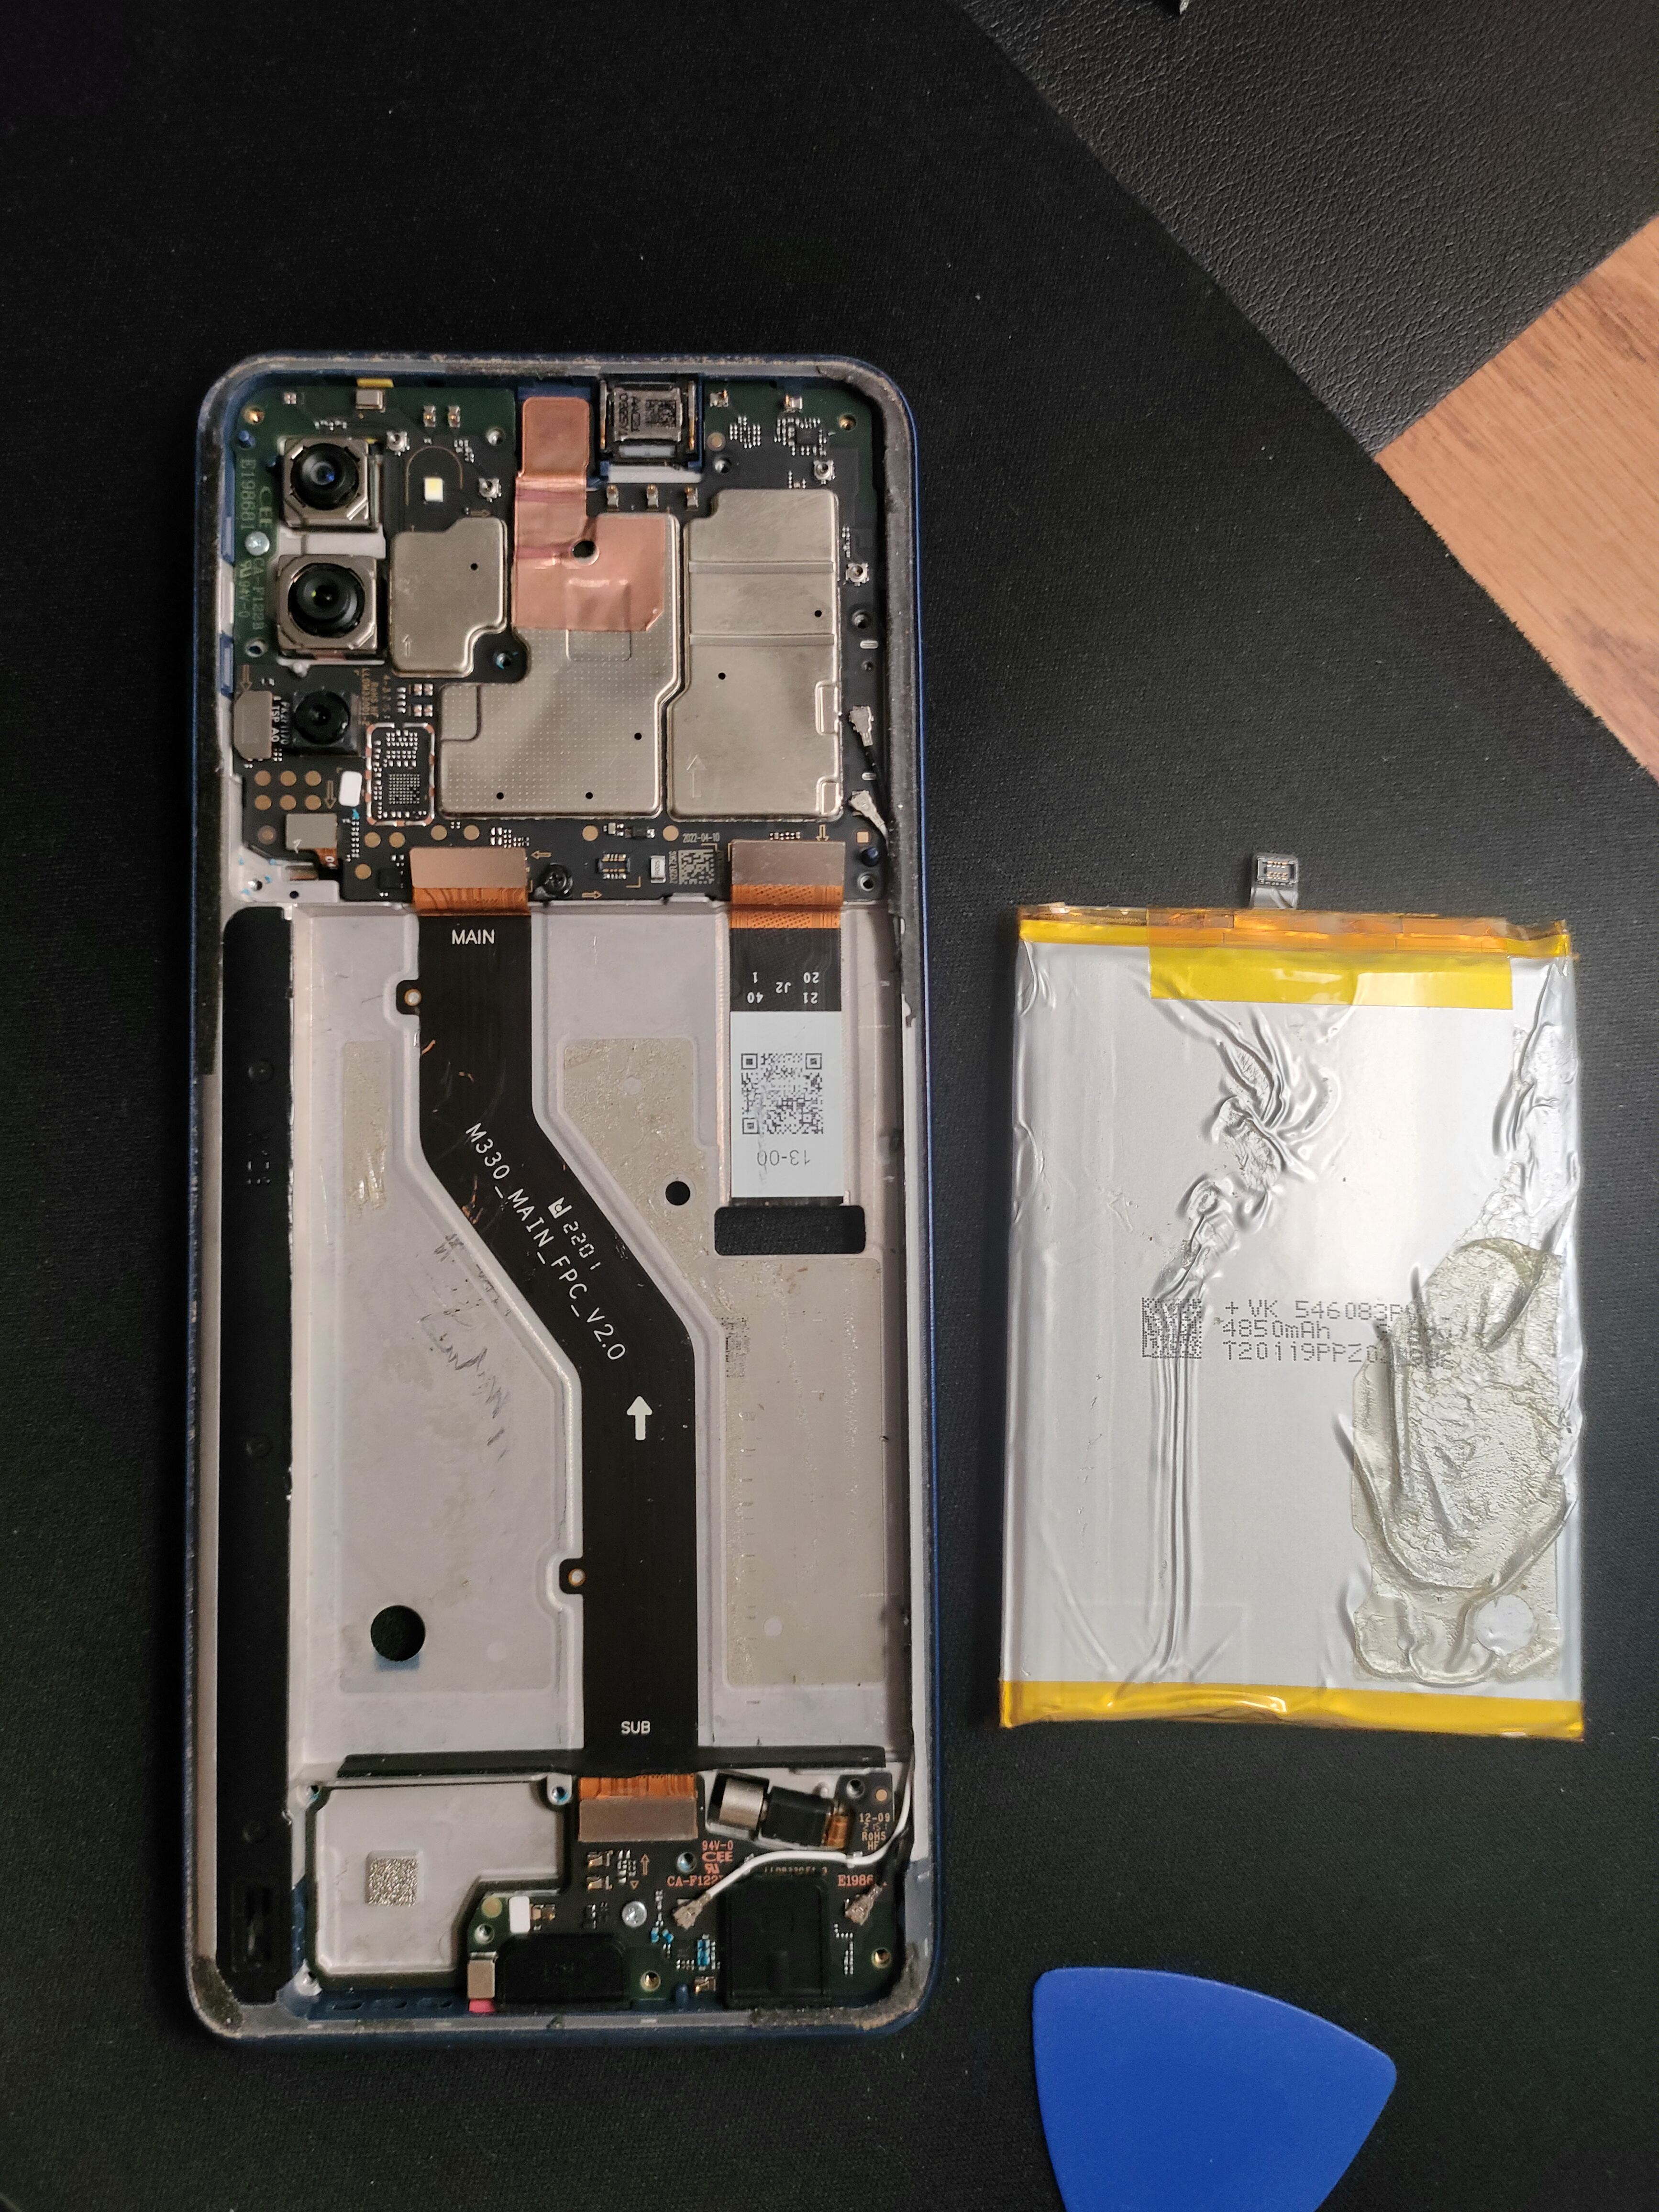
Battery specs: 3900mAh Li-ion, ZURUN brand, 3.85V. Held down with strong adhesive. Worked it free with a plastic spudger from the edges.
Never puncture or bend lithium batteries. They catch fire. Use proper tools.
The Hidden Problem
The ribbon cable connecting the screen to the motherboard sits underneath where the battery was. So you cant just disconnect the screen and swap it. You have to remove the battery first. Adds complexity and risk for no good reason.
Probably a cost-saving measure in the layout. Makes DIY repairs more intimidating than they need to be.
Step 3: Screen Replacement
With the battery out:
- Disconnected the old screen ribbon
- Removed the damaged screen assembly
- Cleaned adhesive residue from the frame
- Connected the new screen ribbon
- Verified it worked before putting anything back together
Testing before final assembly is crucial. Connect the new screen, power on, confirm touch and display work. Only then do you commit to reassembly.
Step 4: Reassembly
Reverse order. Tested with battery connected but not adhered - screen worked perfectly. Secured battery with fresh adhesive strips. Reconnected everything. Replaced screws including the hidden ones. Snapped the back cover on.
Final check: touch response, brightness, display quality. All good.
Difficulty
Easy-medium. Straightforward if youve done phone repairs before. Medium for first-timers because of the hidden screws and mandatory battery removal.
Why its easier for experienced people:
- Standard screws throughout
- No soldering
- Screen assembly is modular
- Clear layout once youre inside
Why its harder for beginners:
- Hidden fasteners you can easily miss
- Battery removal adds risk
- Strong adhesive needs patience
- Ribbon cable position requires careful handling
Time: 30-45 minutes if you know what youre doing. 60-90 minutes for a first-timer.
Tips
- Check under stickers for hidden screws. Every time.
- Heat makes adhesive removal easier and safer.
- Test before final assembly. Always.
- Take photos during disassembly. Screw locations, cable routing.
- Use a quality spudger for battery removal. Cheap ones bend or snap.
Repair: February 26, 2024 Status: Screen replaced successfully


